Manually Adding a Client – Bring Clients to Life in Your System
Adding a client manually isn’t just about filling a form — it’s about building a profile that represents your client in your workspace. Here’s how you can do it step by step.
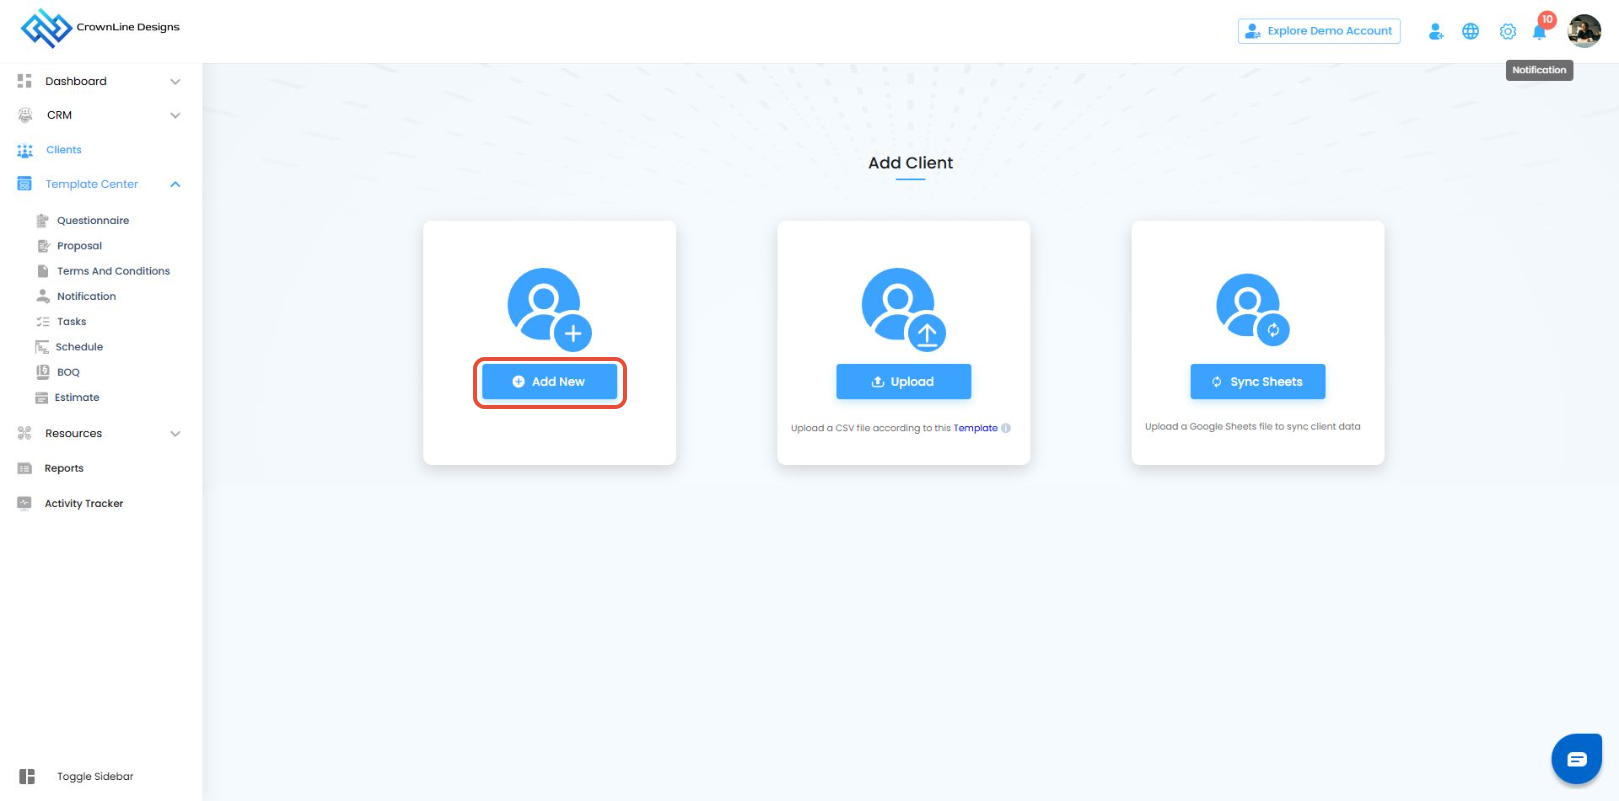
Navigate to Add Client
From the Side Navigation, go to Clients > Add Client.
Click on Add New to open the client creation page.

This is your canvas to create a brand-new client profile.
Add the Client Name
This is where the smart workflow kicks in:
In the Client Name field, type the client’s name.
Once typed, a button labeled “+ Add New [Client Name]” appears below.
Click this button — and just like that, the name is officially registered into the system.

This isn’t an auto-suggestion — it’s a confirmation button. Until you click it, the client name isn’t added.
Personalize with a Photo (Optional)
Add a profile image — could be the client’s headshot, company logo, or even a project reference image.

Enter Client Details
Fill in the rest of the essentials:
Email Address
Phone Number
Company / Organization Name
Address / Location
Any other information fields available in the form
The more details you provide, the richer and more useful the client profile becomes.
Save and Create
Once all details are in, click Add Client.

The client is instantly added to your Client Master Grid Table.

Was this article helpful?
That’s Great!
Thank you for your feedback
Sorry! We couldn't be helpful
Thank you for your feedback
Feedback sent
We appreciate your effort and will try to fix the article