How to Mark Attendance for a Shift in IntoAEC
Marking attendance in IntoAEC isn’t just a routine task — it’s the backbone of accurate payroll, transparent workforce management, and real-time productivity insights. With the Attendance module, you can:
Mark workers as Present or Absent
Track and assign Overtime with precision
Automatically link attendance with Timesheets & Wage Details
Let’s walk through the process step by step.
Accessing the Attendance Panel
There are two easy ways to open the Attendance page:
From a Specific Shift
Click on the shift you want to mark attendance for.
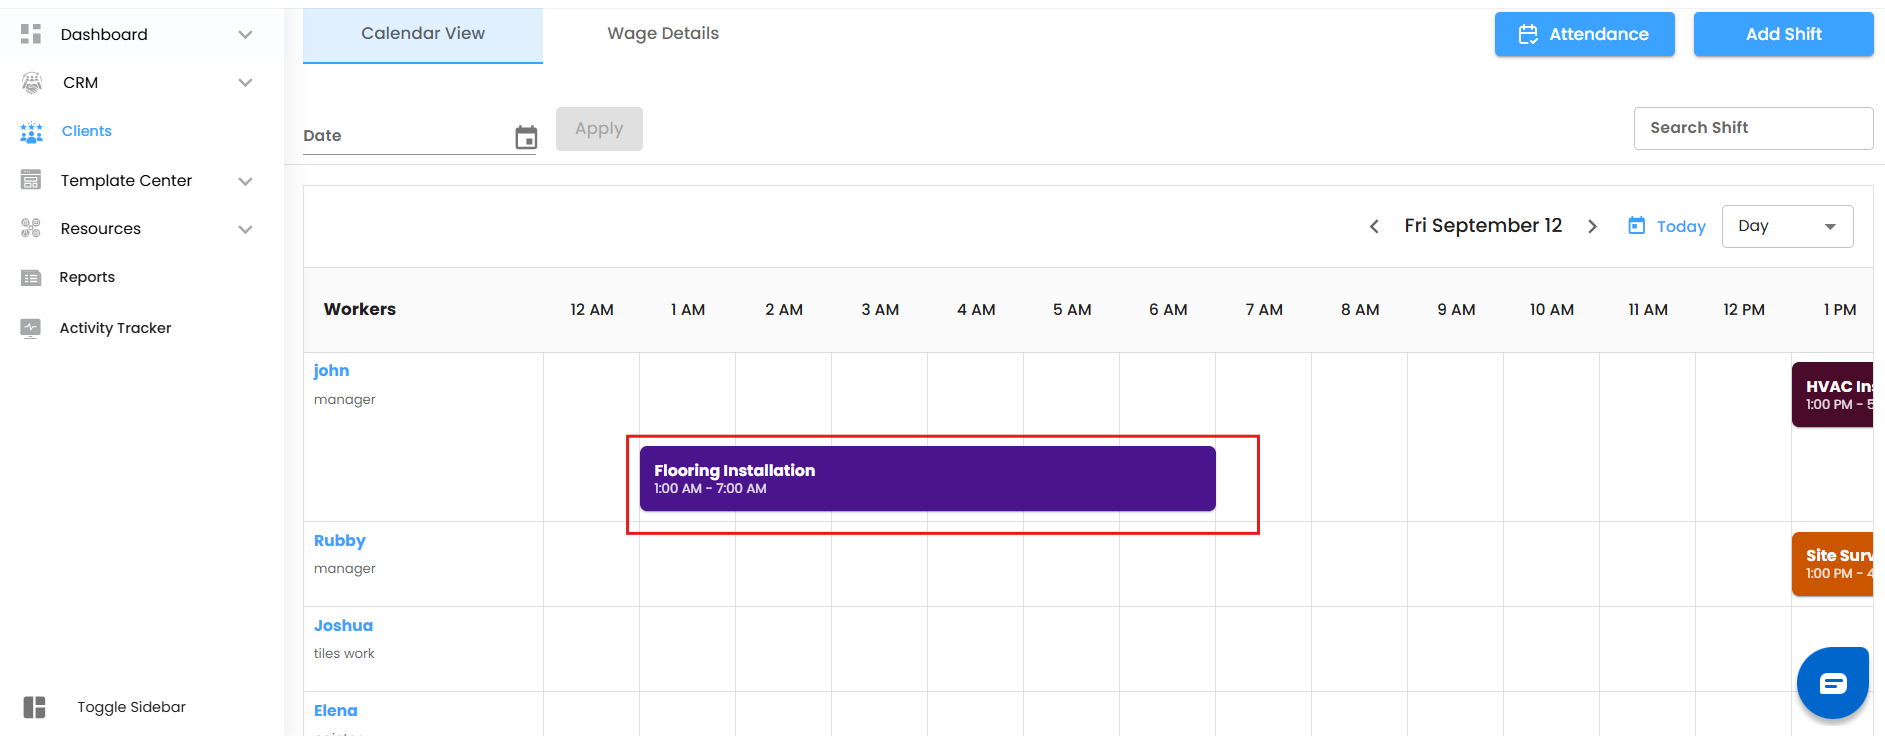
The Edit Shift off-canvas will slide open.
Select View Attendance Details.
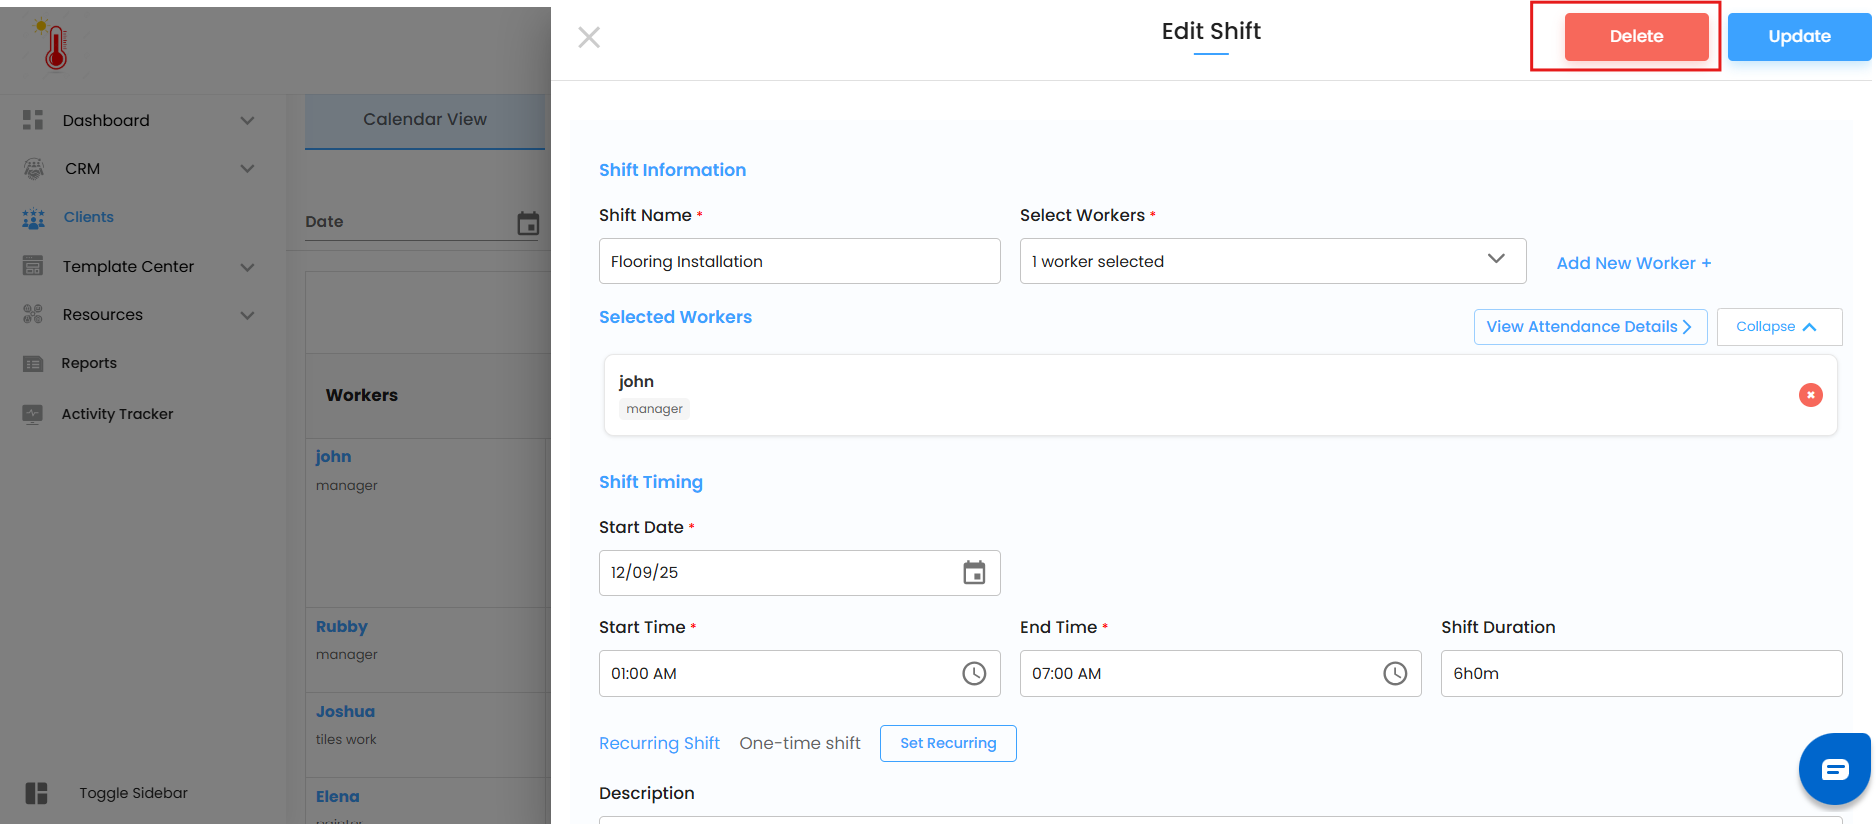
The Attendance off-canvas page appears.
From the Calendar View
In your calendar, click the Attendance Button at the top.
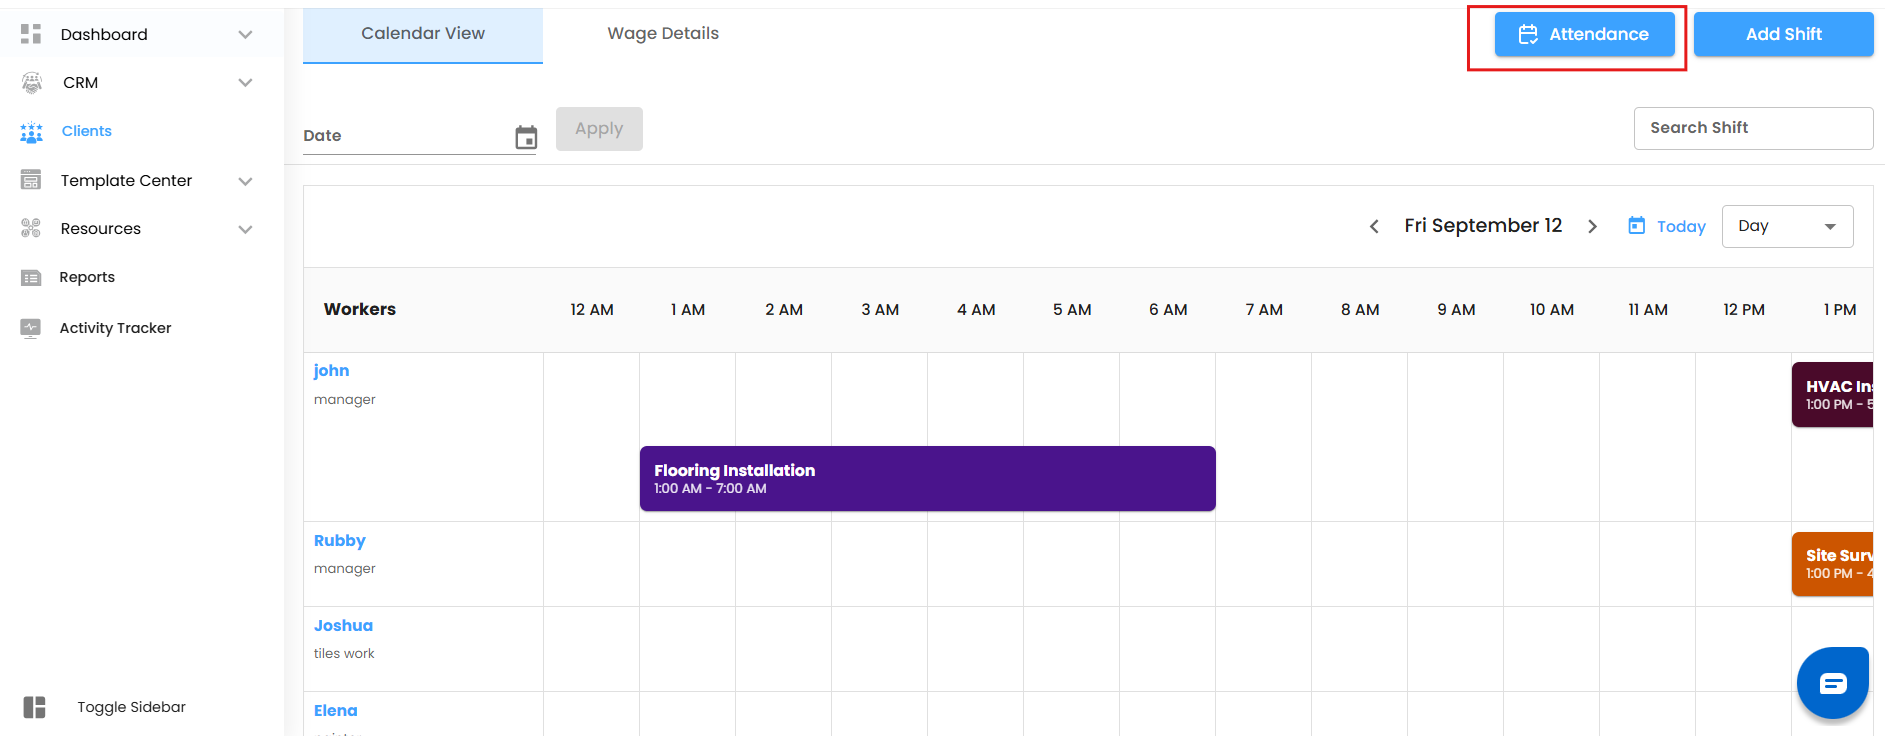
The Attendance off-canvas page opens instantly.
By default:
Date Field → Shows today’s date (or the shift’s creation date if opened from a shift).
Shift Name Dropdown → Pre-filled with either the selected shift or the last created shift.
No matter which entry point you choose, you’ll land in the same powerful Attendance workspace.
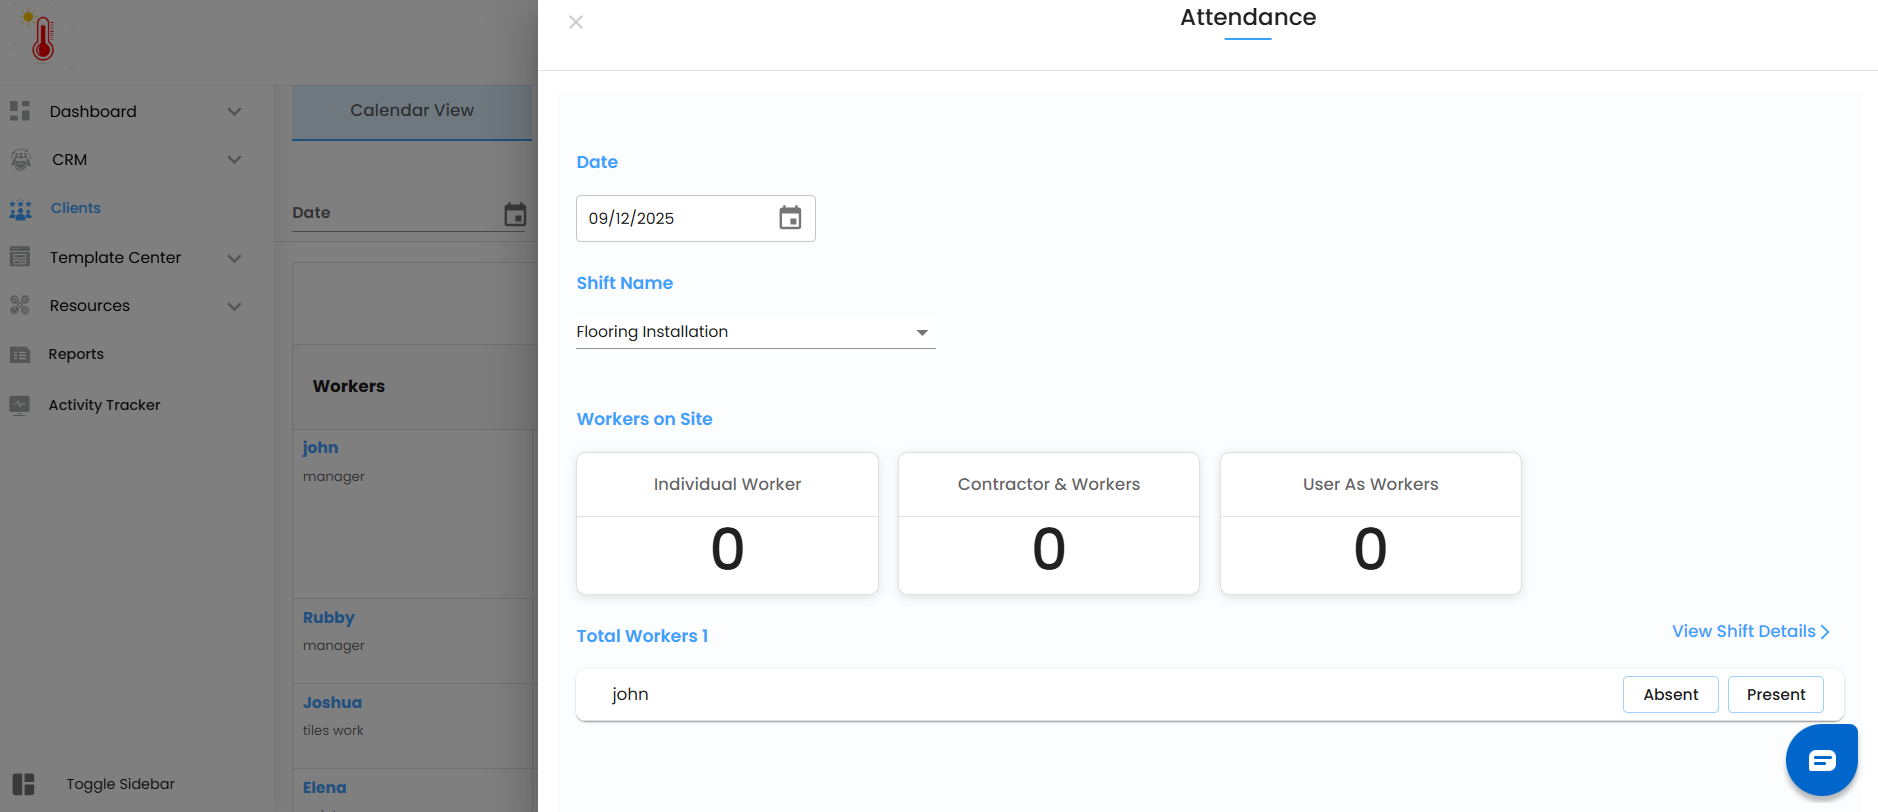
Exploring the Attendance Page
Once inside, you’ll see a clear breakdown of your workforce:
Date Field → Displays the reference date.
Shift Name Dropdown → Automatically selects the correct shift, but you can change it.
Workers On Site Section → A visual dashboard of who’s scheduled.
This section is organized into 3 smart cards:
Individual Workers → All directly assigned workers.
Contractors & Workers → External/contract-based workforce.
Users as Workers → Organization users who are also tagged as workers.
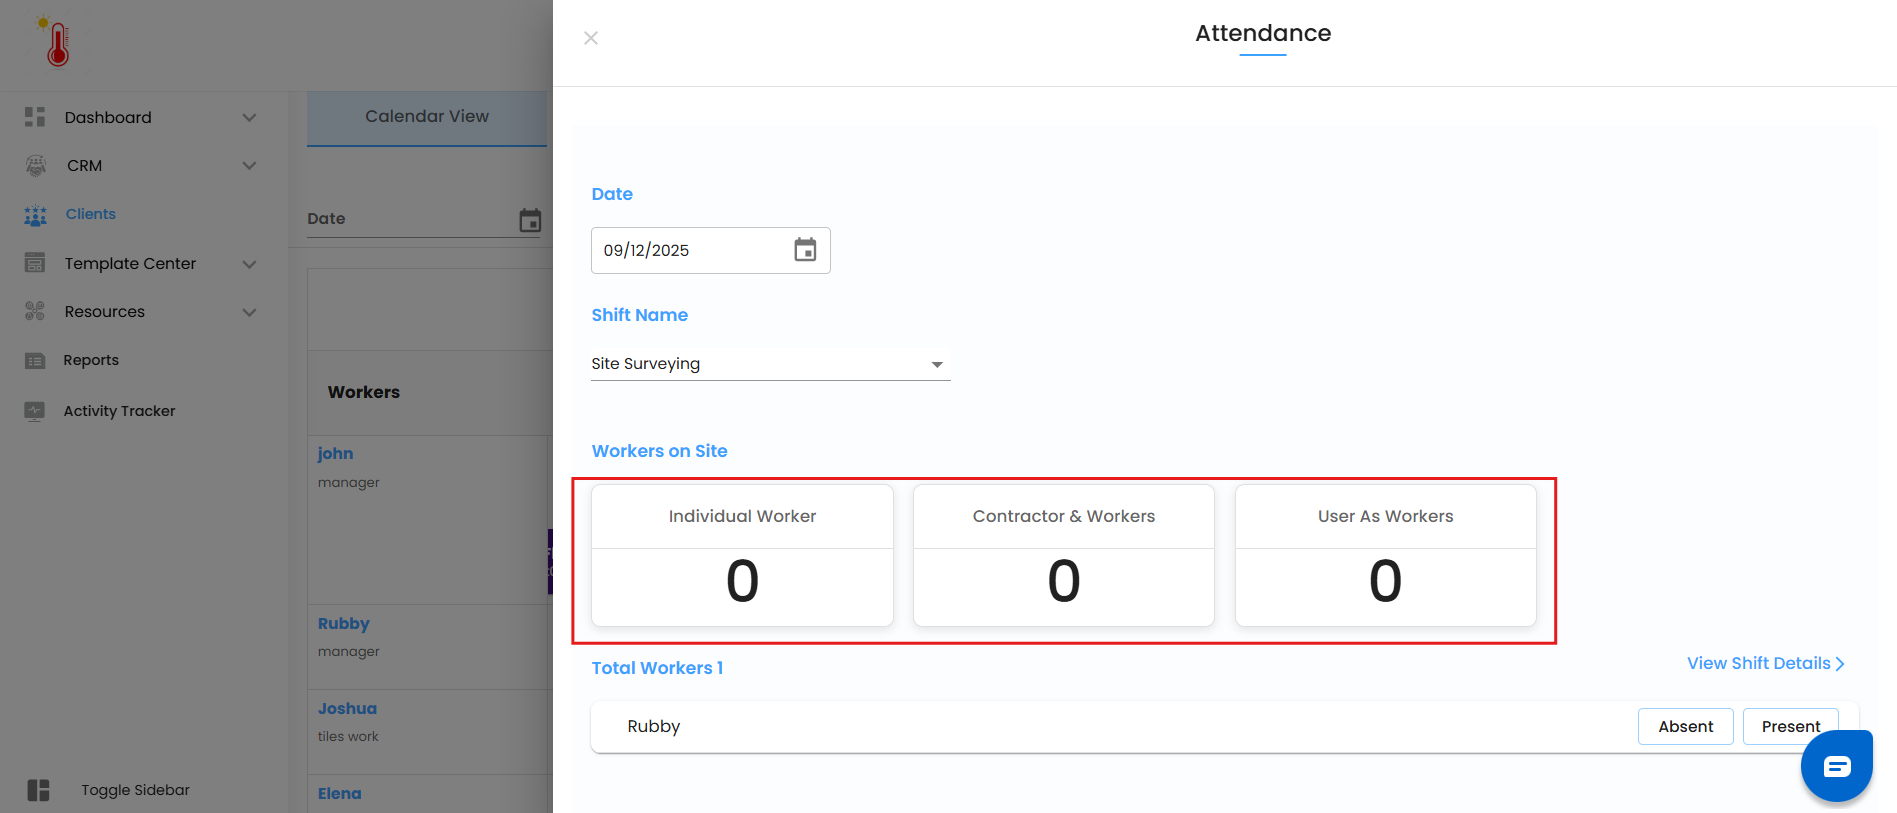
Each card displays:
Present Count → Number of workers already marked Present.
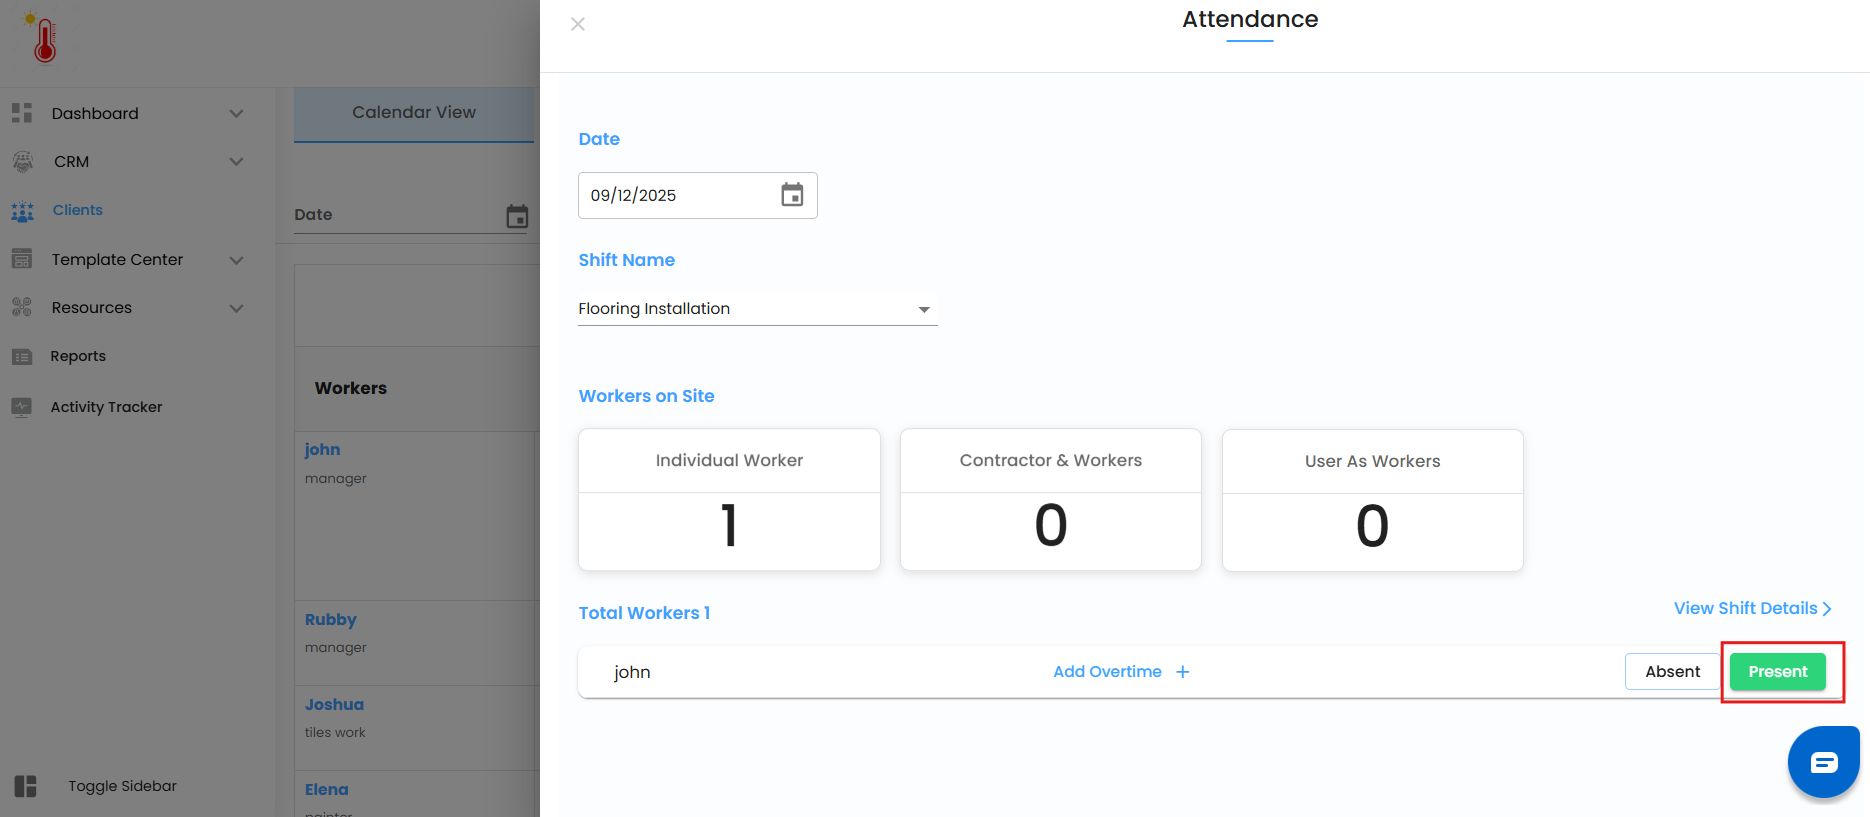
Marking Attendance
For each worker listed:
Tap Present → Worker is marked as present.
Tap Absent → Worker is marked as absent.
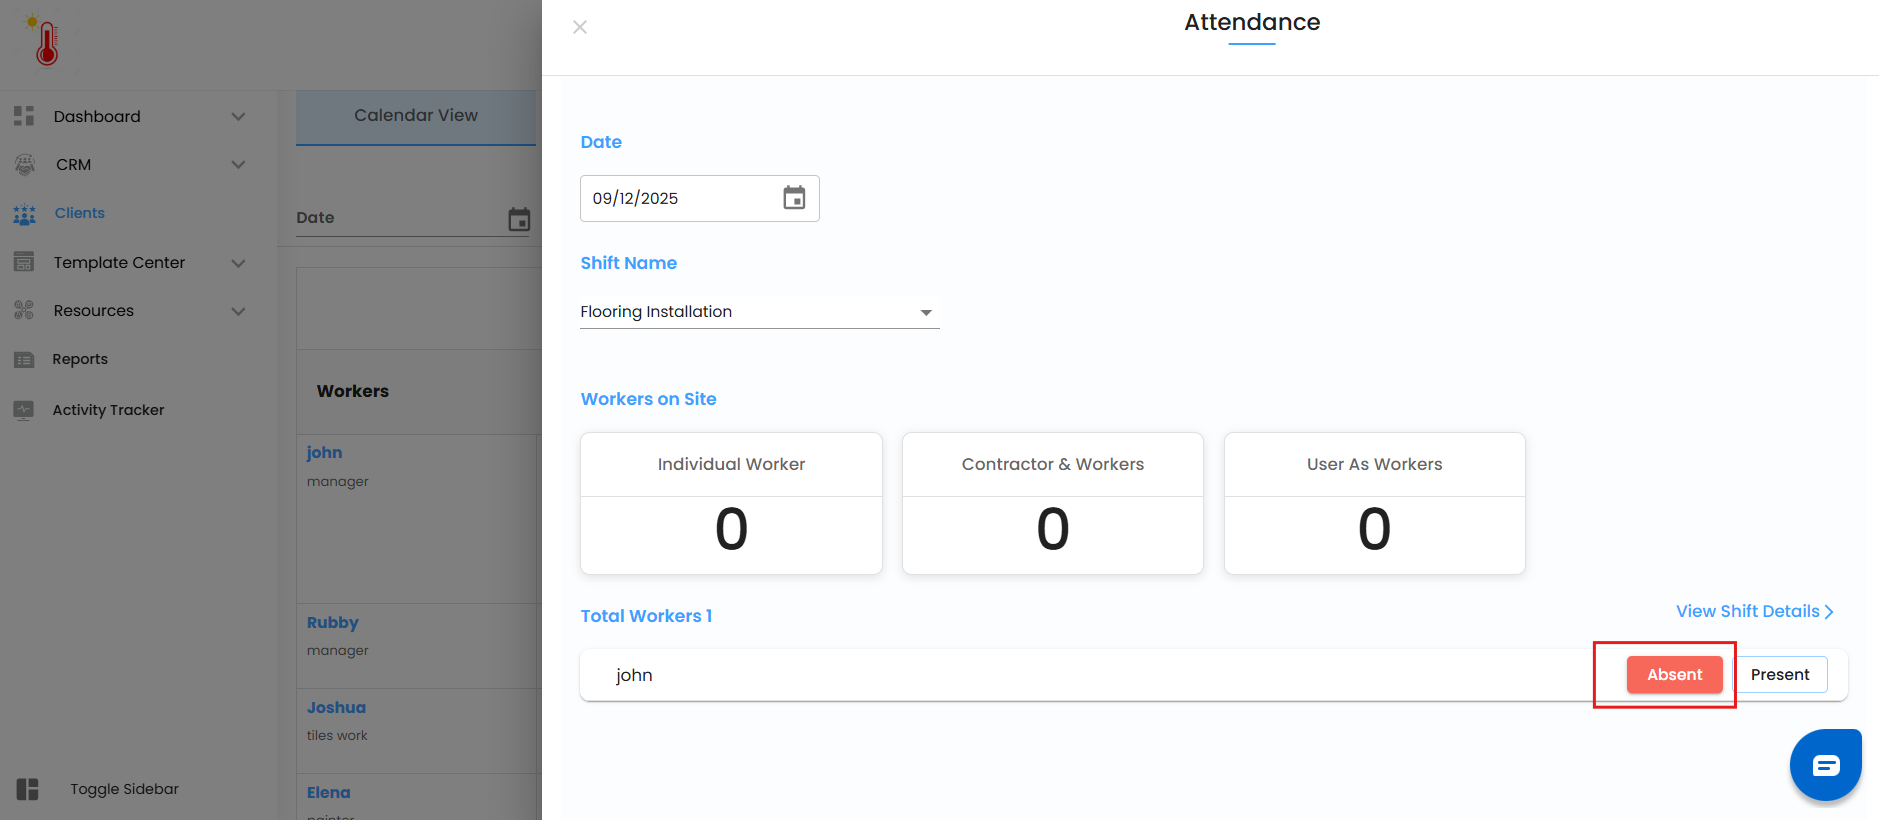
Instant Sync:
Counts update immediately on the worker cards.
Records are automatically saved and sent to Wage Details for payroll.
No manual saving required — attendance is live and always up-to-date.
Logging Overtime (OT)
When a worker is marked Present, you’ll see an Add Overtime button appear:
Click Add Overtime.
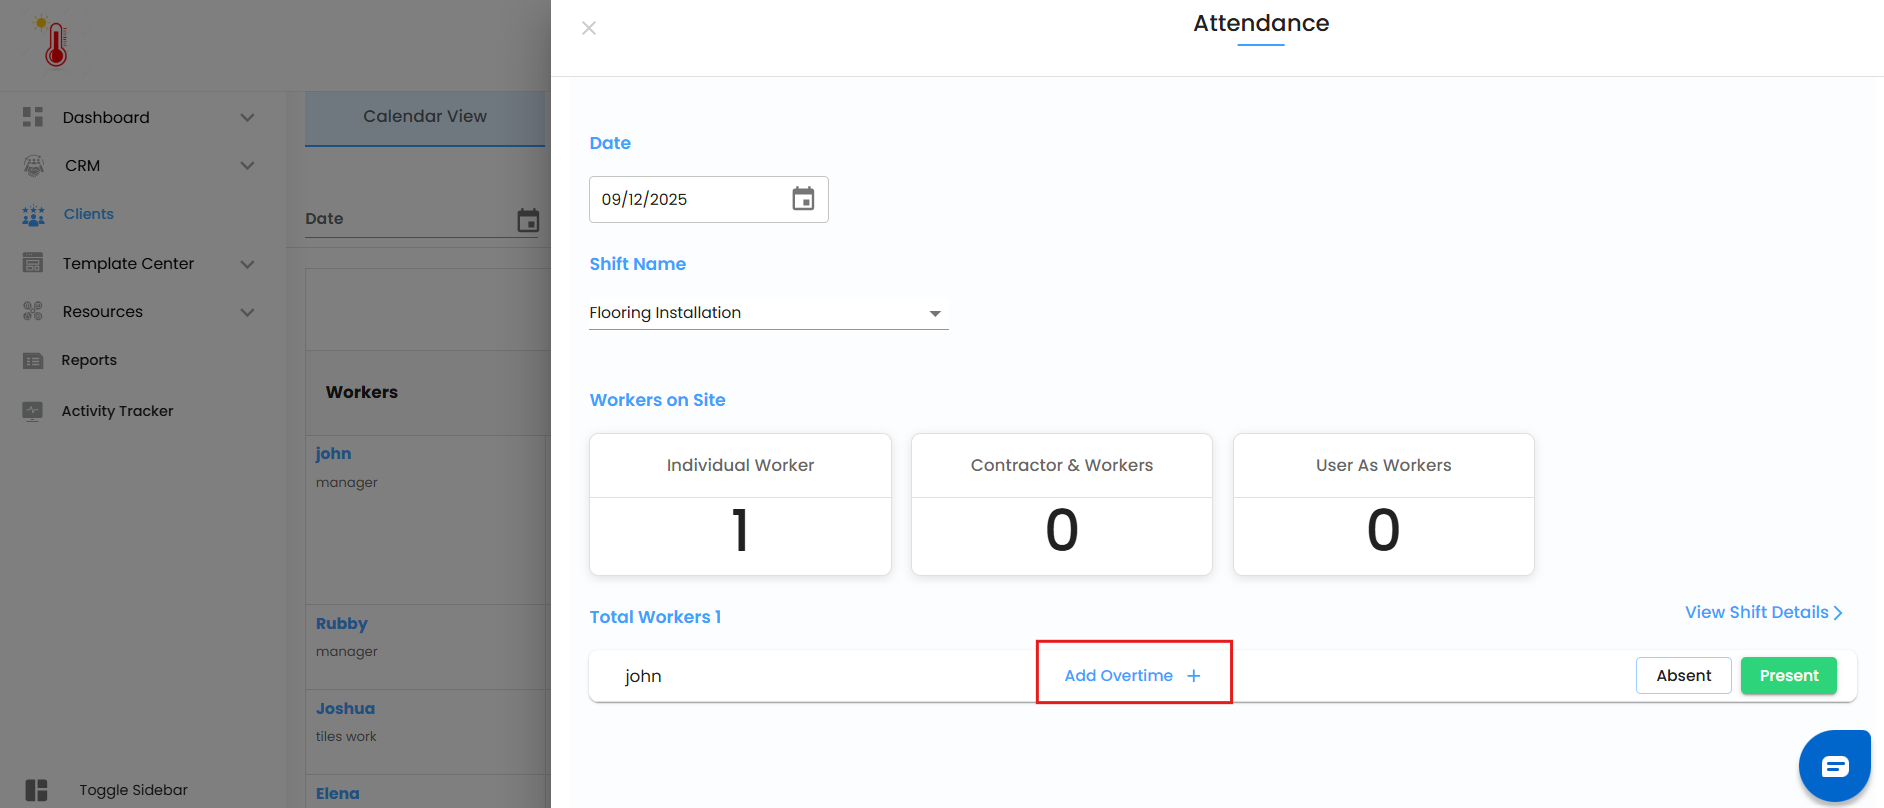
Enter the Hours and Minutes worked beyond shift hours.
Confirm by clicking the Tick Icon.
The system instantly logs this overtime and ties it to Wage Details, ensuring that no extra effort goes unnoticed.
Special Case – Users as Workers
If your organization’s users are also assigned as workers, their attendance works a little differently — it’s powered by Timesheets.
Here’s how it flows:
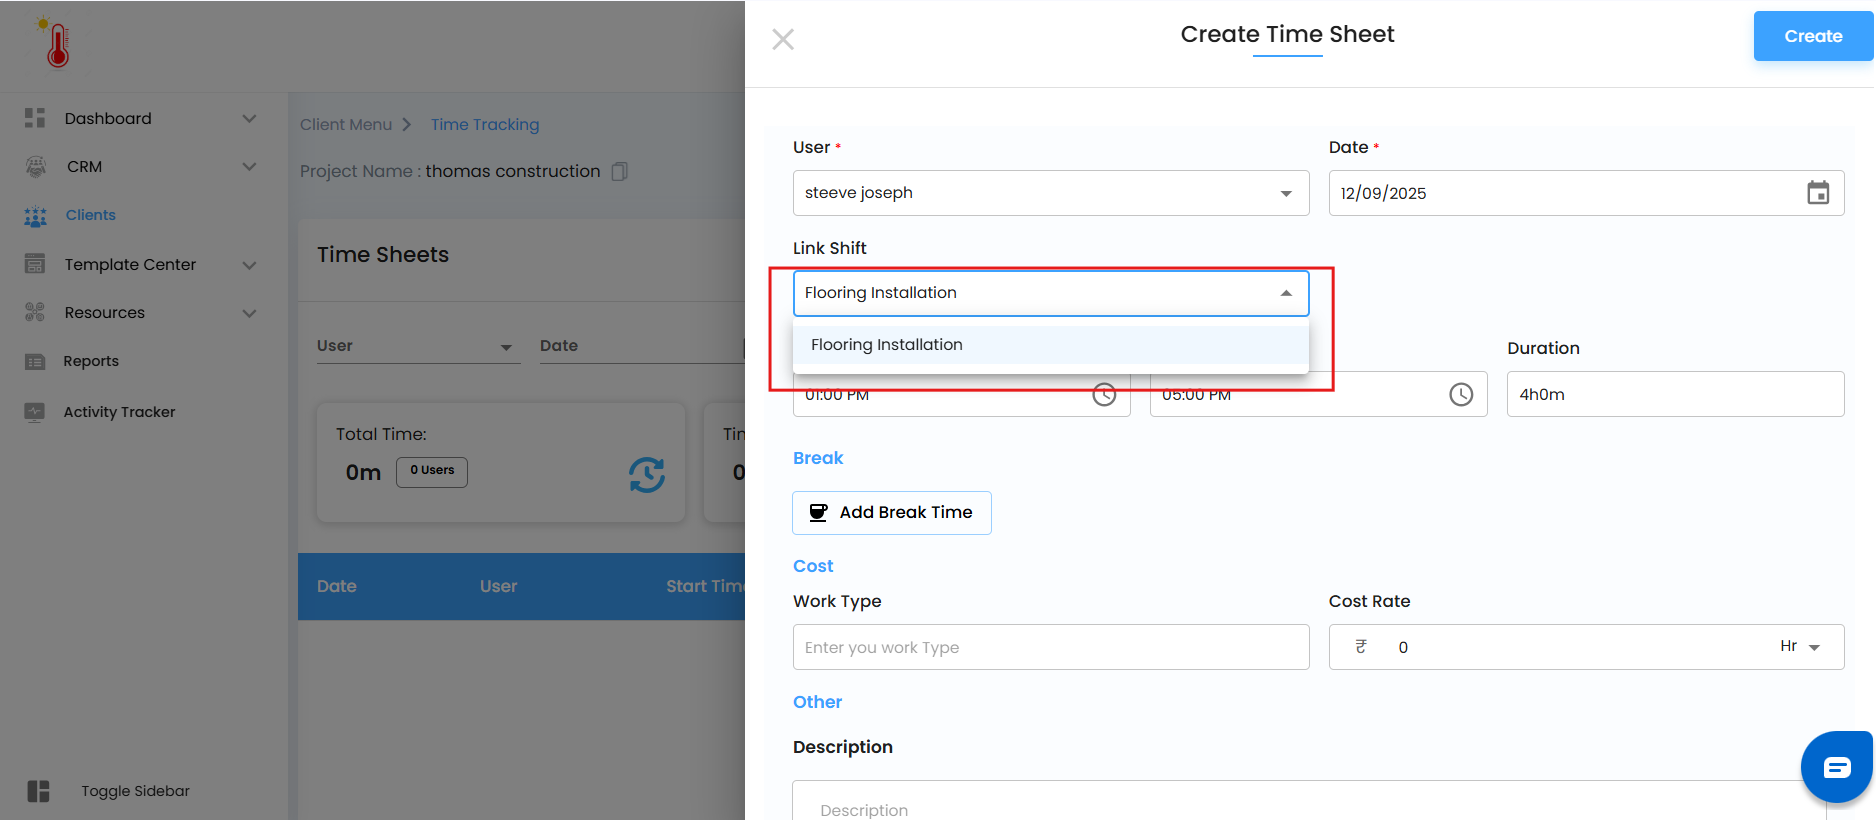
Marking Present → To mark a user as Present, you must create a Timesheet.
Shift Linking → While creating that Timesheet, you need to link it to the correct Shift. This ensures the system knows which shift’s attendance is being tracked.
Timesheet Deleted → If you delete the Timesheet, the user’s status instantly flips back to Absent.
Overtime → No manual entry needed! Overtime is auto-calculated from the Timesheet duration and synced directly into Wage Details.
If you want a step-by-step guide on creating a Timesheet, [click here].
This setup guarantees that user-level attendance is not just accurate, but also time-bound and shift-specific. No mismatches, no guesswork.
What Happens After Attendance is Marked?
Marking attendance isn’t the end — it powers multiple downstream insights:
Wage Details → Attendance + Overtime feed directly into payroll.
Shift Records → Each shift maintains an accurate history of attendance.
Reports & Analytics → Reliable workforce data helps you track productivity, cost, and resource utilization.
Was this article helpful?
That’s Great!
Thank you for your feedback
Sorry! We couldn't be helpful
Thank you for your feedback
Feedback sent
We appreciate your effort and will try to fix the article