Turning Estimates into RFQs – Bridging Plans to Procurement
An estimate in draft or sent status is not the final step—it's just the beginning. Converting an estimate into an RFQ (Request for Quotation) moves you from planning to execution, allowing vendors to submit their quotes and helping you secure the best possible deal. It’s like turning your project blueprint into a actionable request that vendors can respond to.
How to Get There
- Open the Client Menu – From the sidebar, select Client to see your project list.
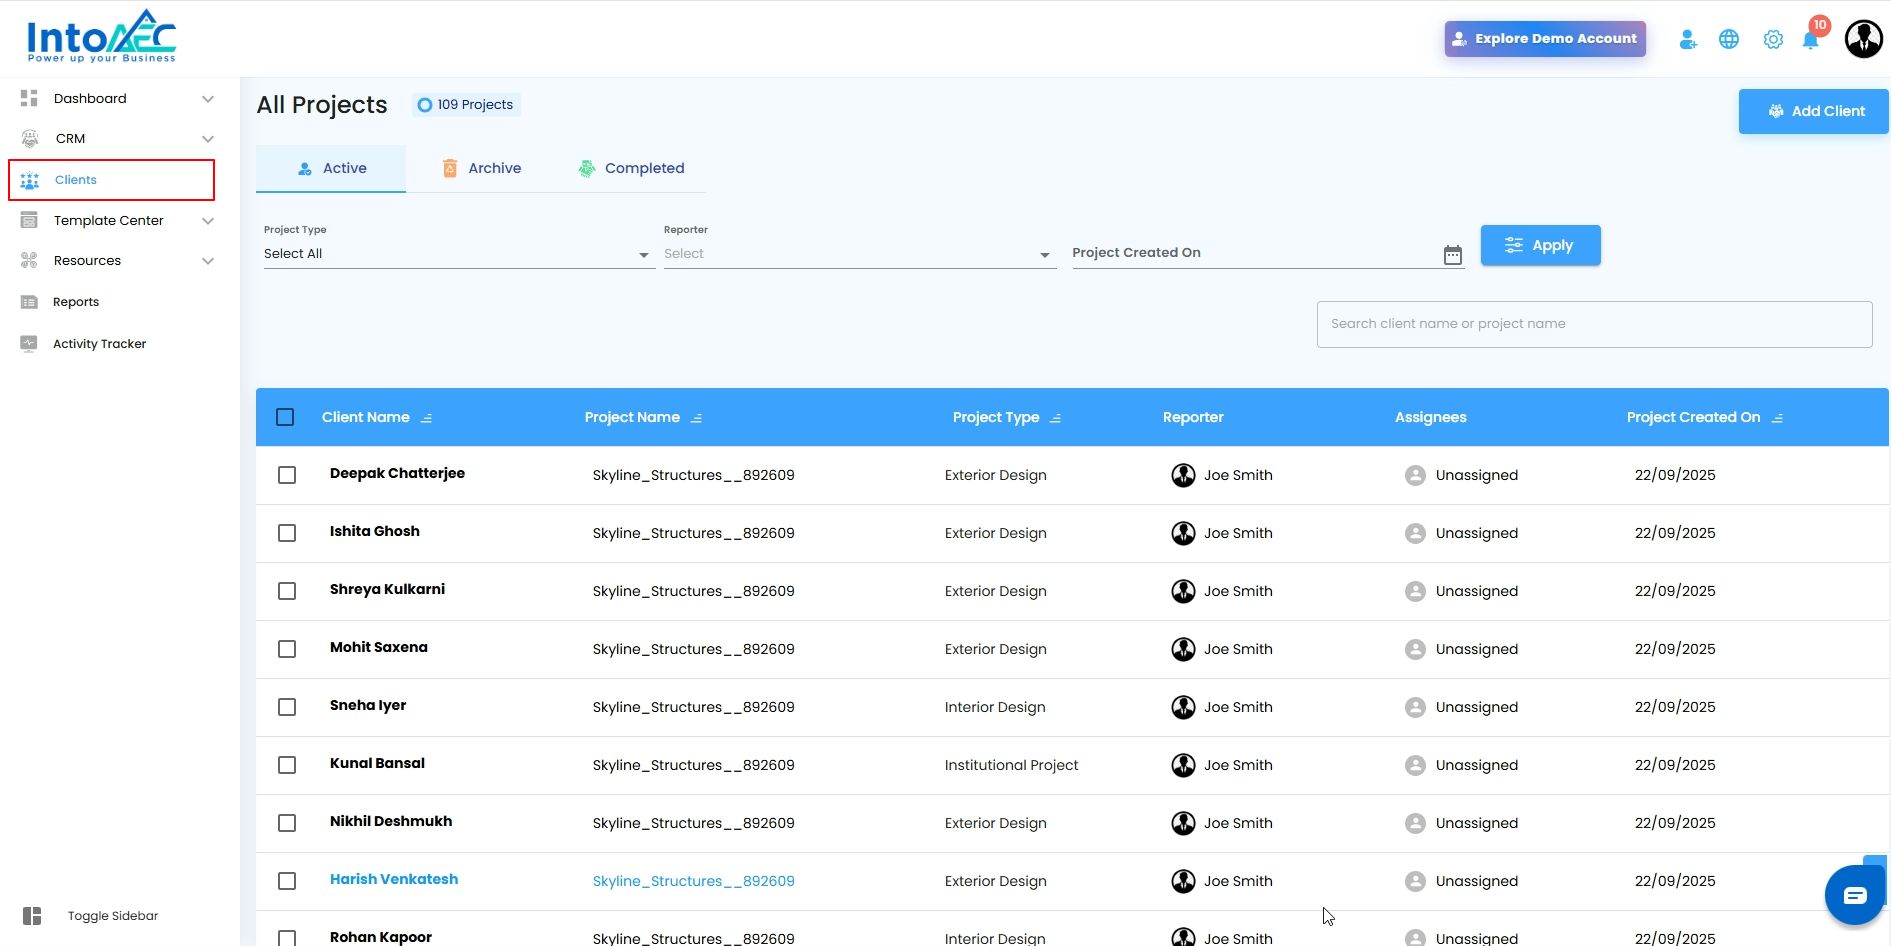
- Choose the Client – Pick the specific client for whom the estimate has been accepted.
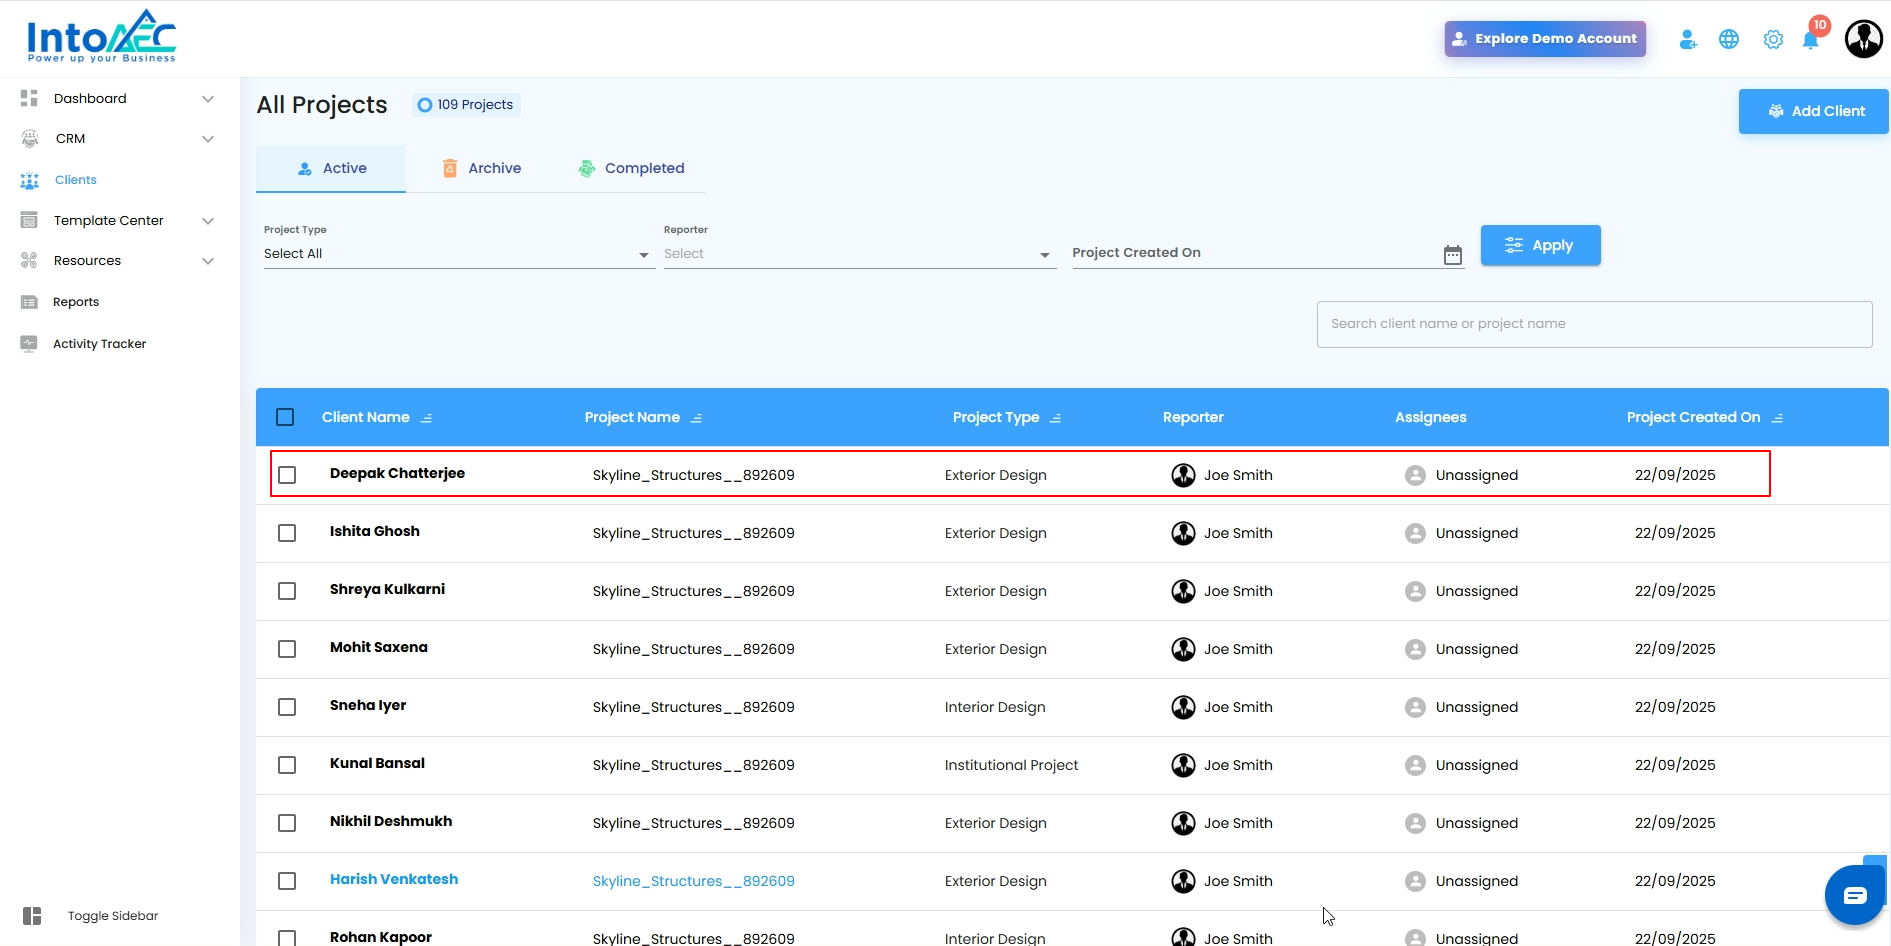
- Go to Procurement > RFQ.

Step 2: Create a New RFQ
- Click on the “Create RFQ” button.
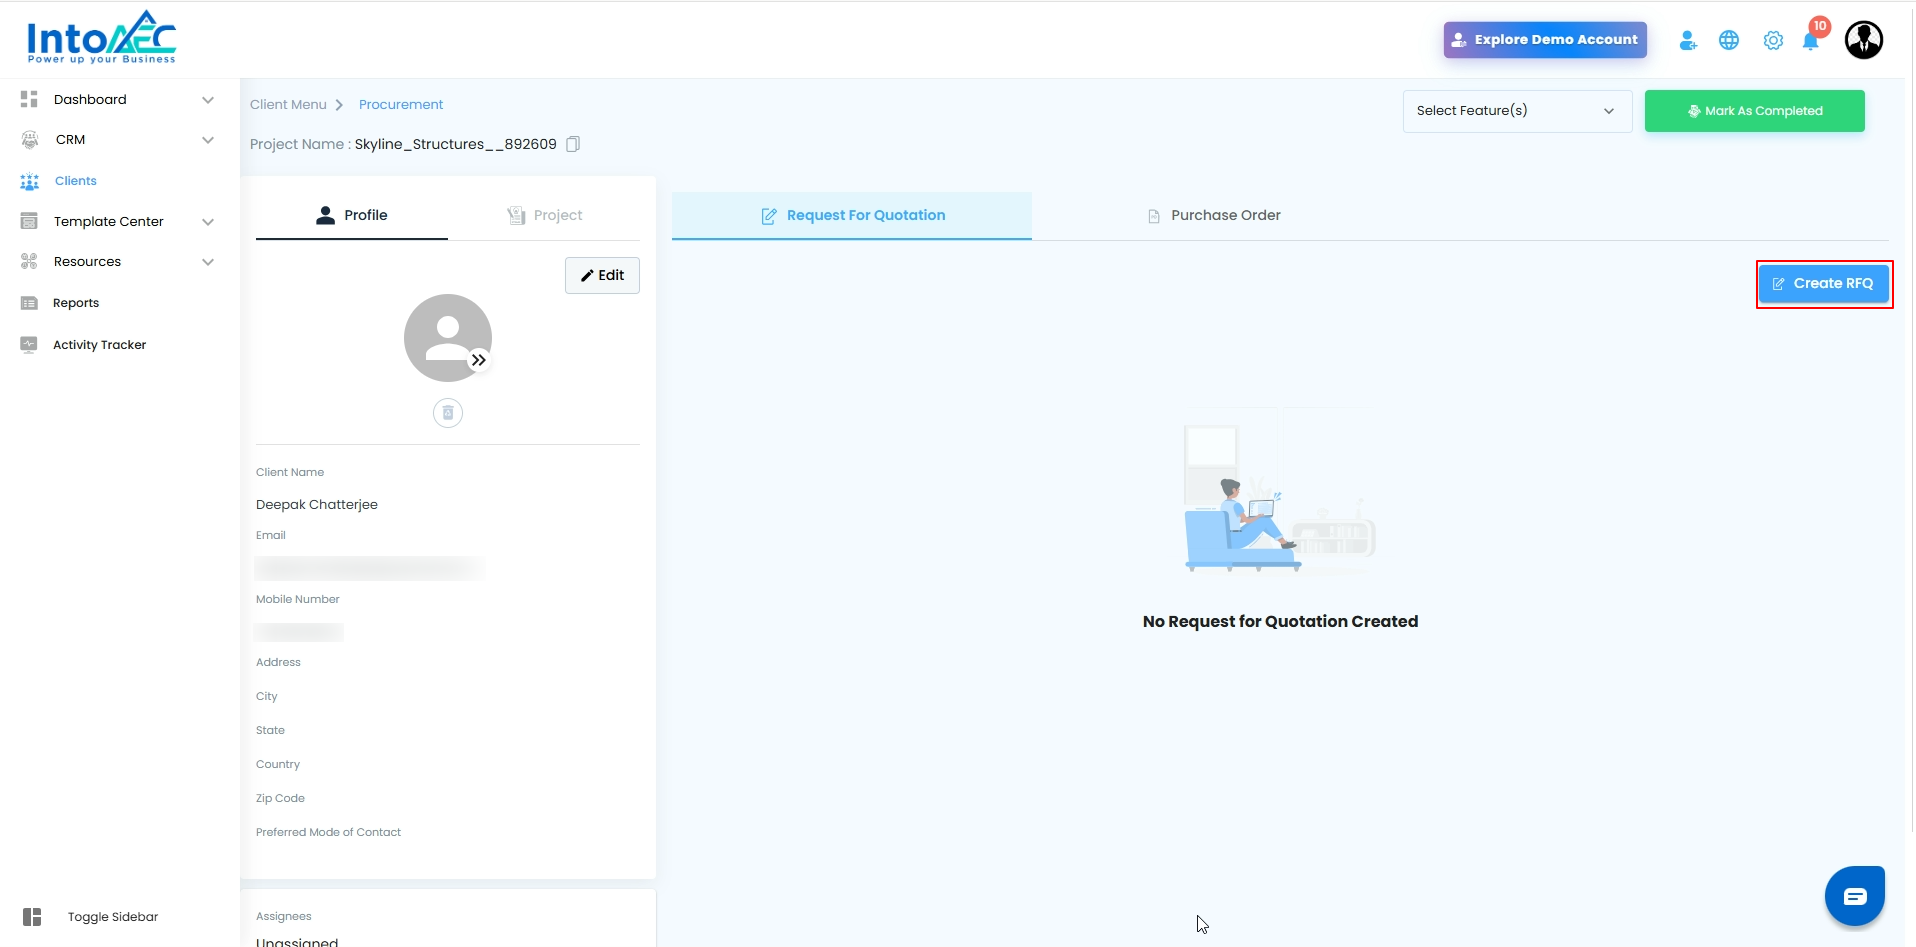
- This action will open the RFQ creation process, where you’ll start building the request.
Pro Tip: Always confirm that you’re working under the correct client and project before creating an RFQ to prevent duplicate or misplaced requests.
Step 3: Select RFQ Type
- In the RFQ creation window, you’ll be asked to choose how you want to create the RFQ.
- Select “Start from Estimate” as the RFQ type.
- Once selected, click on “Proceed” to move forward.
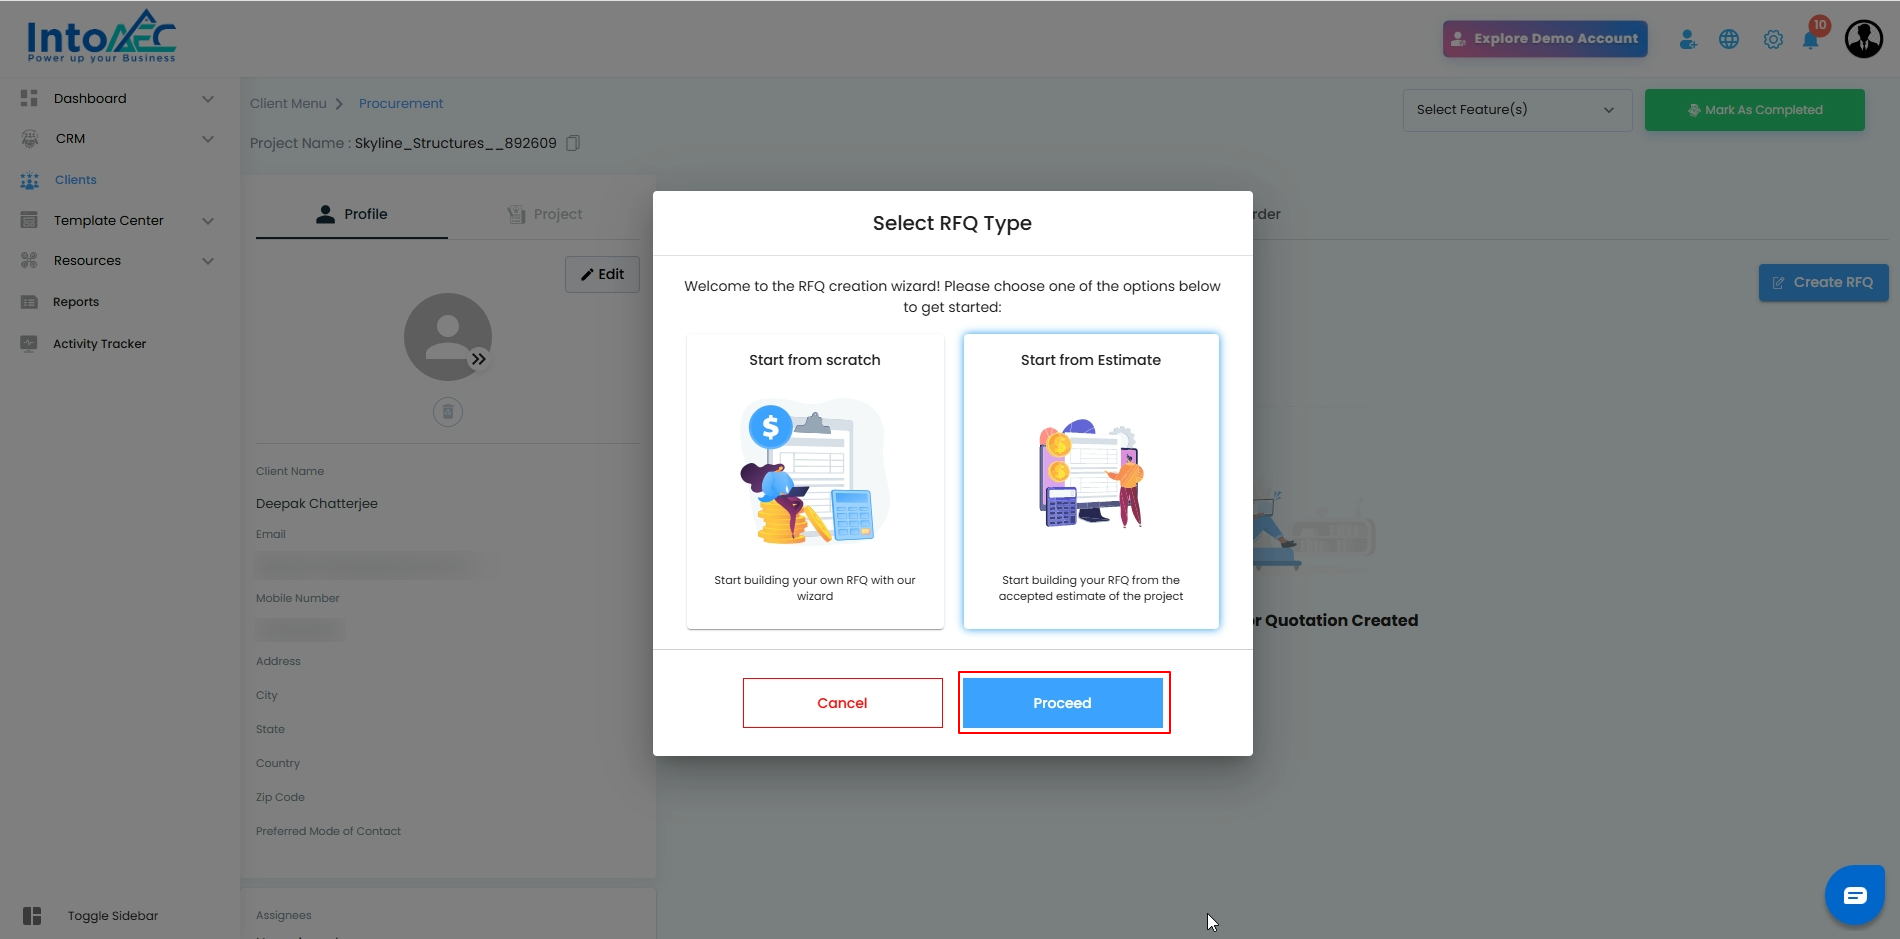
Pro Tip: Starting from an accepted estimate ensures accuracy, as all the pre-approved details (items, quantities, and pricing) will flow directly into your RFQ without manual re-entry.
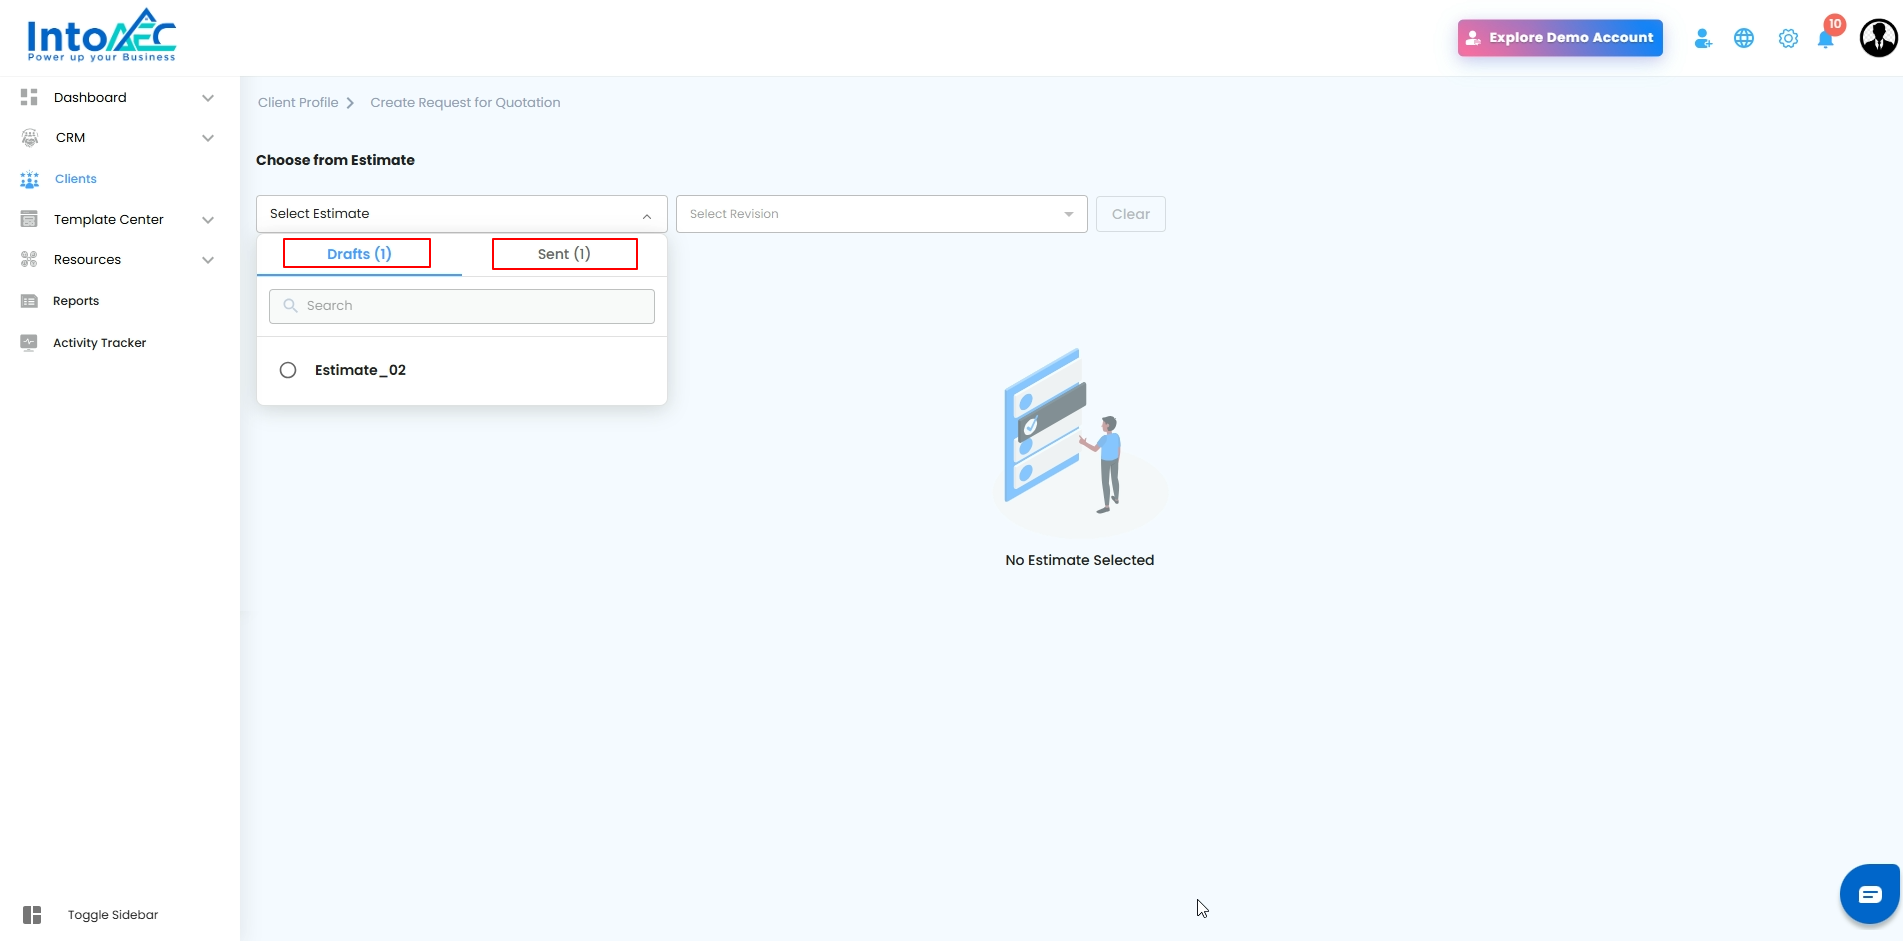
Step 4: Select the Estimate Type and Apply
- At this stage, you need to decide how you want to create or view your estimate. The system may offer different types of estimates, such as:
- Drafts – Estimates that are still being worked on.
- Sent – Estimates that have already been shared with the client.
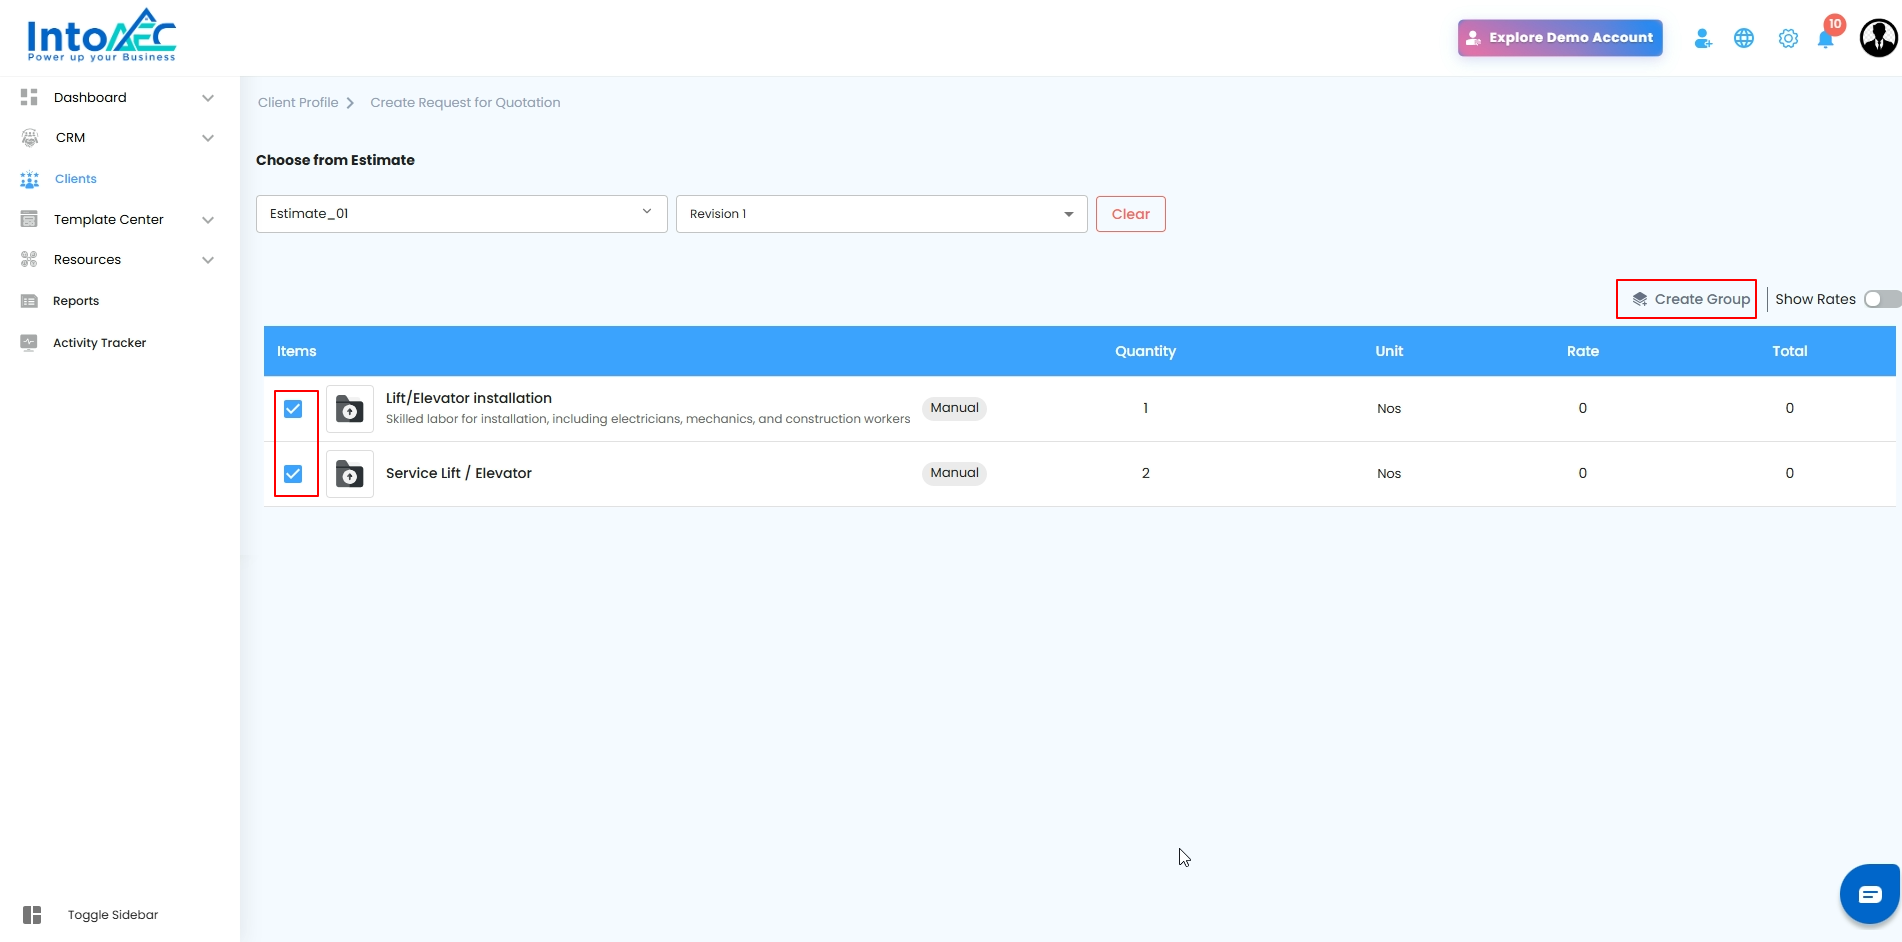
Step 5: Select Items and Create a Group
Think of this step as organizing your tools on a workbench—everything you need in one neat pile, ready to go.
What You Can Do Here
- Browse Items – Scroll through the list of available items in your estimate.
- Select Items – Pick a single item or multiple items depending on your project needs.
- Create a Group – Click the “Create Group” button, and your selected items are bundled together for easier management.
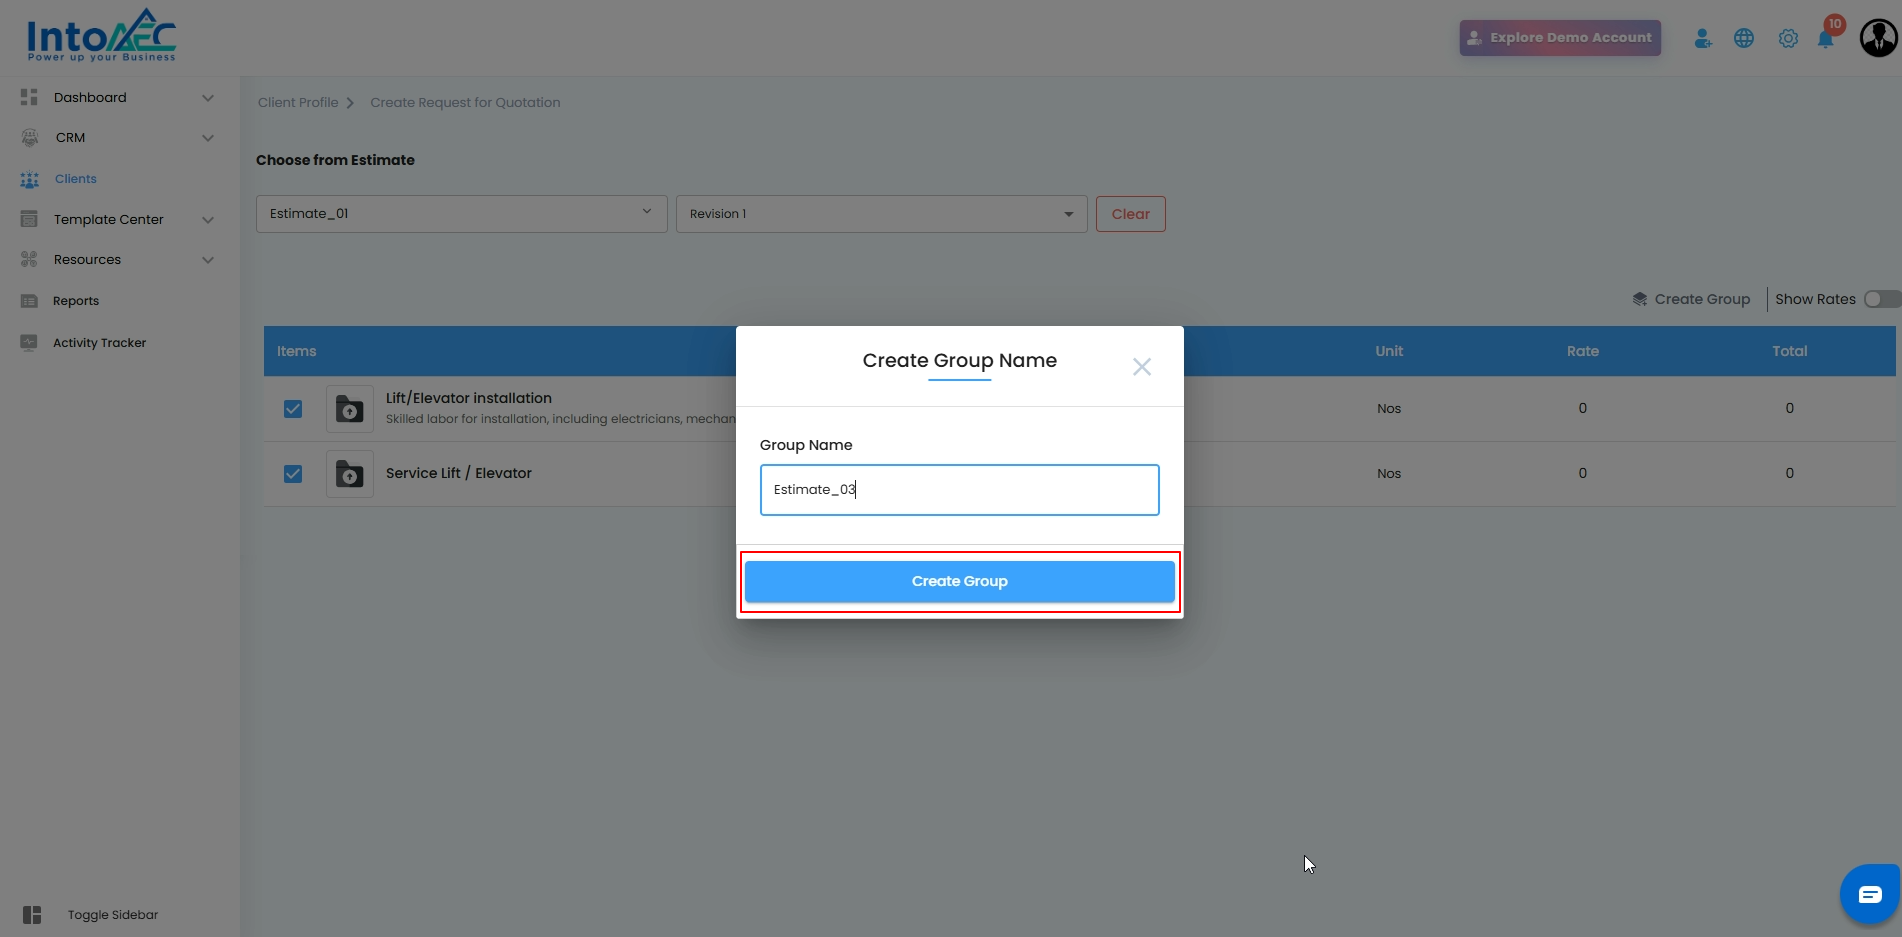
Step 6: Name Your Group and Confirm
This step is like giving your toolbox a label—so everyone knows what’s inside without opening it.
What You Can Do Here
- Enter a Group Name – In the pop-up window, type a meaningful name for your group. Make it descriptive so it’s easy to identify later.
- Click “Create Group” – Once named, hit the button to finalize. Your selected items are now officially grouped and ready for use.
Step 7: View Your Group and Generate an RFQ
Think of this step as putting your labeled toolbox on the shelf—now everything is neatly organized and ready for action.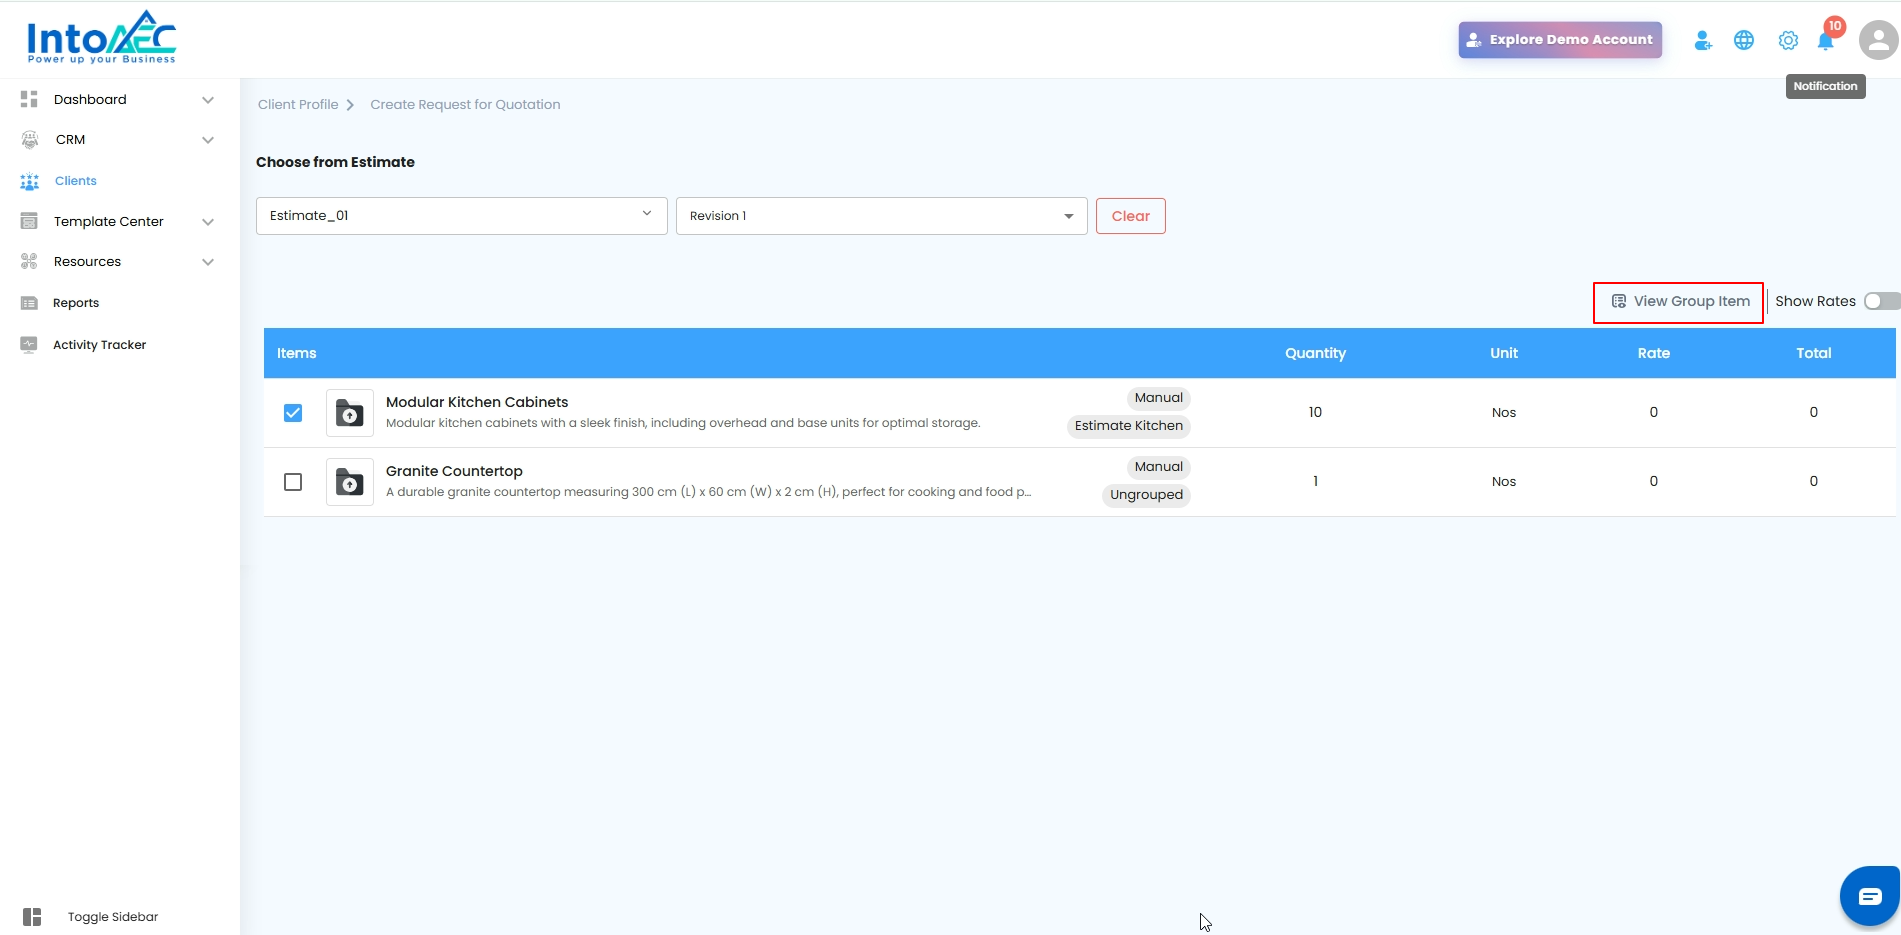
What You Can Do Here
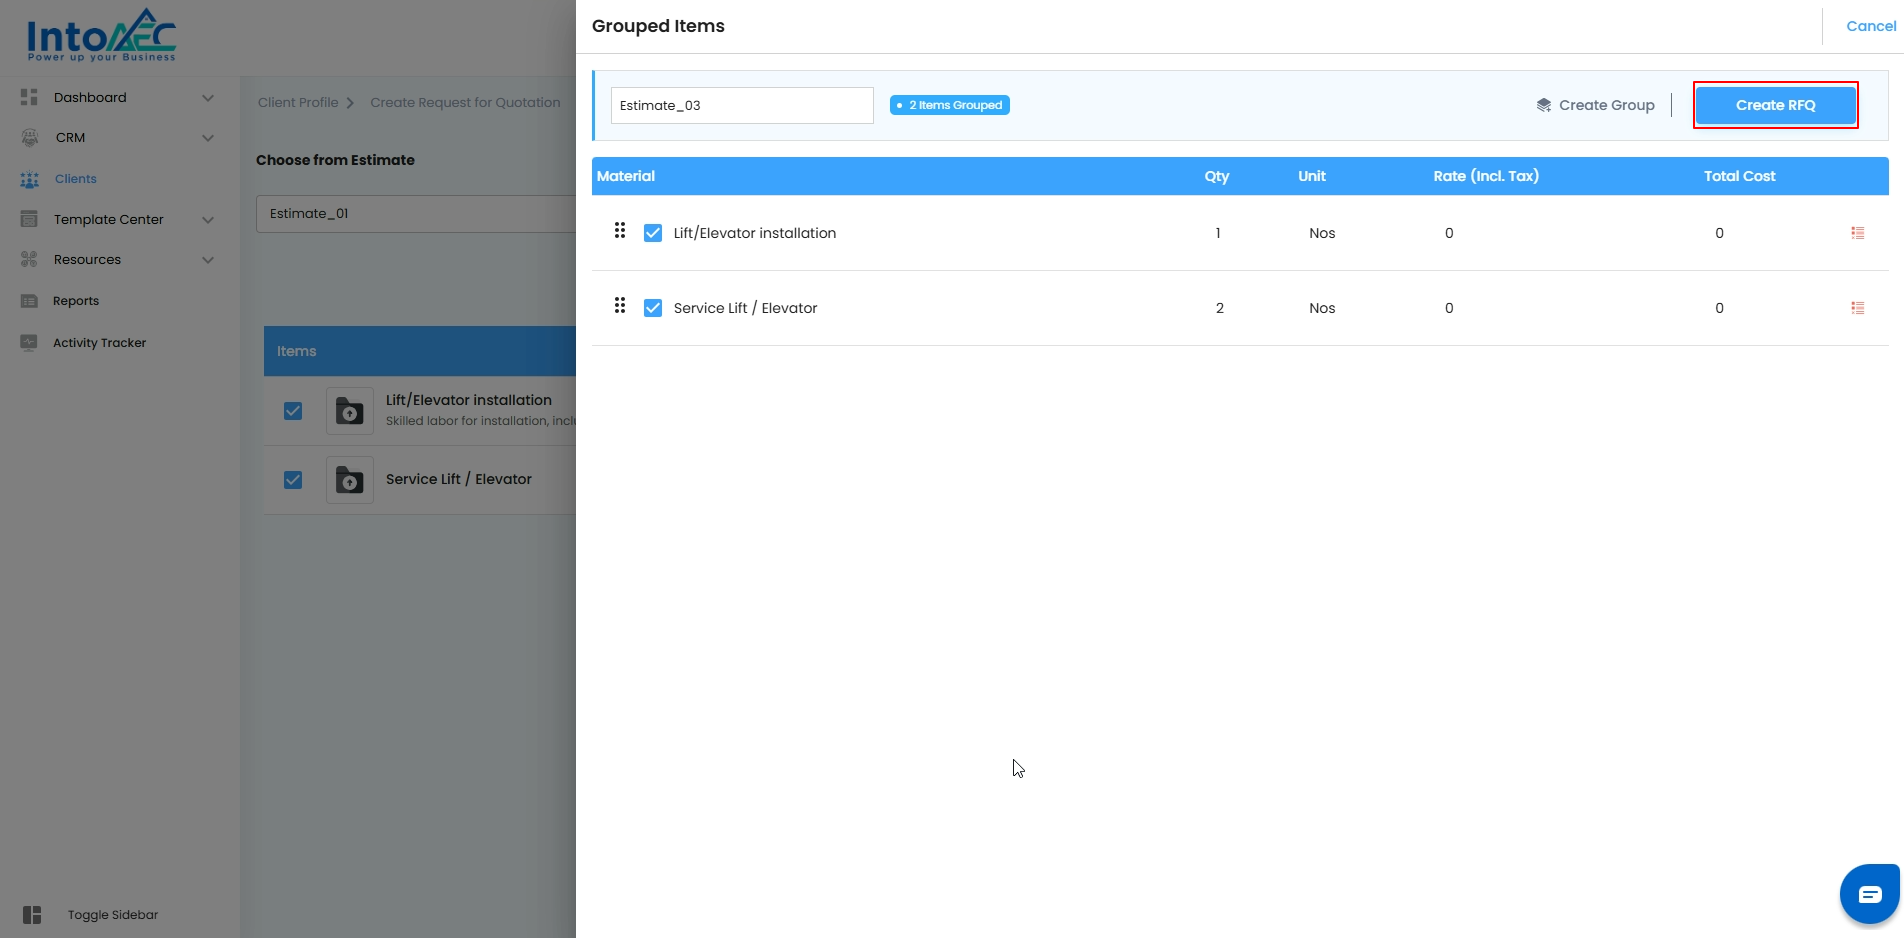
- See Your Group – Once created, your group appears in the Grouped Items off-canvas page, giving you a clear view of all items included.
- Generate an RFQ – From the same page, you can immediately create a Request for Quotation (RFQ) using the grouped items, saving time and keeping everything connected.
Step 8: Create the RFQ from Your Group
This step is like pressing the launch button—your organized group of items is now ready to become an official Request for Quotation.
What You Can Do Here
- Click the “Action” Button – On the Grouped Items page, find the Action button for the group you want to process.
- Select “Create RFQ” – Choose this option to start generating a Request for Quotation directly from your grouped items.
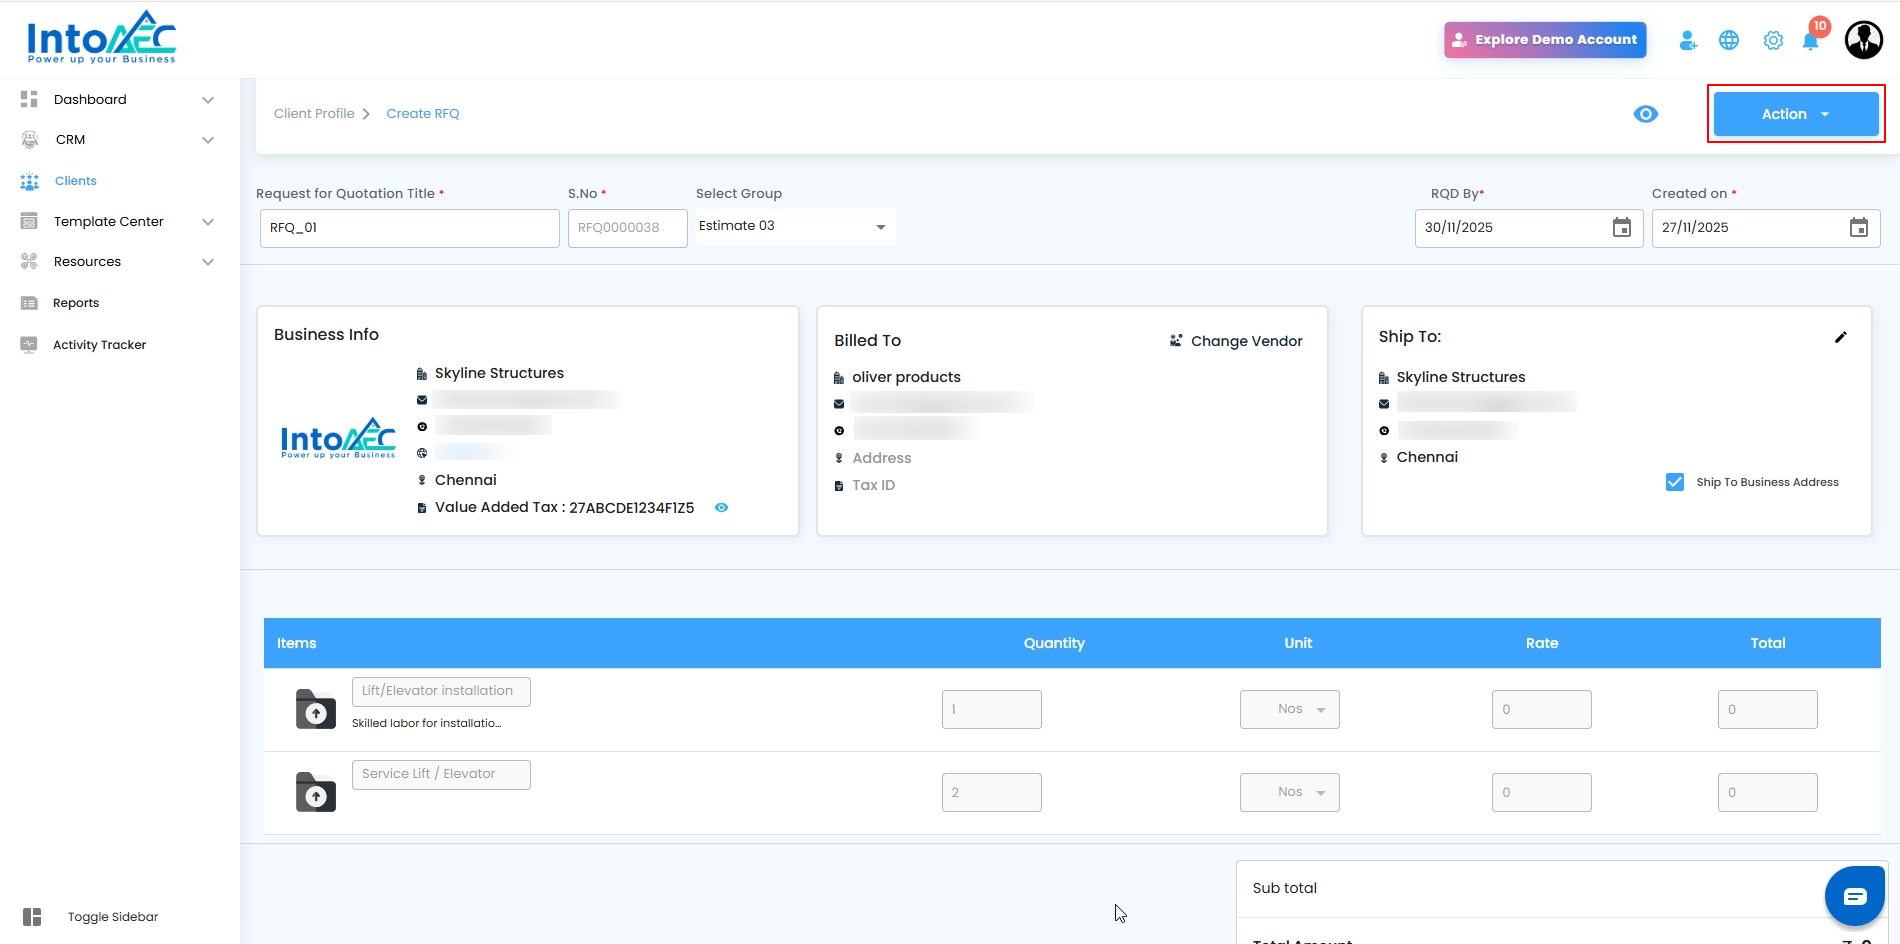
Step 9: Access Your Newly Created RFQ
After the RFQ is created, it will be listed in the RFQ section for further processing.
What to Do
Locate Your RFQ – Open the RFQ section to view the newly created request.
Add Attachments – You can add upto 4 attachments and Notes for the vendor to view.
Send the RFQ by Email – Click the Action button beside the RFQ and choose Compose Email.
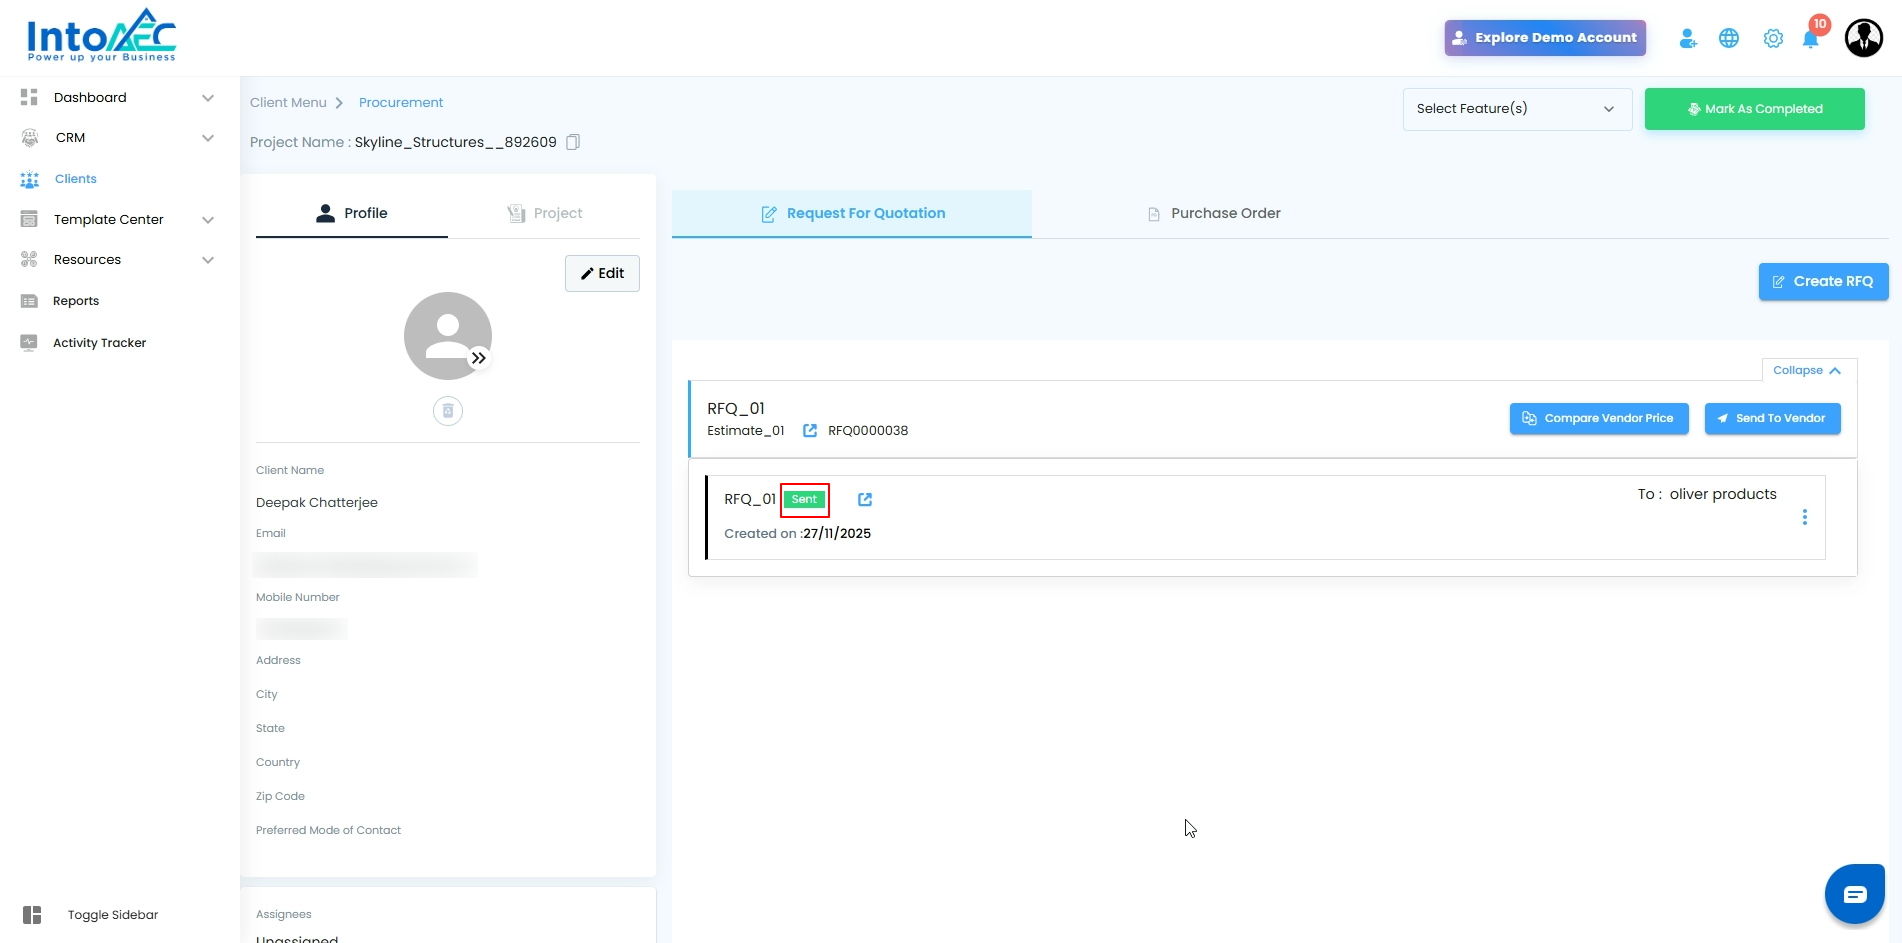
 Once the email is sent, the RFQ status will automatically update to Sent.
Pro Tip: Regularly check the RFQ section to track status updates and vendor responses, so your project stays on schedule without delays.
Was this article helpful?
That’s Great!
Thank you for your feedback
Sorry! We couldn't be helpful
Thank you for your feedback
Feedback sent
We appreciate your effort and will try to fix the article