Managing Assets: Actions You Can Take After Creation
Once you’ve successfully created an asset in Manage Assets, you don’t stop there! The platform gives you a range of powerful tools to edit, track, and even delete assets whenever needed. All of these options are available through the three-dots action menu (⋮) beside each asset record.
Here’s a breakdown of what you can do after an asset is created:
Edit Asset (Update Existing Information)
Click on the three-dots action menu next to the asset.
Select Edit.
The Edit Asset Half-Canvas Page will slide open.

Here, you can update important details such as:
Asset Name – Adjust naming conventions for clarity.
Category – Reassign to the correct asset category.
Description – Add or refine notes about specifications or usage.
Asset Type – Change from Individual to Bulk if needed.
Ownership Type – Switch between Owned or Rented.
Contractor – If rented, update or assign contractor details.
Cost Parameters – Edit cost values per hour, week, or month.
Quantity – For bulk assets, update the number of available units.
Attachments – Upload or replace supporting documents.

After making changes, click Update.
The system will refresh, and the All Assets List Page will display the updated details instantly.
Why use it? Editing ensures that asset data remains accurate, relevant, and useful for future allocation or reporting.
Download QR Code (For Easy Tracking)
From the action menu, click on Download QR.
The system will generate a unique QR code for the asset.
Save or print this QR code.

Use the QR code in the field to:
Collect assets – Site team members can scan the code to mark the asset as collected.
Return assets – When the asset is sent back, scanning the QR code updates its status.
QR codes eliminate manual search and speed up the entire asset movement workflow.
Why use it? QR codes turn your asset management into a smart, paperless process, cutting down errors and saving time.
Delete Asset (Remove from System)
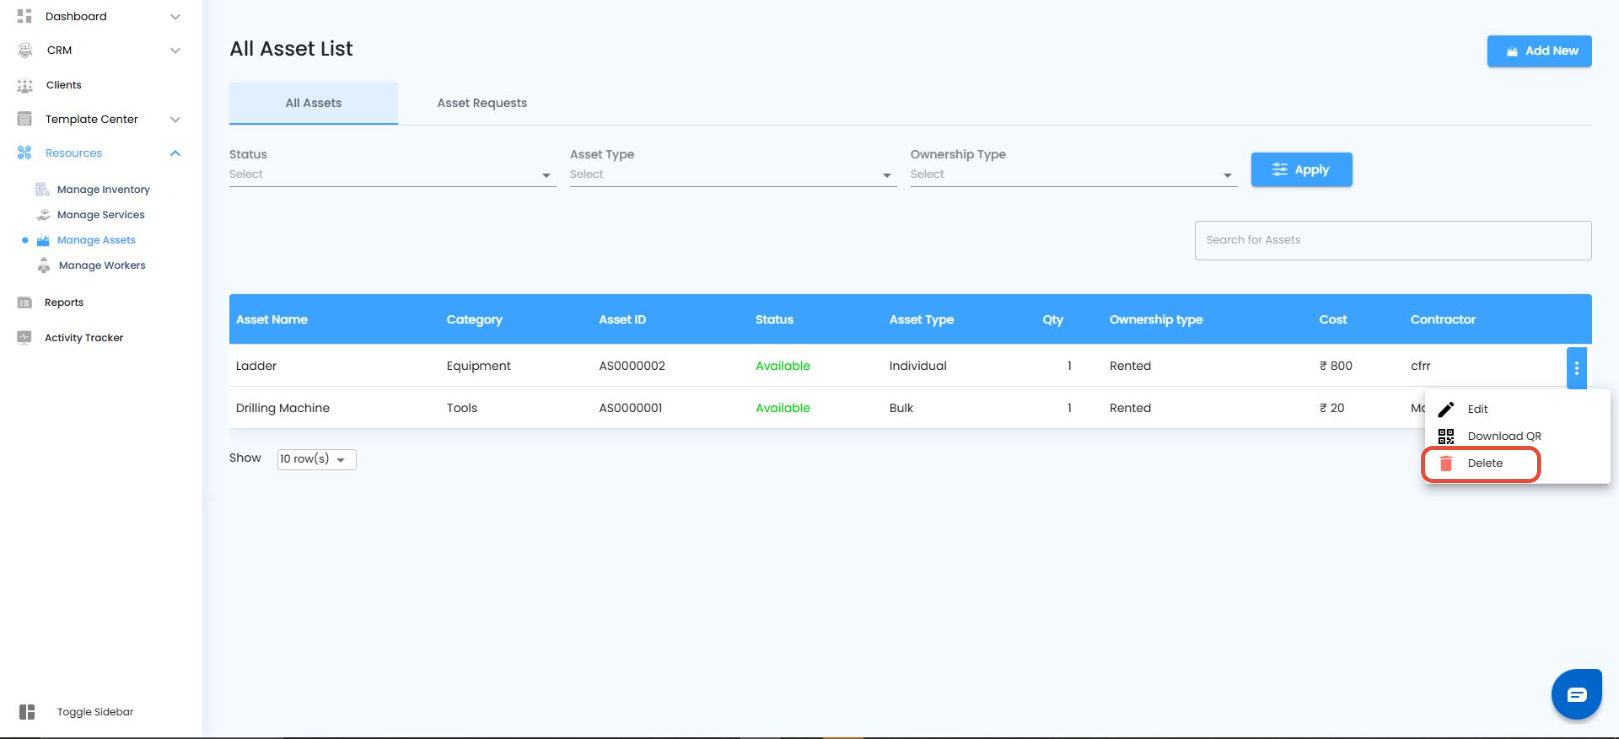
Click on the Delete option from the action menu.
A confirmation popup will appear to prevent accidental deletions.
It will display:
“Are you sure you want to delete this asset?”
In the popup, enter a reason for deletion in the provided text field (e.g., Asset damaged beyond repair, Duplicate entry, No longer in use).
Click Yes to confirm.
Important Rule:
If the asset is currently “In Use” (allocated to a project or site), it cannot be deleted.
You will need to first return or release the asset from active use before attempting deletion.
Why use it? Deletion keeps your records clean and accurate, but this safeguard ensures you never lose track of assets that are still actively assigned.
Was this article helpful?
That’s Great!
Thank you for your feedback
Sorry! We couldn't be helpful
Thank you for your feedback
Feedback sent
We appreciate your effort and will try to fix the article