Where to access Clipped Products:
The IntoAEC Product Clipper lets you capture and save product details directly from any website into your Manage Inventory section. This tool helps you quickly build your product library without manual entry.
Step 1: Access the Product Clipper
Navigate to Resources → Manage Inventory → Clipped Products.

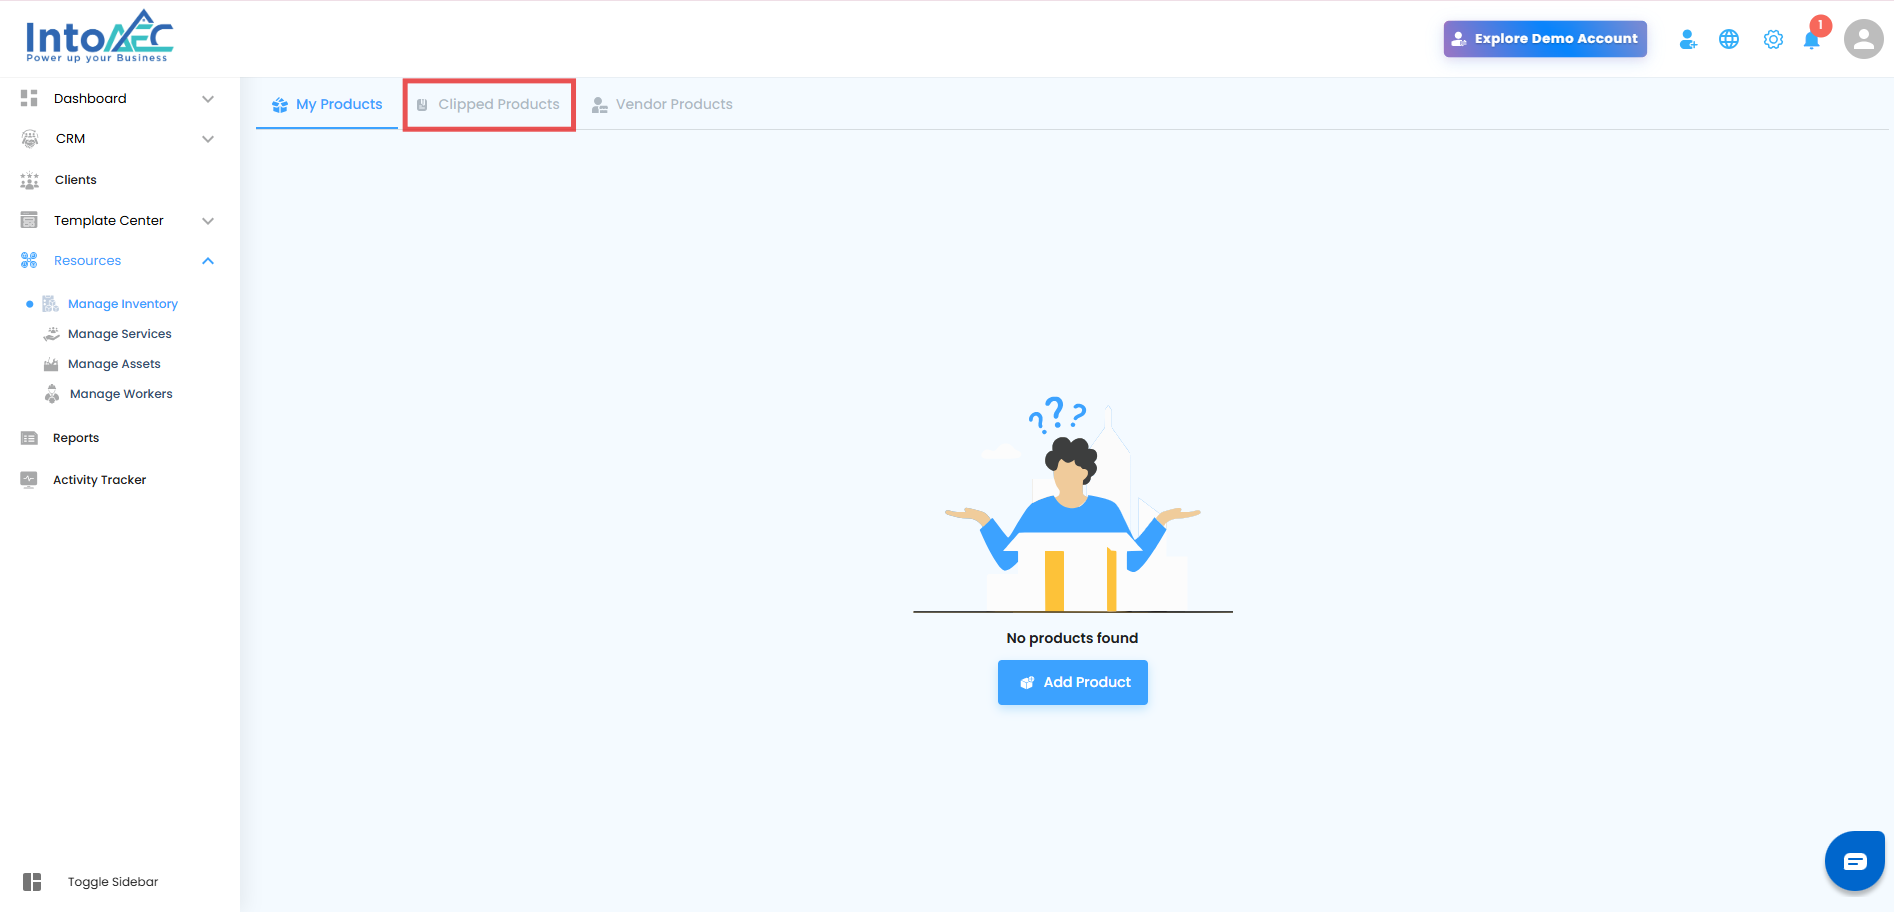
If no products have been clipped yet, click “Click here to download the Product Clipper” to begin the setup.

Step 2: Install and Pin the Extension
After downloading, install the IntoAEC Product Clipper extension in your browser.

Pin it to your browser toolbar for quick and easy access.
Step 3: Log In to the Product Clipper
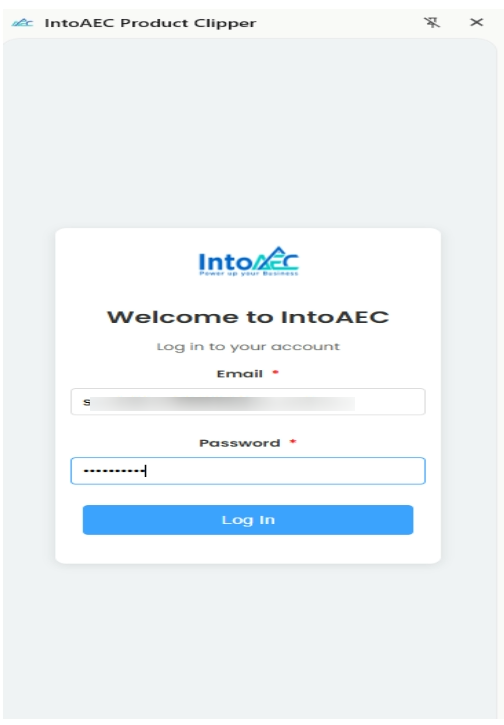
Open the IntoAEC Product Clipper extension.
Log in using your IntoAEC account credentials.
Step 4: Clip Products from Any Website
Visit any website where you want to capture product details.
Open the Product Clipper extension.
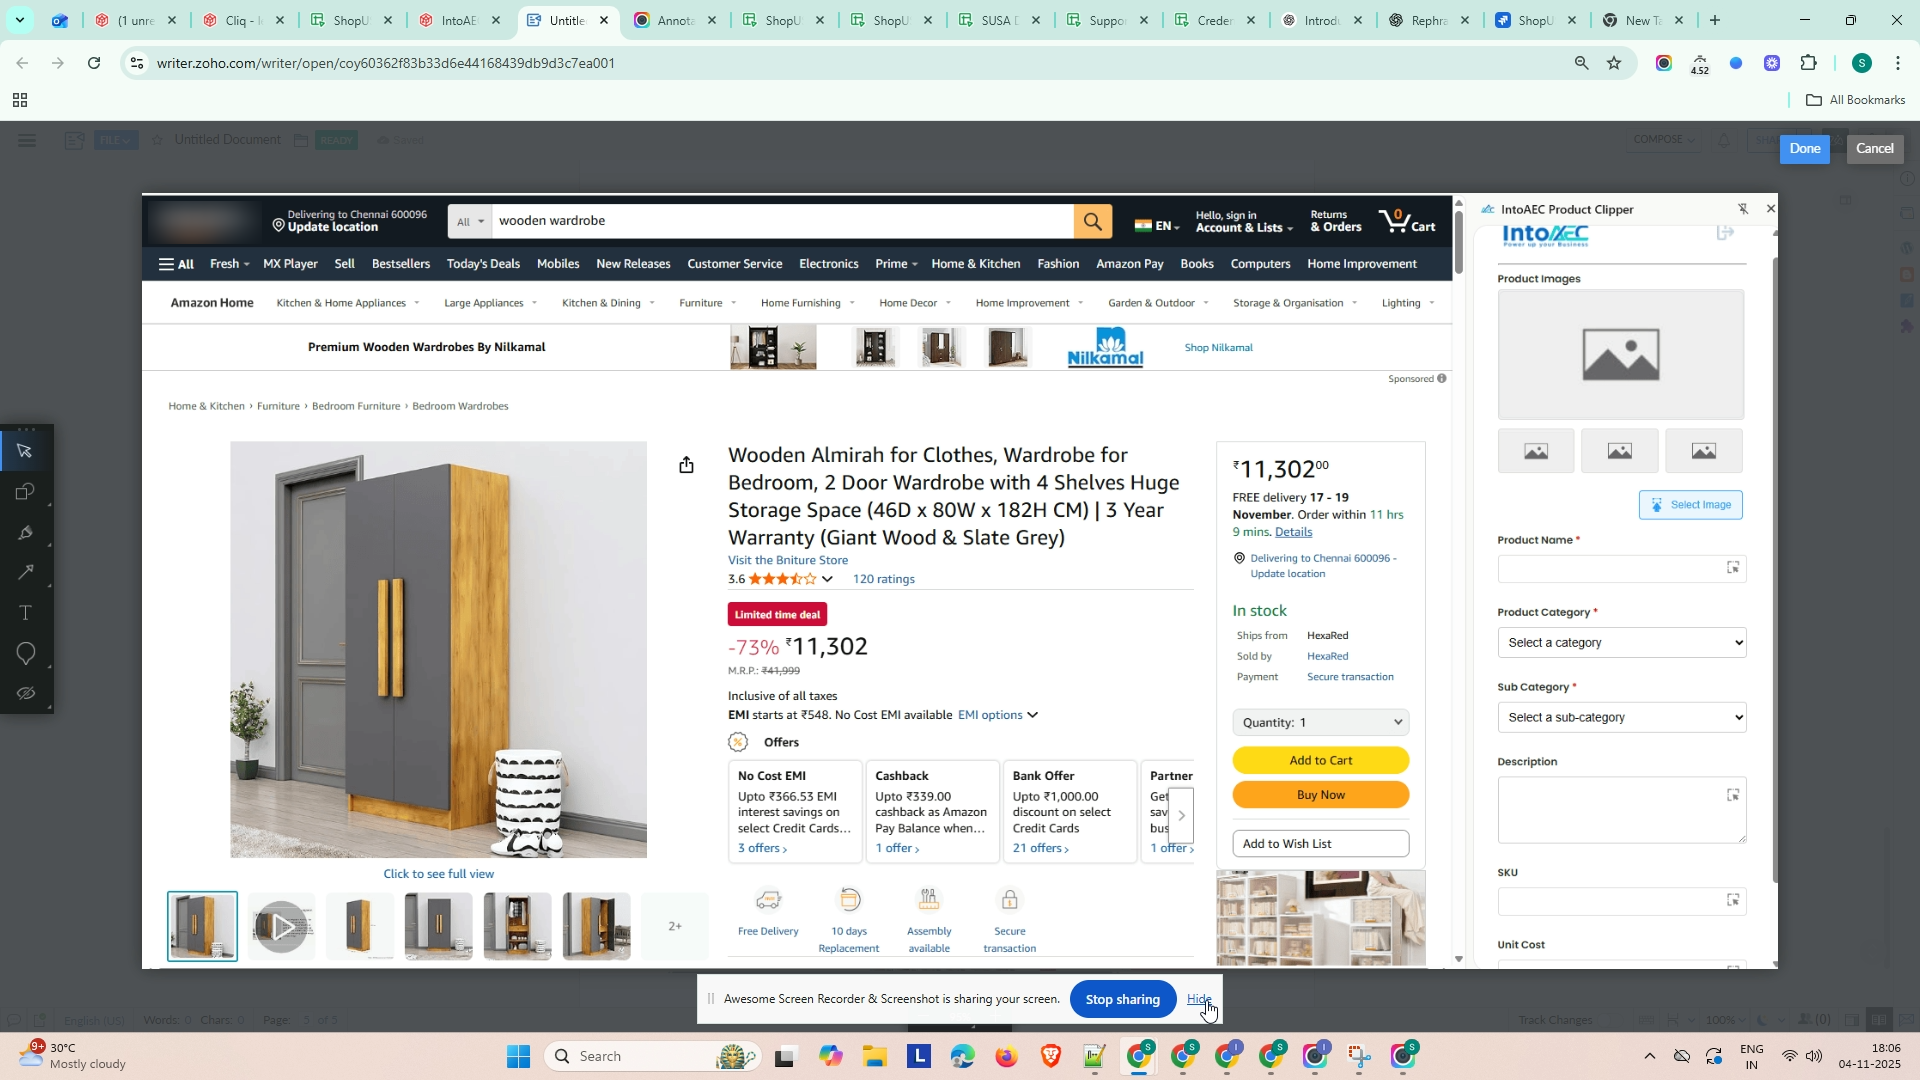
Select by clicking on the website/ fill in the required product (optional) details, including:
Product Image
Category
Sub-category
Unit Cost
Click Save to add the product to your clipped list.

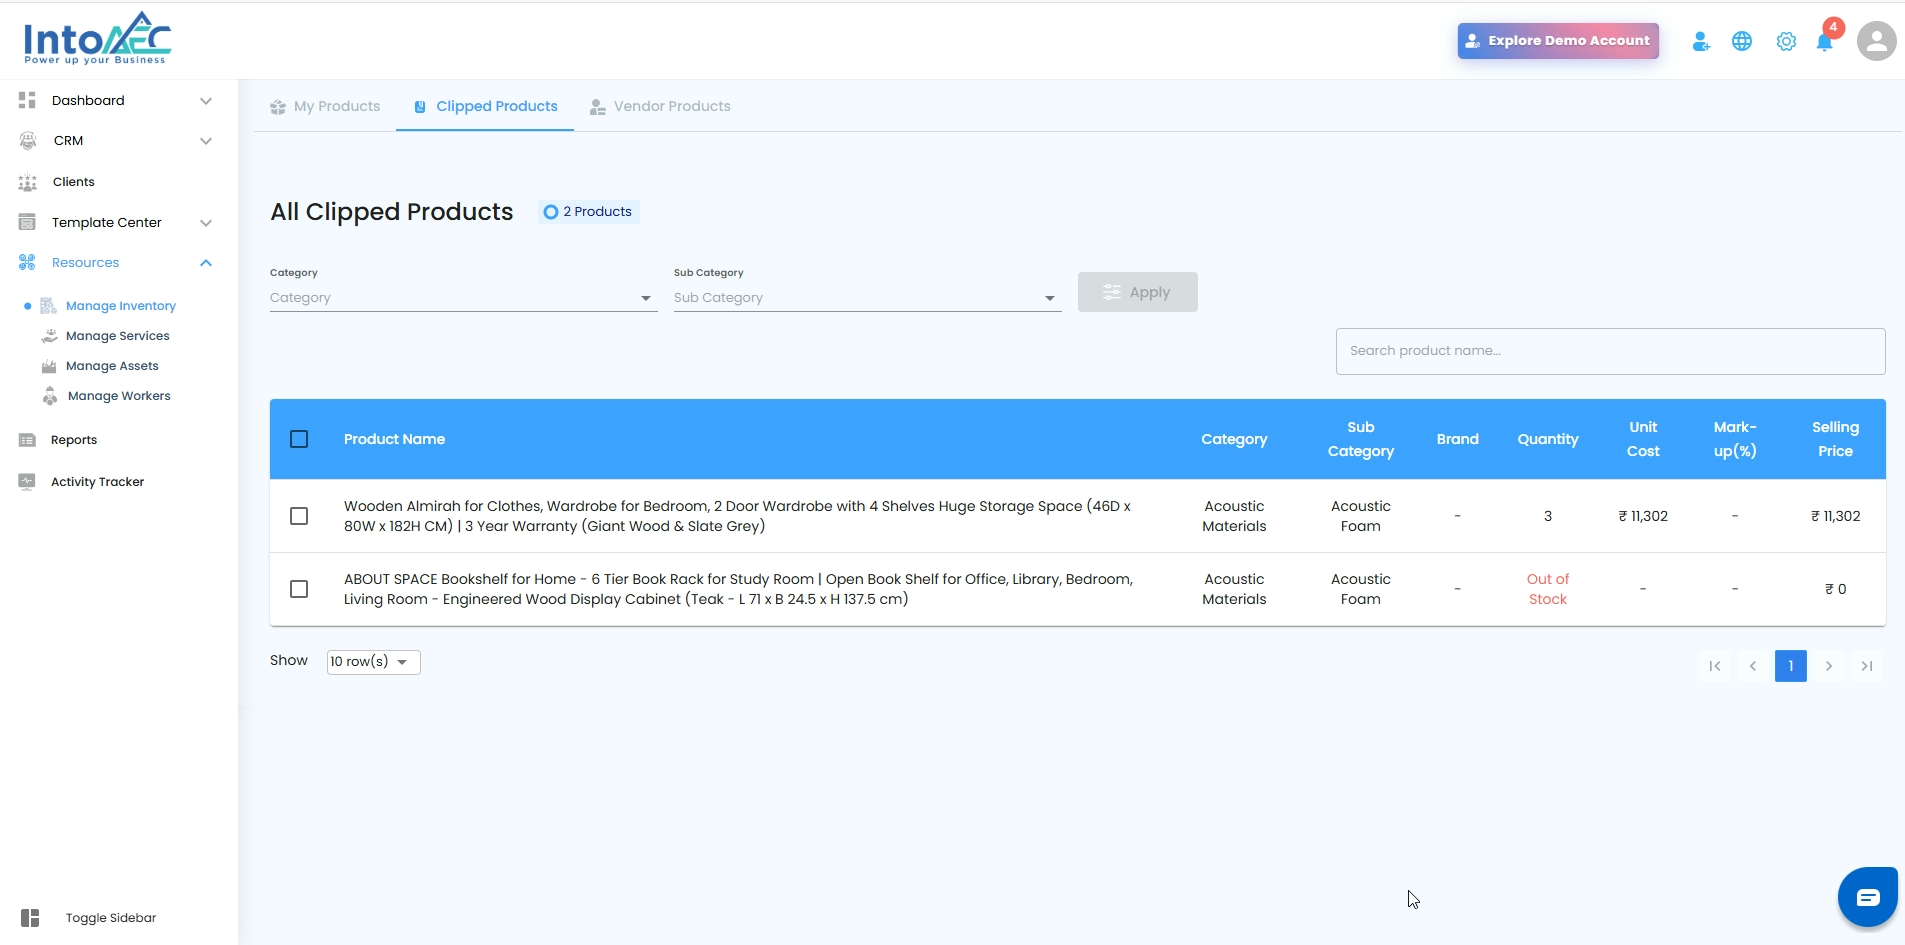
Step 5: View Your Clipped Products
Go to Resources → Manage Inventory → Clipped Products.
All the products you’ve added through the Product Clipper will be displayed here.

How to Edit Clipped Product Details Individually:
You can easily update information for any clipped product directly from the product grid. Follow these steps to make quick changes:
Step 1: Access the Clipped Products Grid
Go to Resources → Manage Inventory → Clipped Products.
Locate the clipped product you want to modify.

Step 2: Edit Product Information
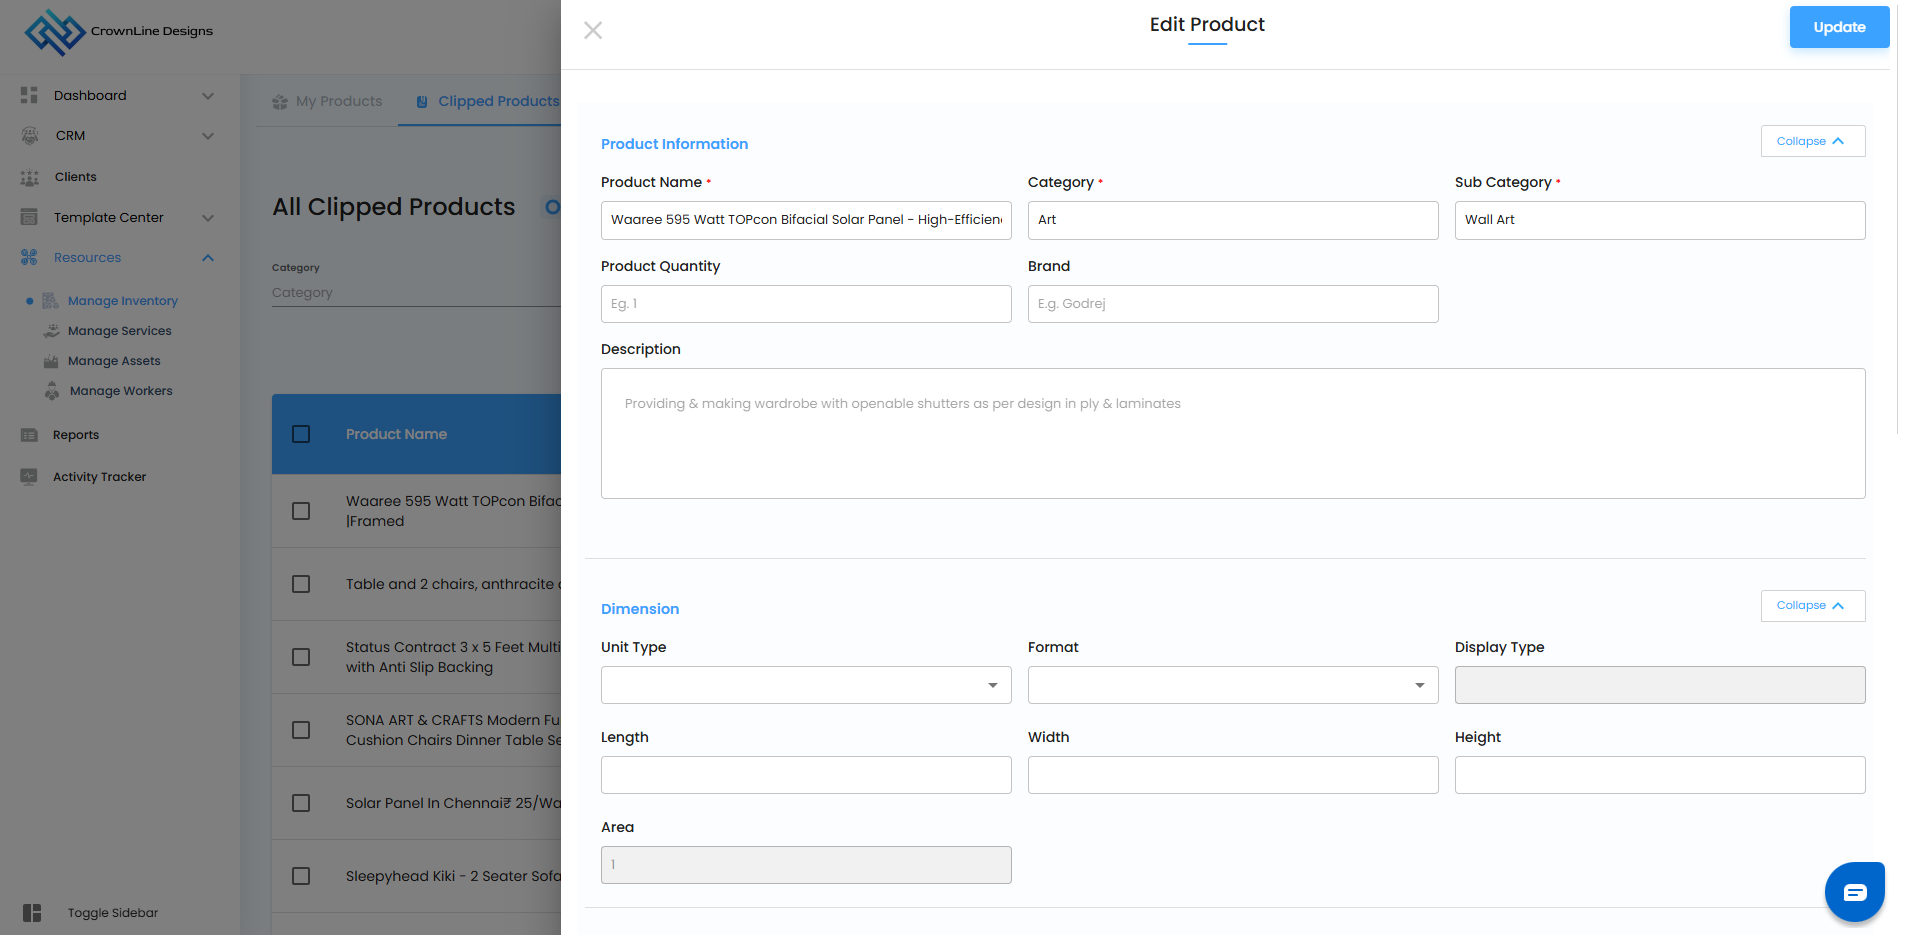
Click on the “Edit” option next to the selected product.
Update the required details such as:
Product Name
Category or Sub-category
Unit, Quantity, or Price
Description or Notes.
Step 3: Save Your Changes
Once the edits are complete, click “Update” or “Save Changes.”
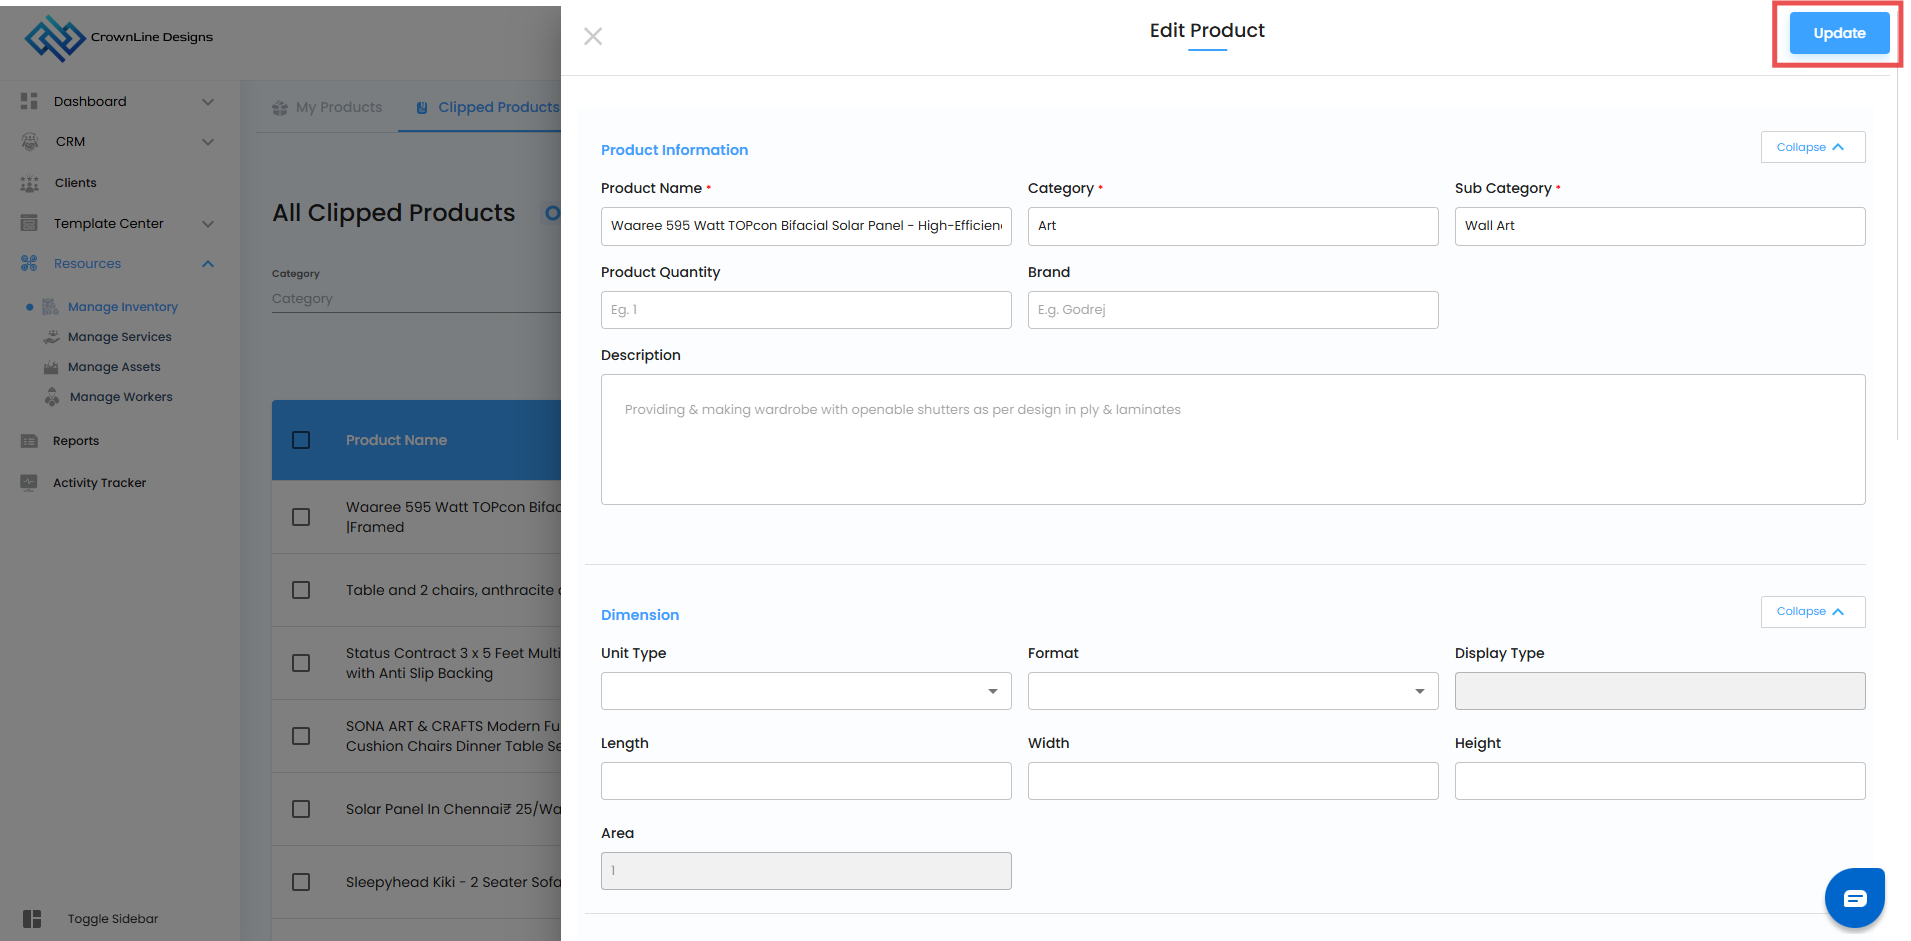
The system will refresh, and your updated product details will be instantly visible across all linked sections.
How to Edit Clipped Products in Bulk
You can update multiple clipped products at once to save time and maintain consistency across your inventory. Follow the steps below to edit categories and sub-categories in bulk:
Step 1: Access the Clipped Products Grid
Navigate to Resources → Manage Inventory → Clipped Products.
Locate the products you want to modify in the grid.
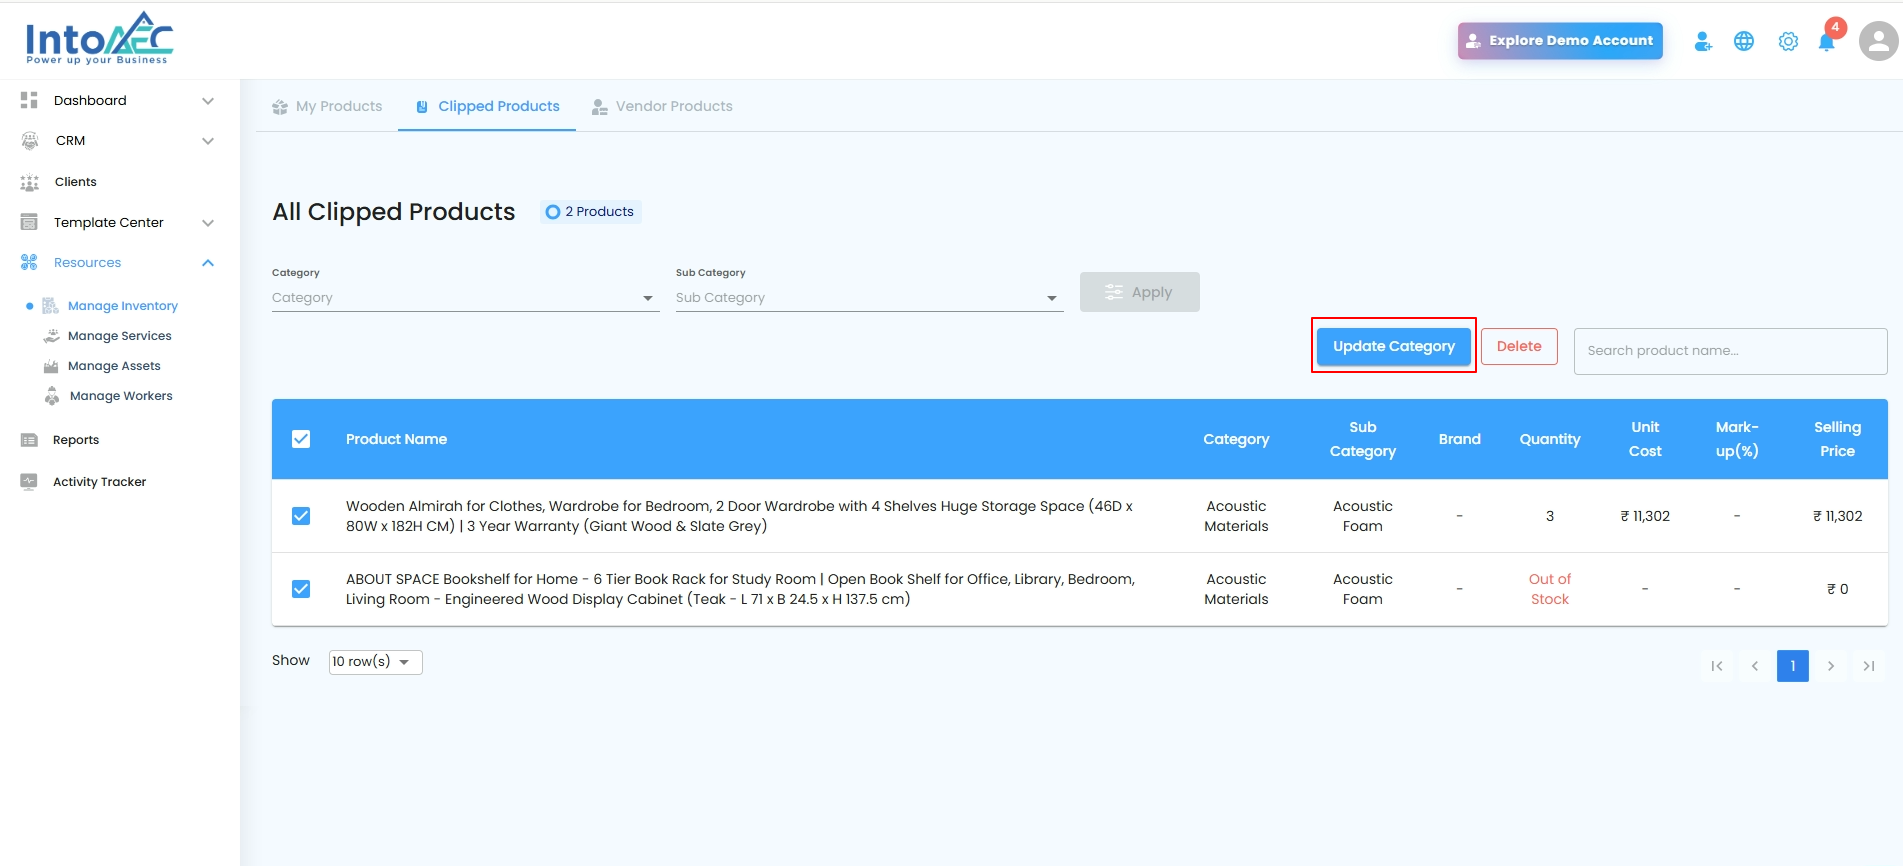
Step 2: Select Multiple Products
Use the checkboxes beside each product to select all the clipped products you want to edit.

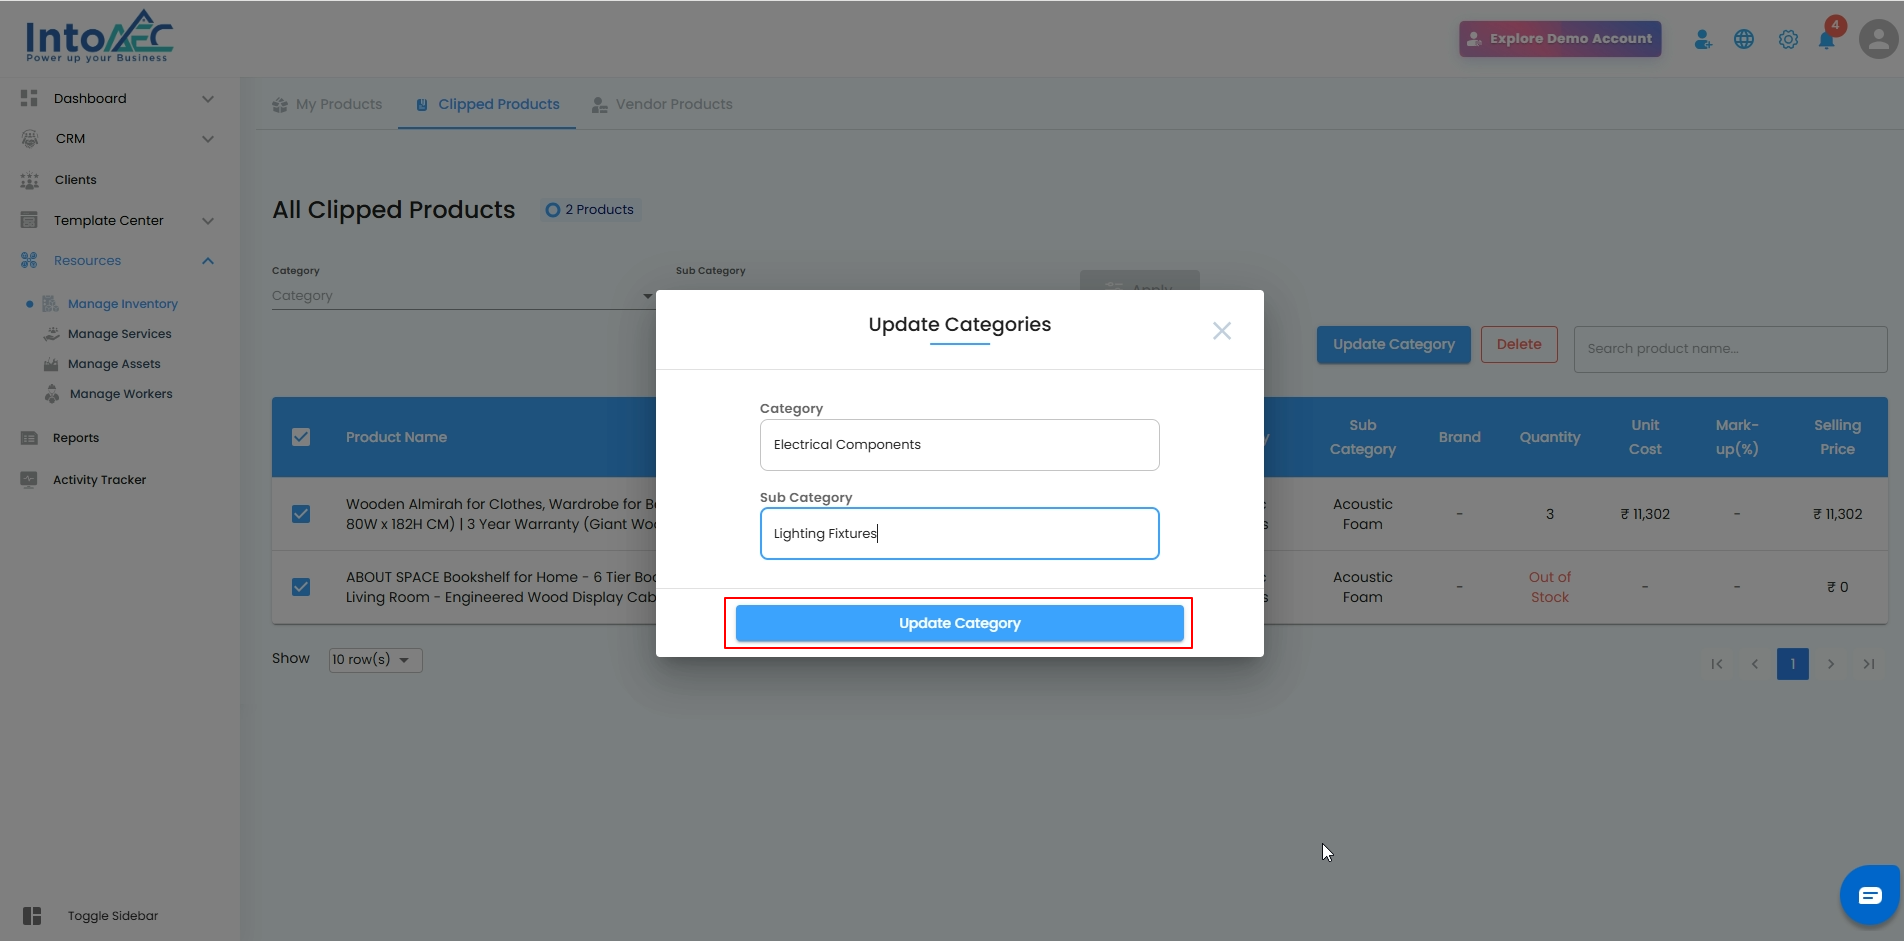
Step 3: Edit Category or Sub-category
Once selected, click on the “Update Category” button.
Choose the appropriate Category and Sub-category under which the selected products should be grouped.
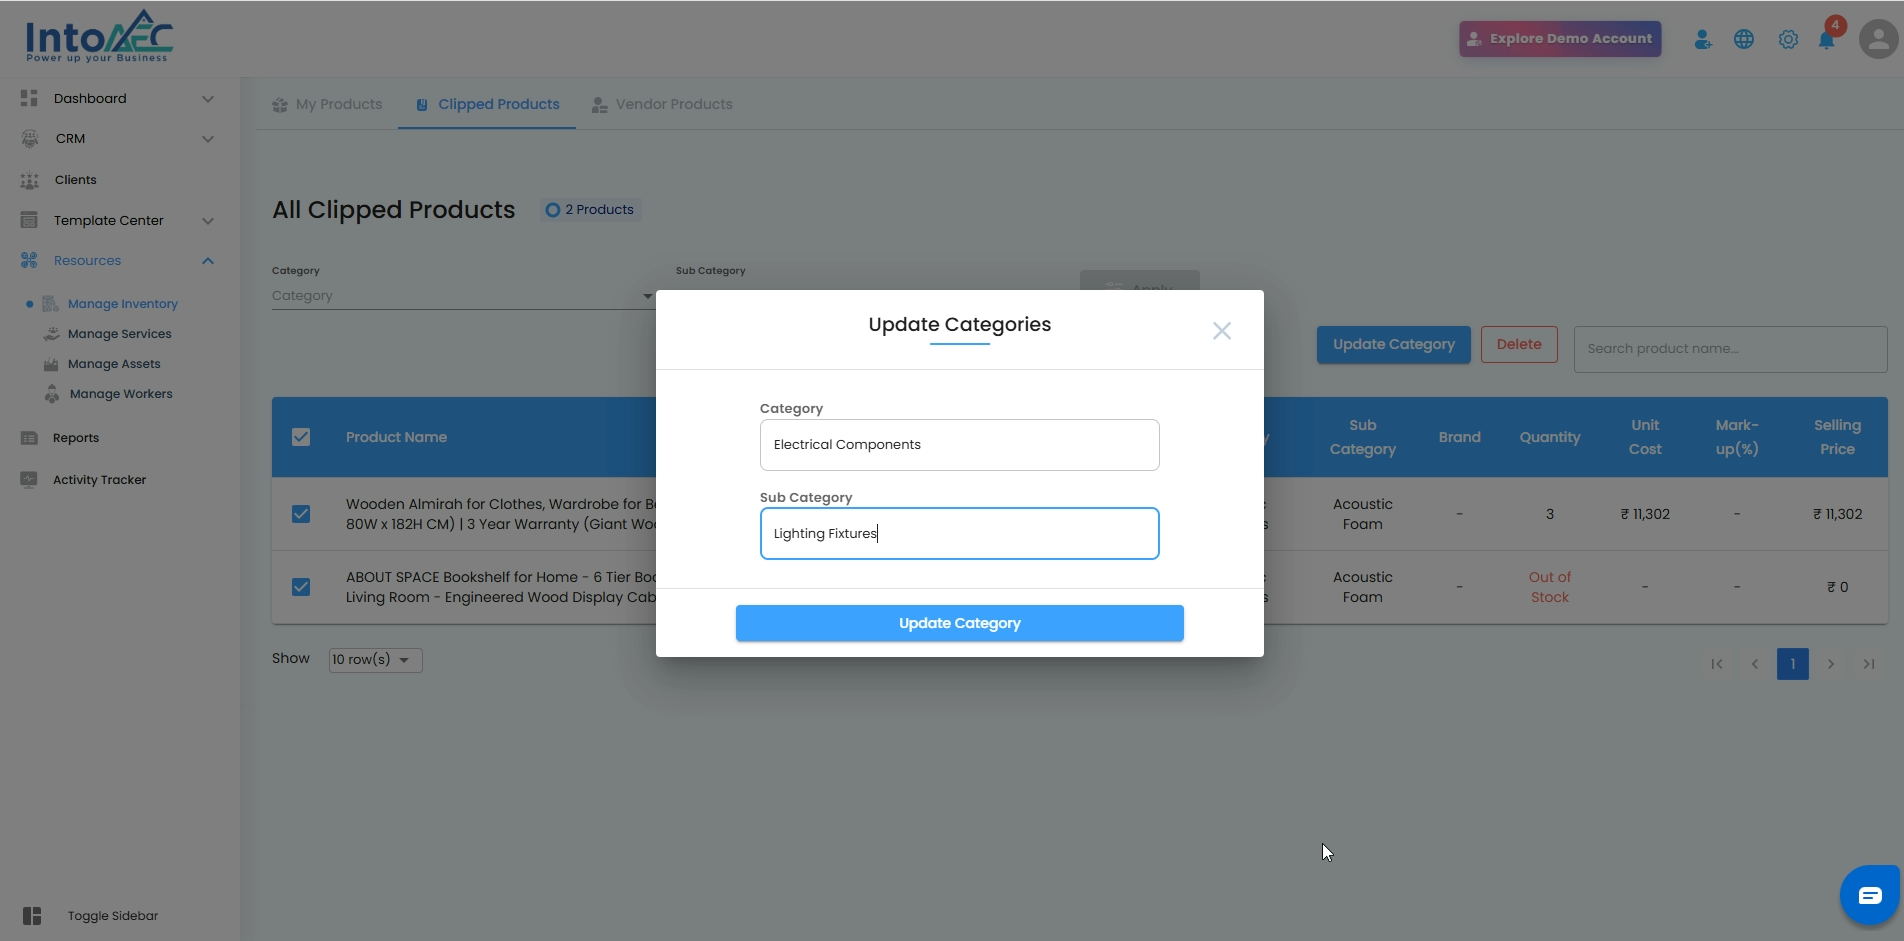
Step 4: Save the Updates
Click “Update Category” to apply your changes.
All selected clipped products will now be updated with the new category and sub-category details.
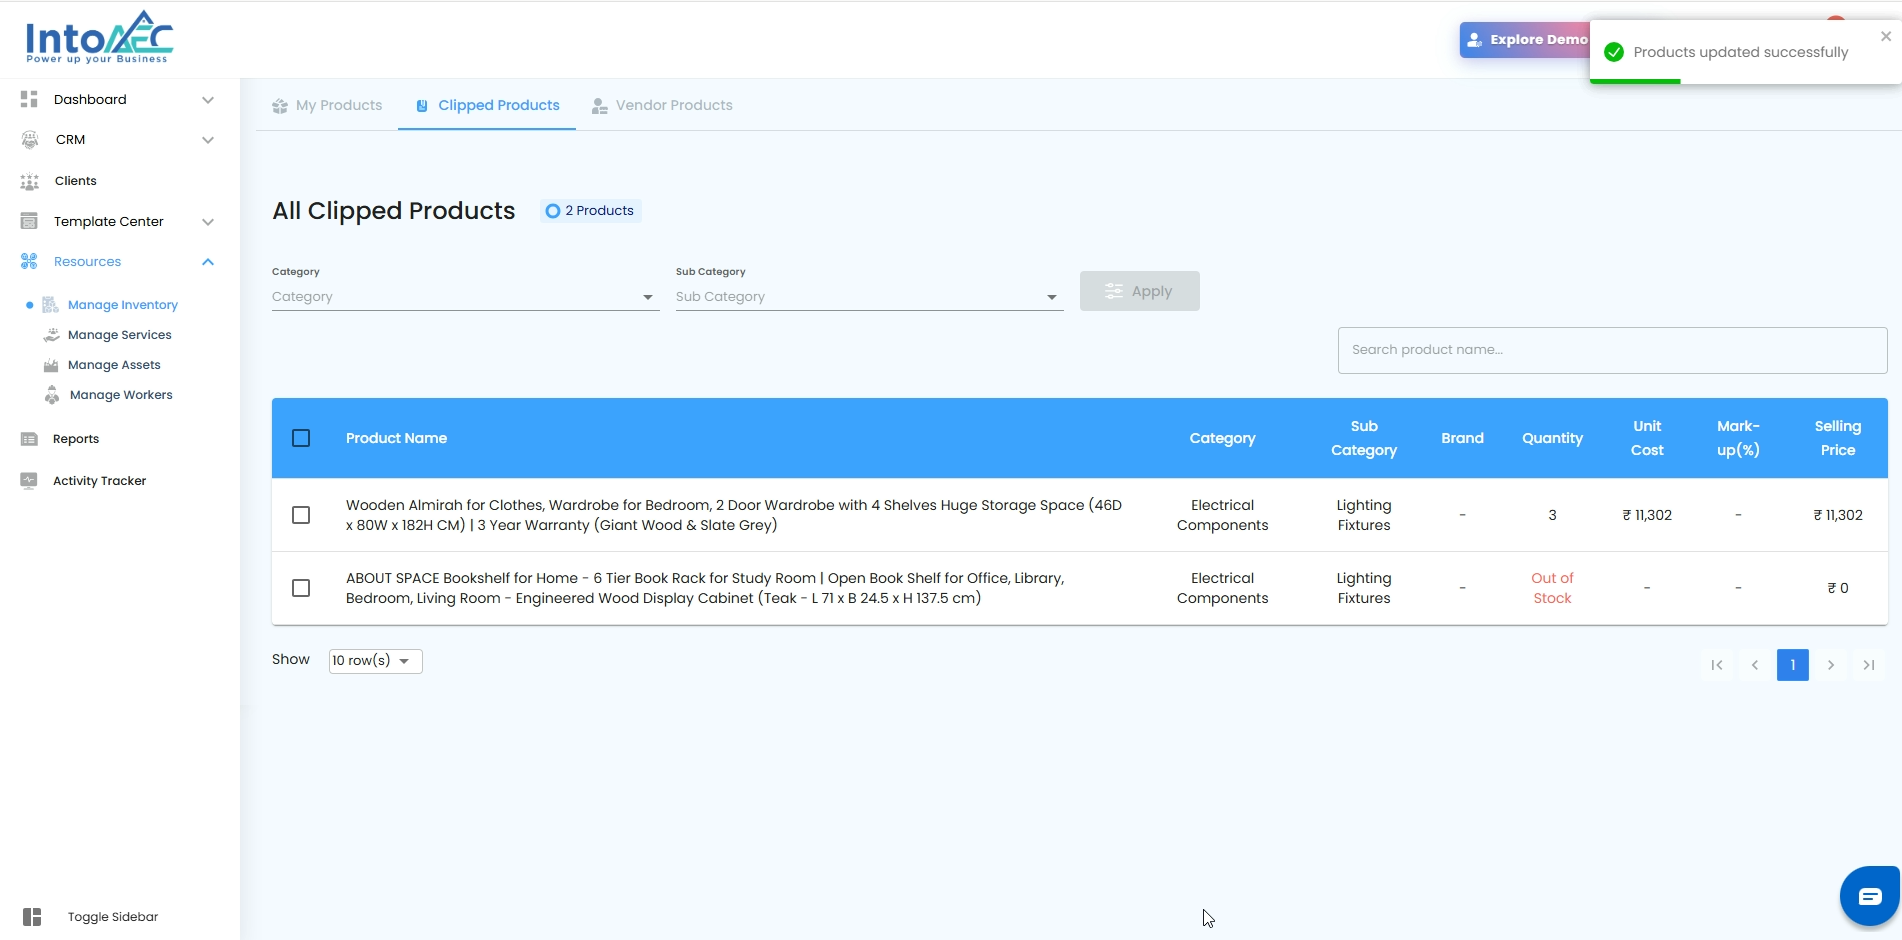
Bulk editing ensures your product classifications stay consistent and saves time when managing large inventories.
Was this article helpful?
That’s Great!
Thank you for your feedback
Sorry! We couldn't be helpful
Thank you for your feedback
Feedback sent
We appreciate your effort and will try to fix the article