How to Create a Group – Group It. View It. Control It.
With INTOAEC’s Inventory Page, you can streamline material management by creating groups tailored to your project needs. Groups act like smart folders—each one gives you a quick overview of all items inside and their total value, so you can stay in control without scrolling through endless lists.
Why Use Groups
- Organize materials by project, site, or category.
- Quickly view total quantities and values.
- Reduce clutter and make stock management more intuitive.
.
How to Create a Group in the Inventory Page
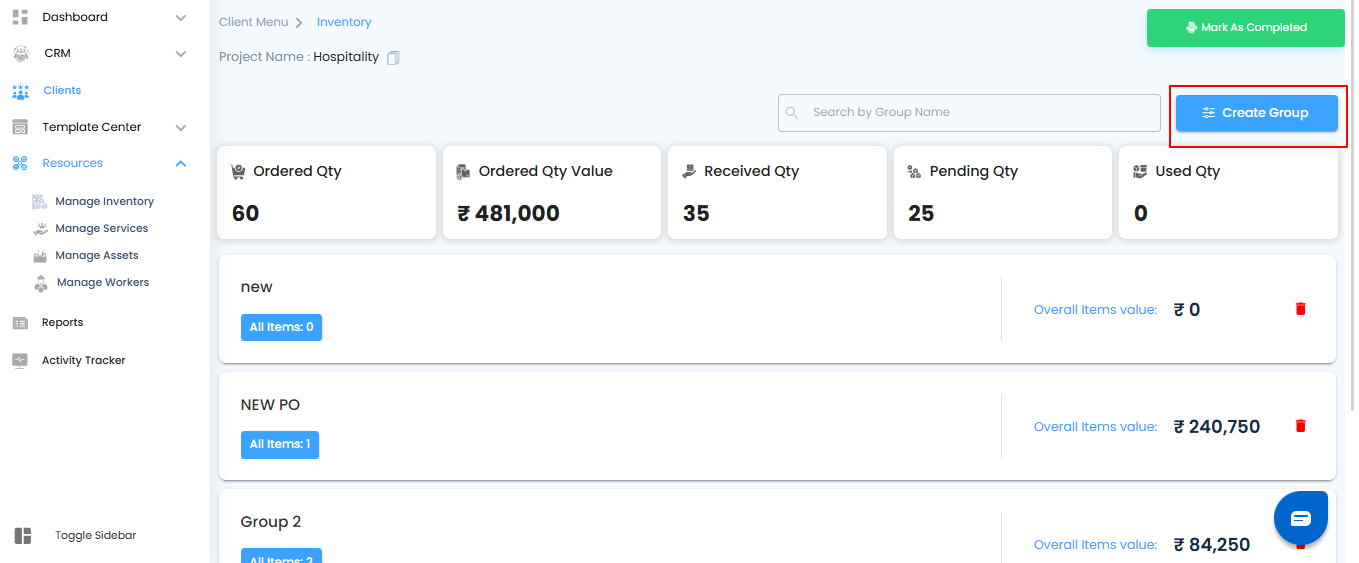
Step 1: Click on “Create Group”
- On the Inventory Page, find the Create Group button (usually at the top or near the groups section).
- Click it to start creating a new group.
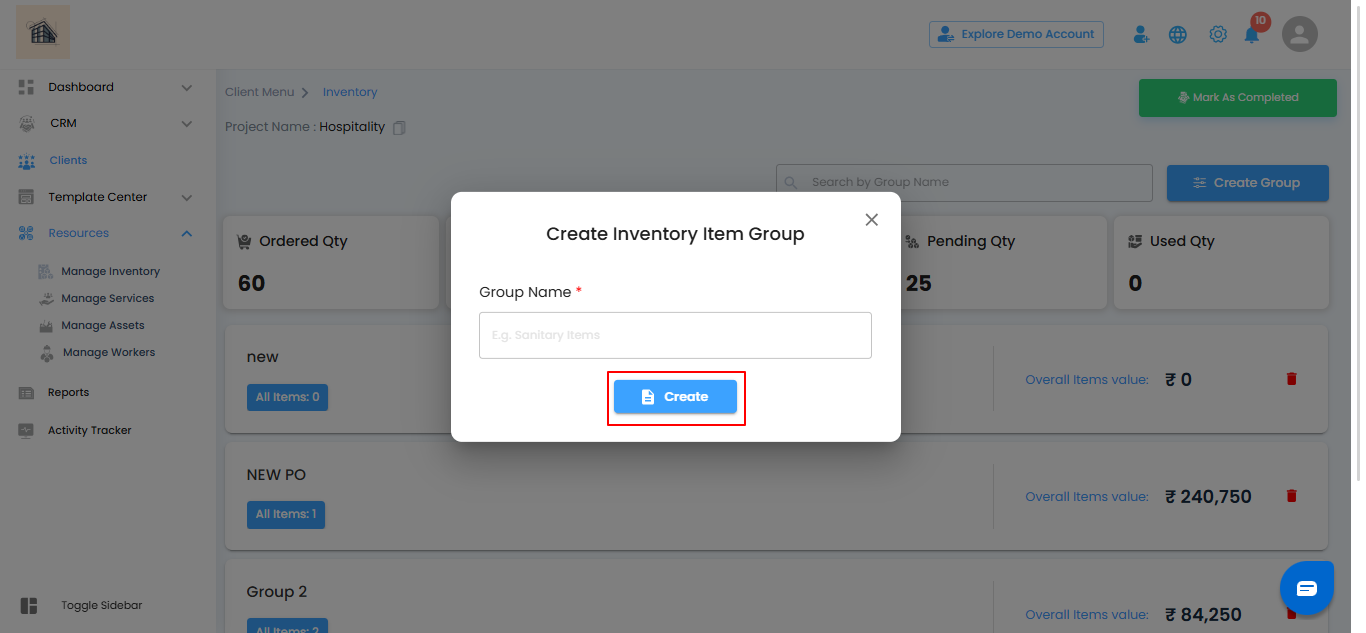
Step 2: View the Popup Window
- A popup titled Create Inventory Item Group will appear.
- This is where you’ll enter details for your new group.
Step 3: Enter a Group Name
- In the popup, type a meaningful group name, like “Electrical Materials – Site A” or “Concrete Supplies – Project 3.”
- Choose a name that’s descriptive enough for easy identification later.
Step 4: Click on “Create”
- Once the group name is entered, click Create to confirm.
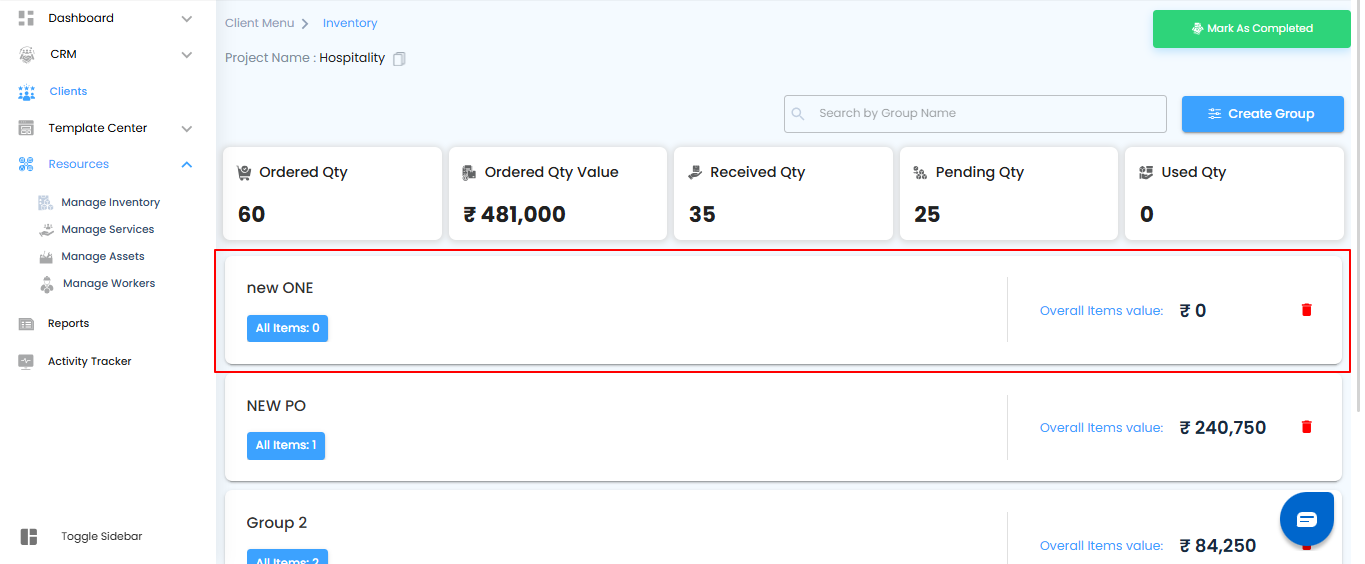
Step 5: View the New Group
Your group will instantly appear as a Group Card on the Inventory Page.
Each card displays:
- The group name you provided.
- The total number of items in the group (starts at zero if none added yet).
- The overall value of items (calculated automatically as items are added).
Tip: Use the search bar to find groups quickly by name.
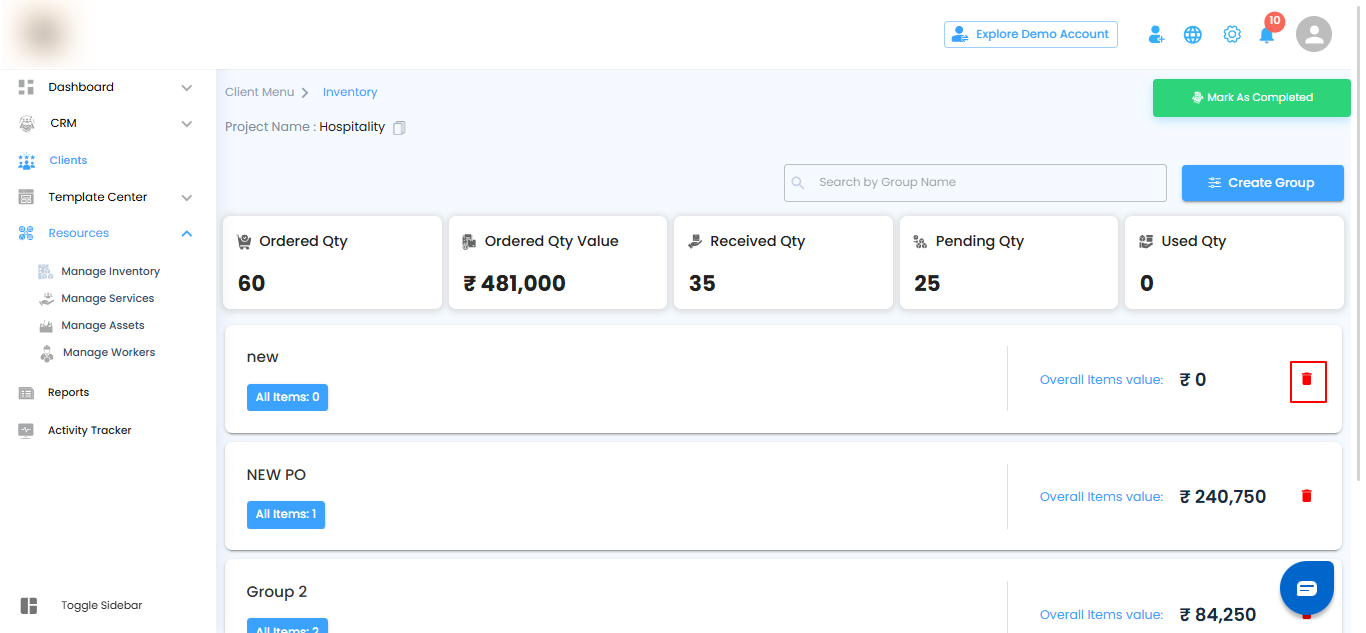
How to Delete a Group in Inventory
- Click the delete icon on a group card to remove it.
- If the group still contains items, an error message will appear, reminding you that groups must be empty before deletion.
- Remove all items from the group first.
- Once empty, you can delete the group successfully.
Pro Tip:
Think of groups as your material “categories.” The smarter you set them up, the easier it becomes to track, reorder, and keep your projects moving without delays.
Was this article helpful?
That’s Great!
Thank you for your feedback
Sorry! We couldn't be helpful
Thank you for your feedback
Feedback sent
We appreciate your effort and will try to fix the article