Your project's spending watchdog. See every rupee spent, how it was paid and who received it, so you can stay on budget.
What you can do here
- Track every expense, payment and invoice-linked cost
- Filter by project, date, payment mode or receiver
- Spot spending patterns across projects and time periods
- Export expense data for audits, reviews or sharing
Pro tip: Treat this report as a budget checkpoint. A quick weekly look catches overspending early.
Open the Expense Report
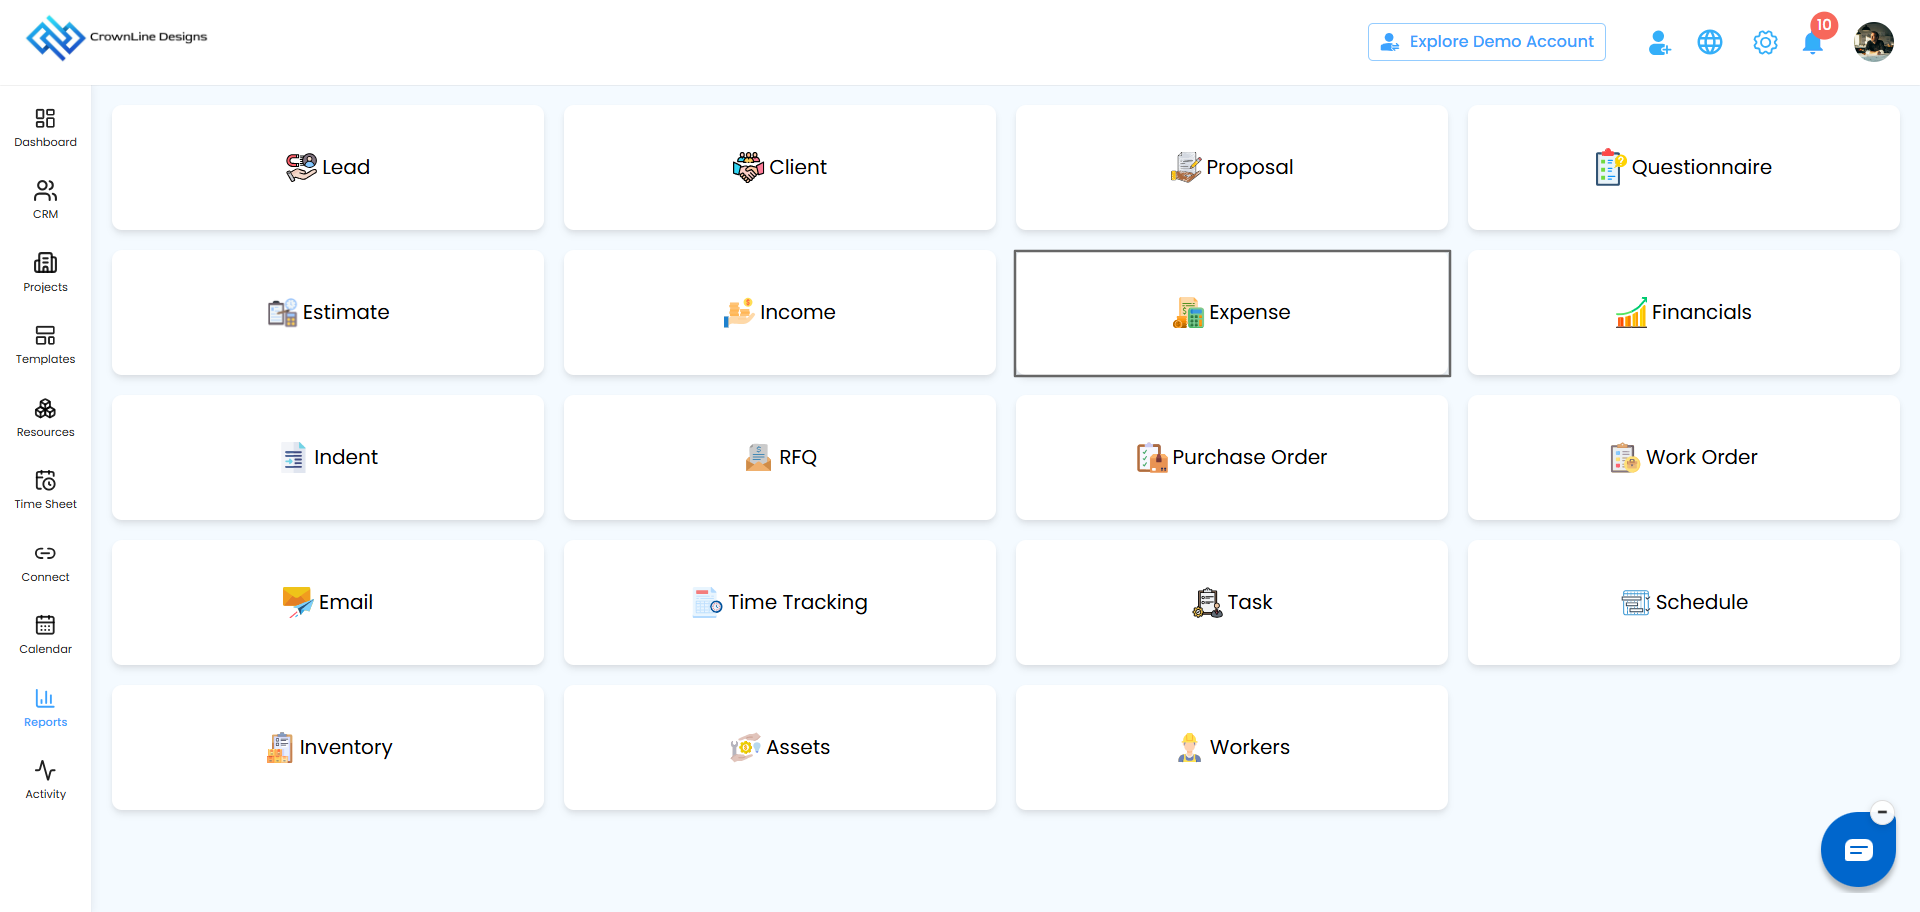
- Go to Reports in the main menu.
- Click Expenses.
Dashboard metric
The card at the top shows Total Expense Amount, the sum of all recorded expenses.
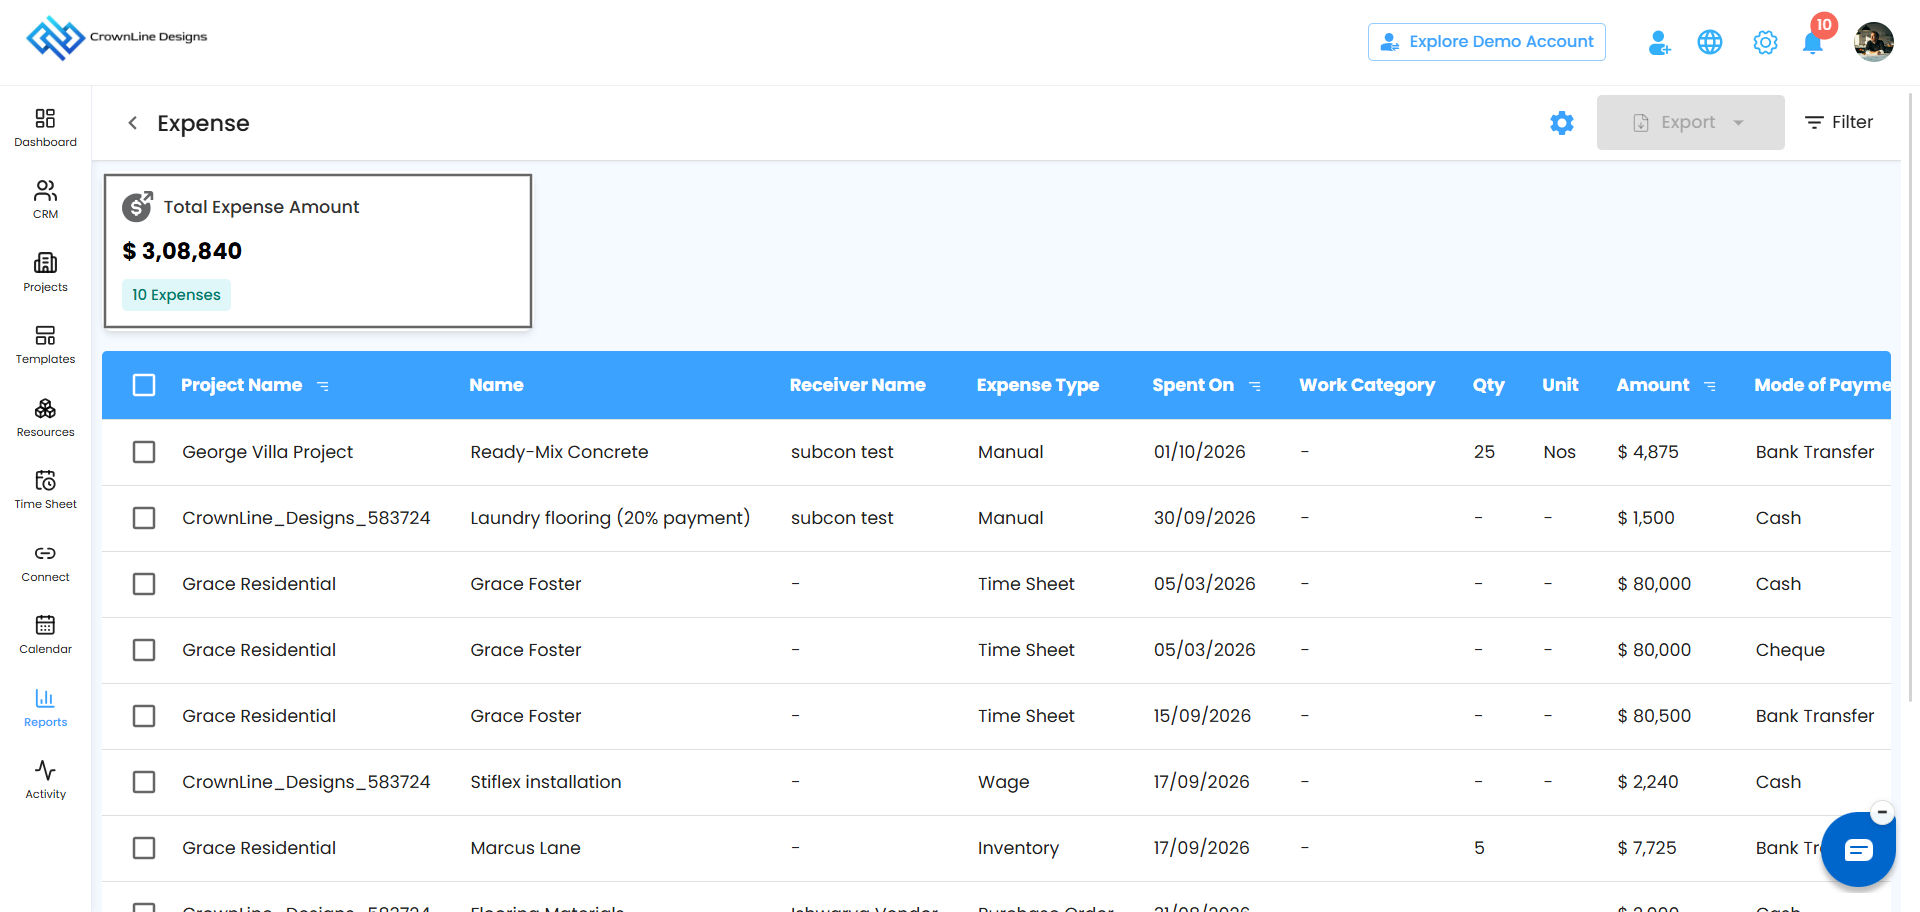
Pro tip: If this number jumps unexpectedly, filter by project to find out where the spend came from.
Filter your expense records
- Click Filter in the top-right corner of the page.
- Set any of these:
- Project Name: show expenses for one project
- Spent Between: expenses within a date range
- Mode of Payment: All, Cash, Bank Transfer or Cheque
- Receiver: Vendors, Users or Clients
- Click Apply to update the report, or Clear to see all records again.
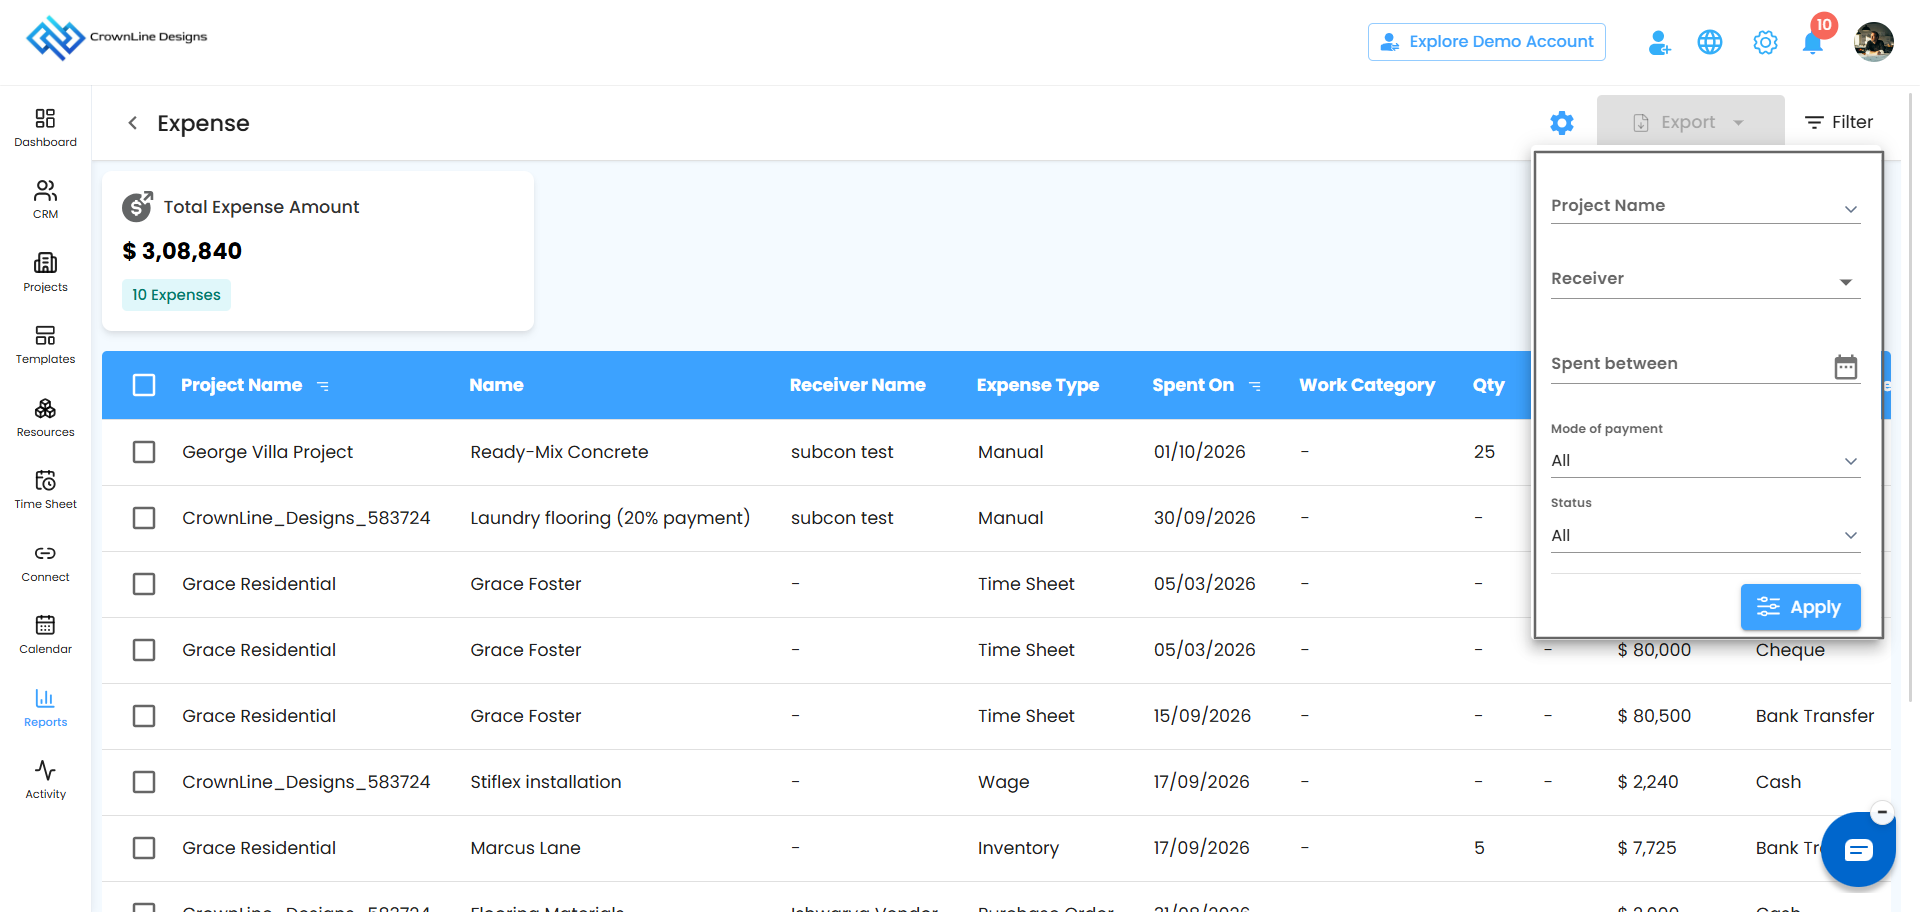
Pro tip: Filter by Receiver: Vendors and a month's date range to see exactly what you paid suppliers.
The expense table
Every expense, every payment, in one ledger.
| Column | Shows |
|---|---|
| Project | The project the expense belongs to |
| Linked Invoice | The invoice number, if the expense is billed |
| Date Spent | When the expense was recorded |
| Work Duration | Time spent on the related work |
| Expense Amount | The total cost |
| Payment Method | Cash, Bank Transfer or Cheque |
| Payment Status | Paid, Partially Paid or Awaiting Payment |
Pro tip: Watch for Awaiting Payment entries so no vendor or worker payment is missed.
Select and export
- Tick the expenses you want, or tick the box in the header to select all.
- Click Export.
- The data downloads as an Excel file.
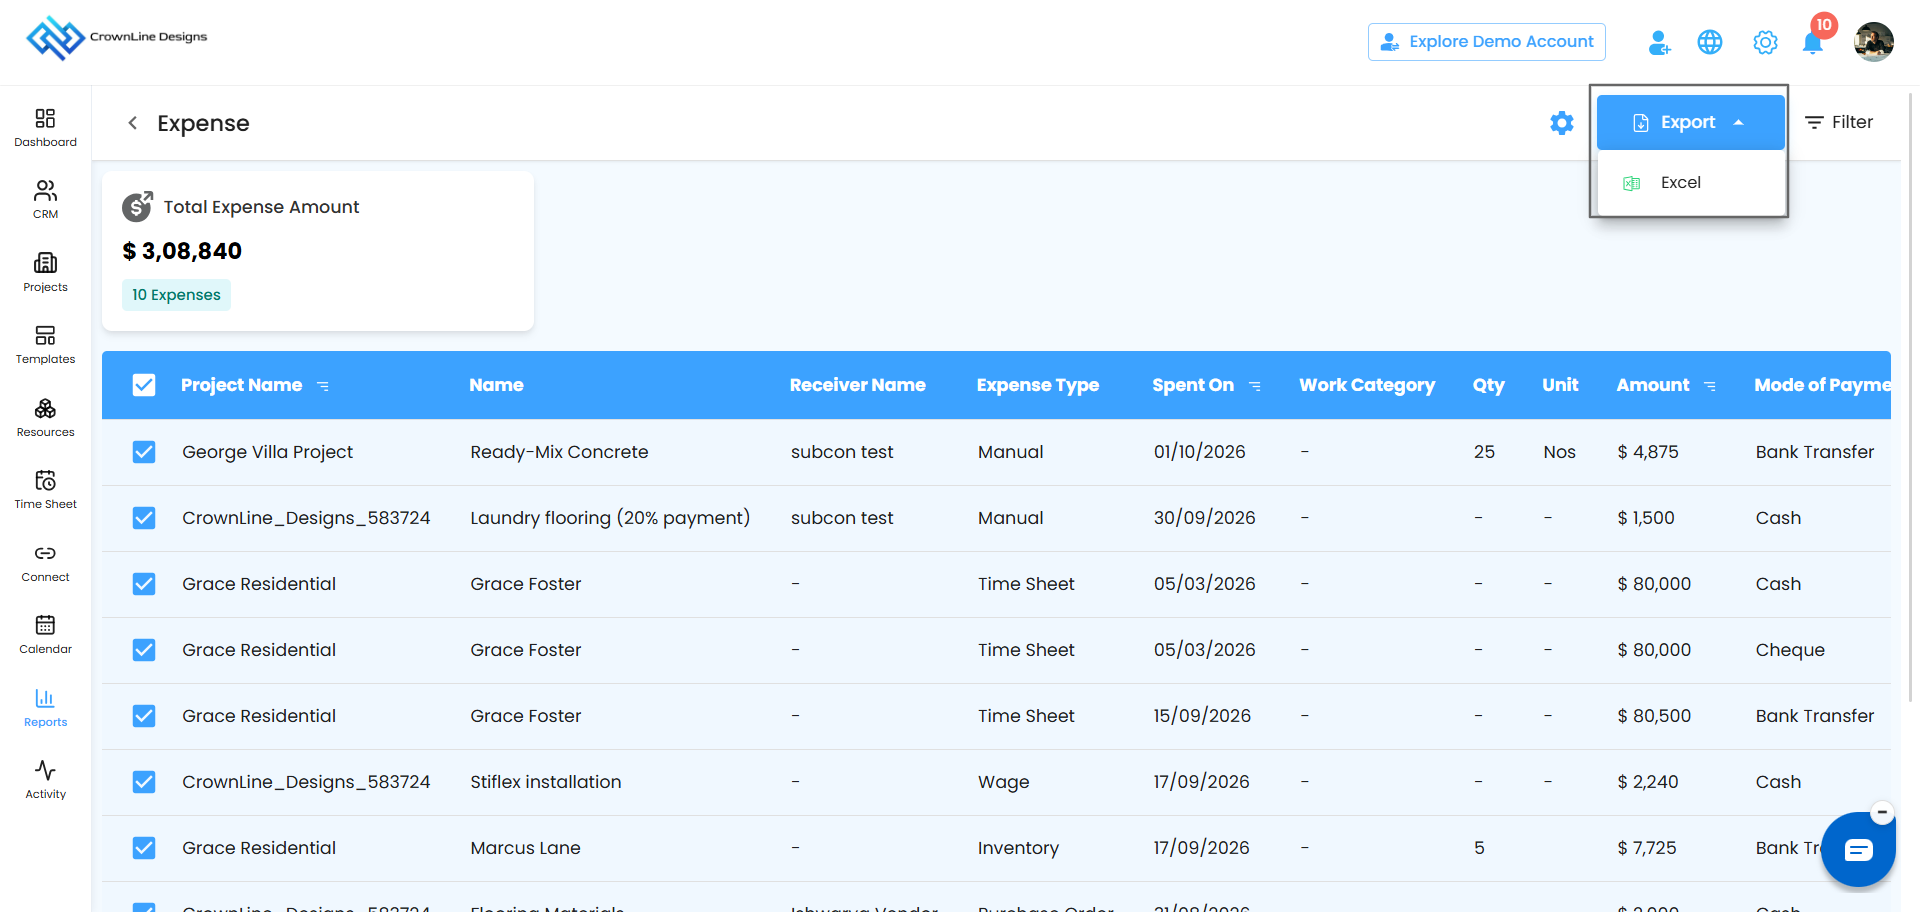
Pro tip: Filter first, then select and export. You get a clean, audit-ready file every time.
Automate the report
Set it up once and expense updates arrive on schedule.
Click the Configure Report Automation icon (the gear icon next to Export).
In the popup, choose recipients from Send To.
Pick a frequency from Generate Report:
- Daily (default): sent within an hour of your chosen time. If you set 6:00 PM, it arrives between 6:00 and 6:59 PM.
- Weekly: covers the week and is sent at the same day and time the following week.
- Monthly: covers the month and is sent on the same day and time next month.
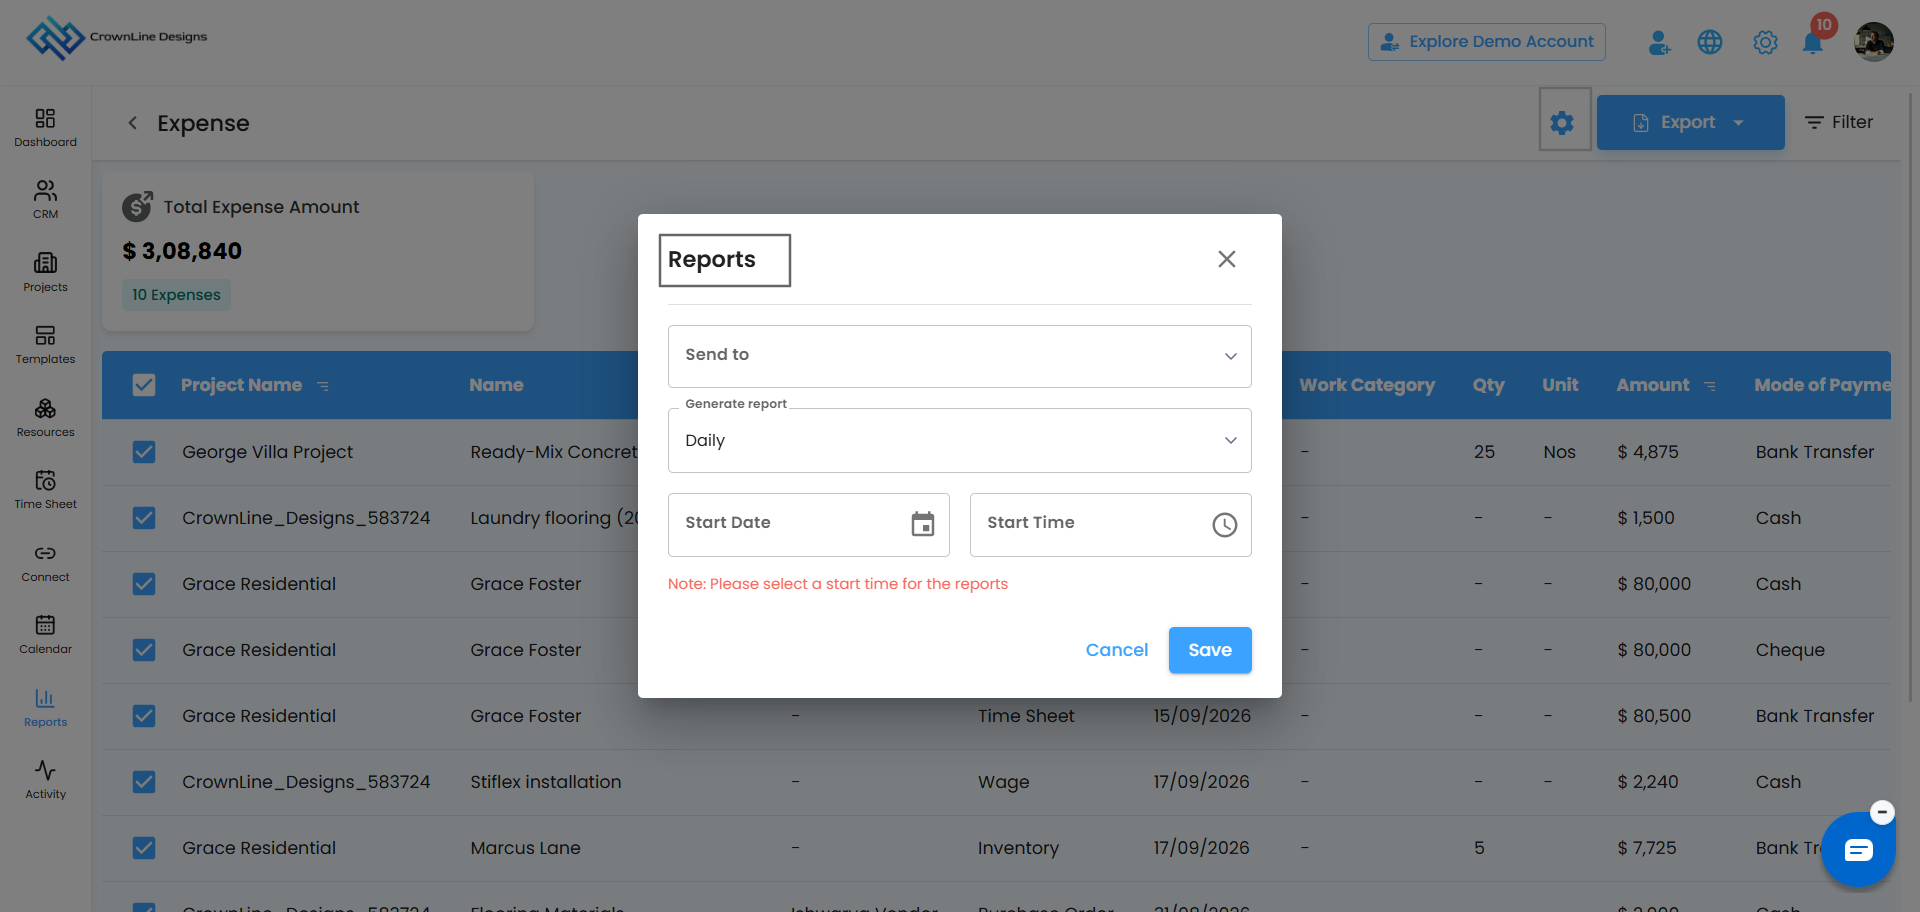
Set the Start Date and Start Time. The start time is required, so reports won't go out without it.
Click Save to activate, or Cancel to discard.
Pro tip: Weekly delivery suits spending reviews, and monthly works well for budget planning.
In short: The Expense Report tracks every expense, payment method and payment status, with filters, export and automation to keep your budgets on track.
Was this article helpful?
That’s Great!
Thank you for your feedback
Sorry! We couldn't be helpful
Thank you for your feedback
Feedback sent
We appreciate your effort and will try to fix the article