Creating Automations in INTOAEC
The Automation feature in INTOAEC is like your behind-the-scenes assistant — always alert, always ready. Instead of wasting hours on repetitive tasks, you can build smart rules that run on autopilot.
Whether it’s:
- Sending the right emails at the right time
- Updating statuses instantly
- Sharing your availability with leads
- Scheduling timely follow-ups
In short: you focus on strategy, INTOAEC handles the routine.
Accessing Automation
Getting started is simple:
Navigate to the CRM.

Click on the Automation.
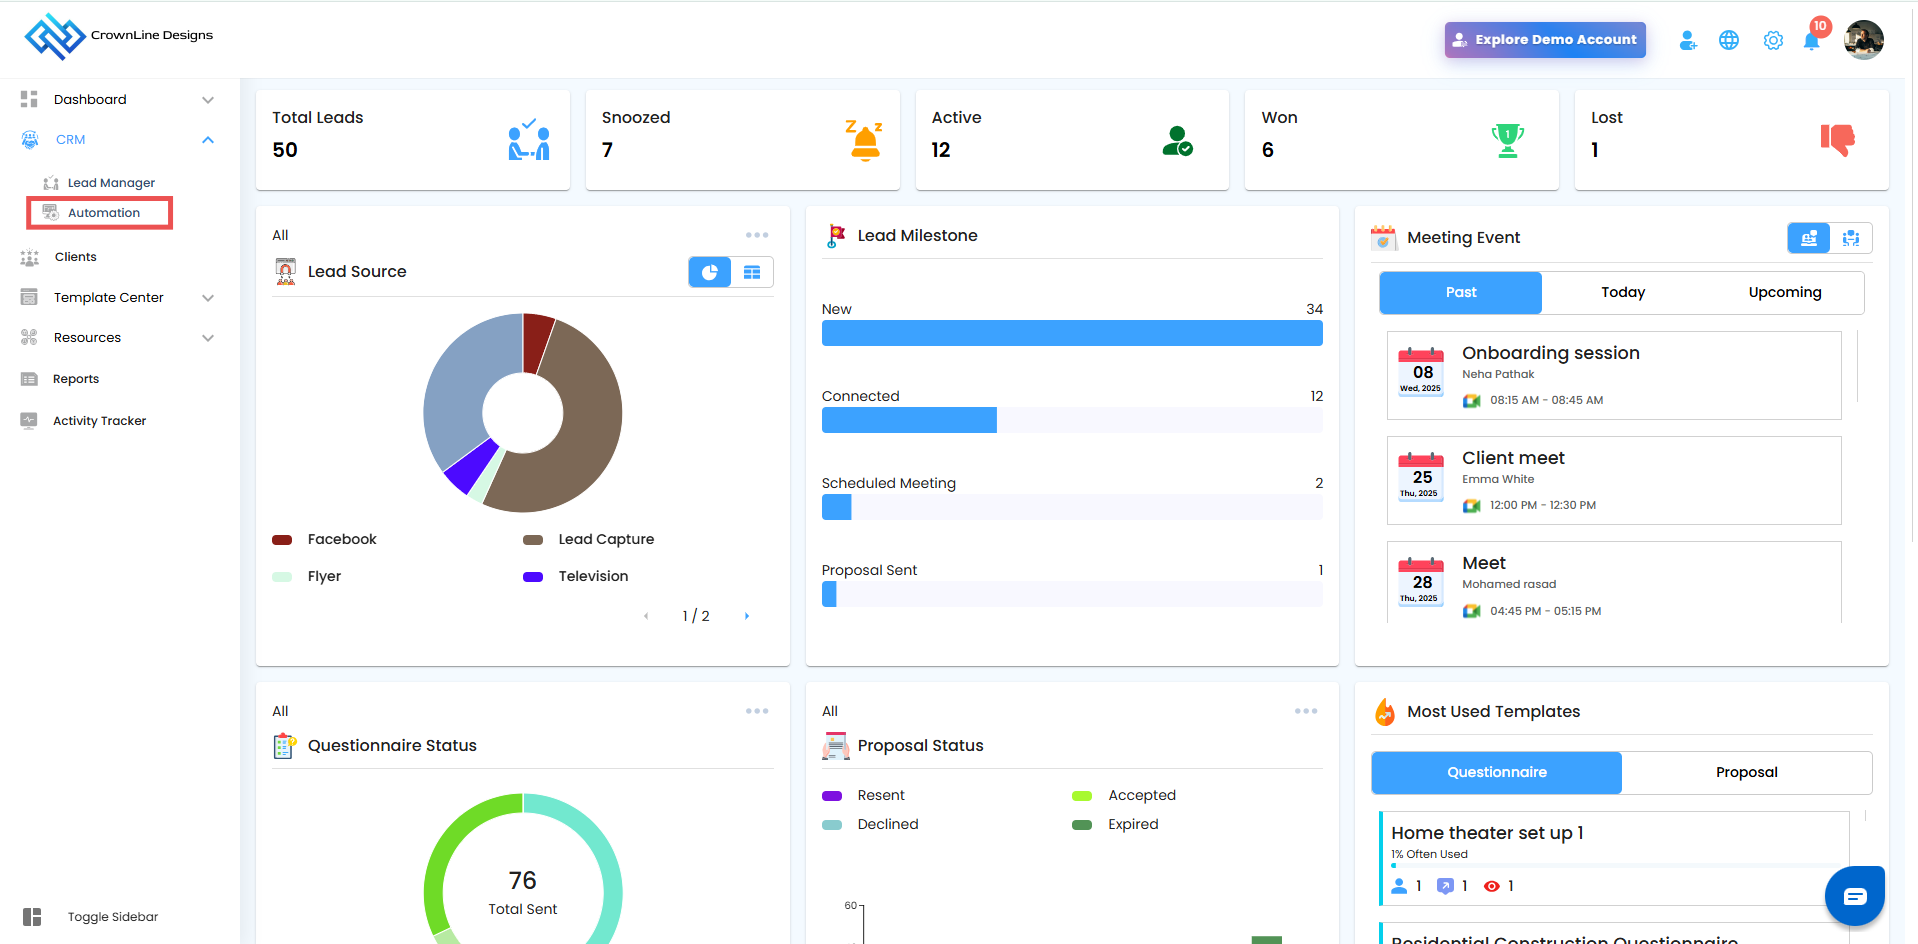
The Create Automation page will open — your control center to design custom workflows.

Steps to Create an Automation
Define the Event
Every automation starts with a clear purpose.
Enter an Event Name that instantly tells you what this automation is for.
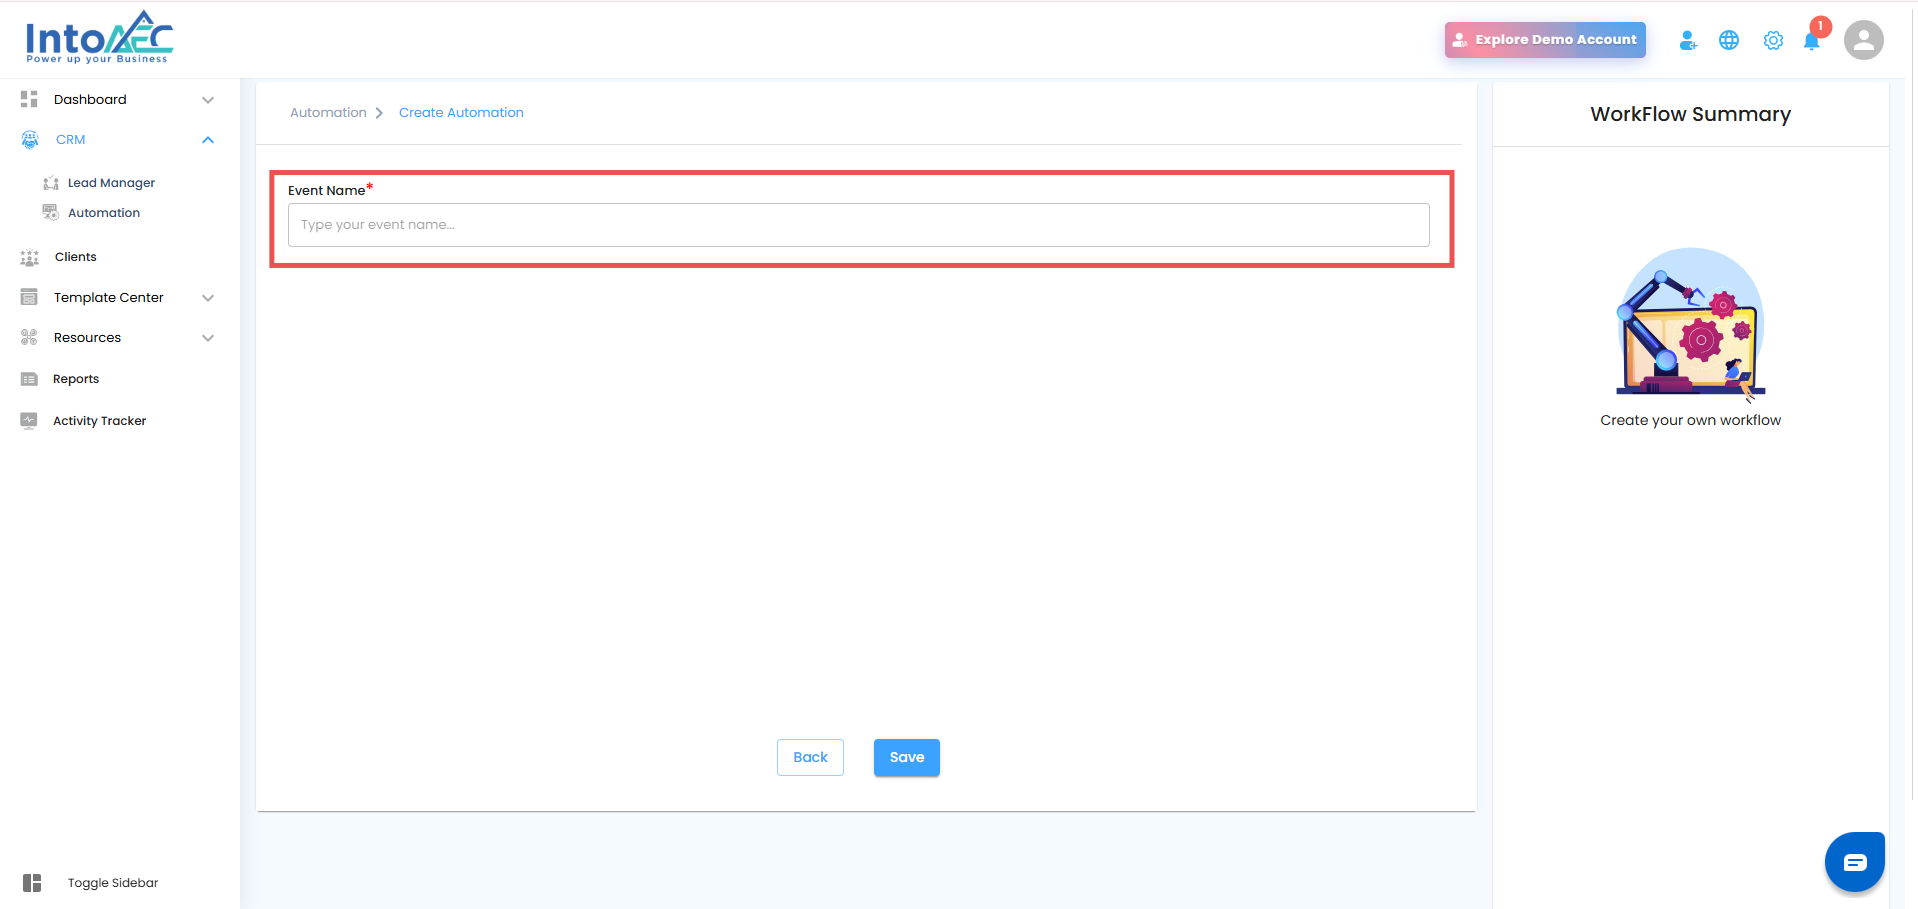
Make it simple, obvious, and action-oriented.
This name will later appear in your automation list, so clarity here = easy management later.
Select the Trigger
Now it’s time to decide what activates the automation.
Once you’ve entered the event name, a Trigger dropdown appears.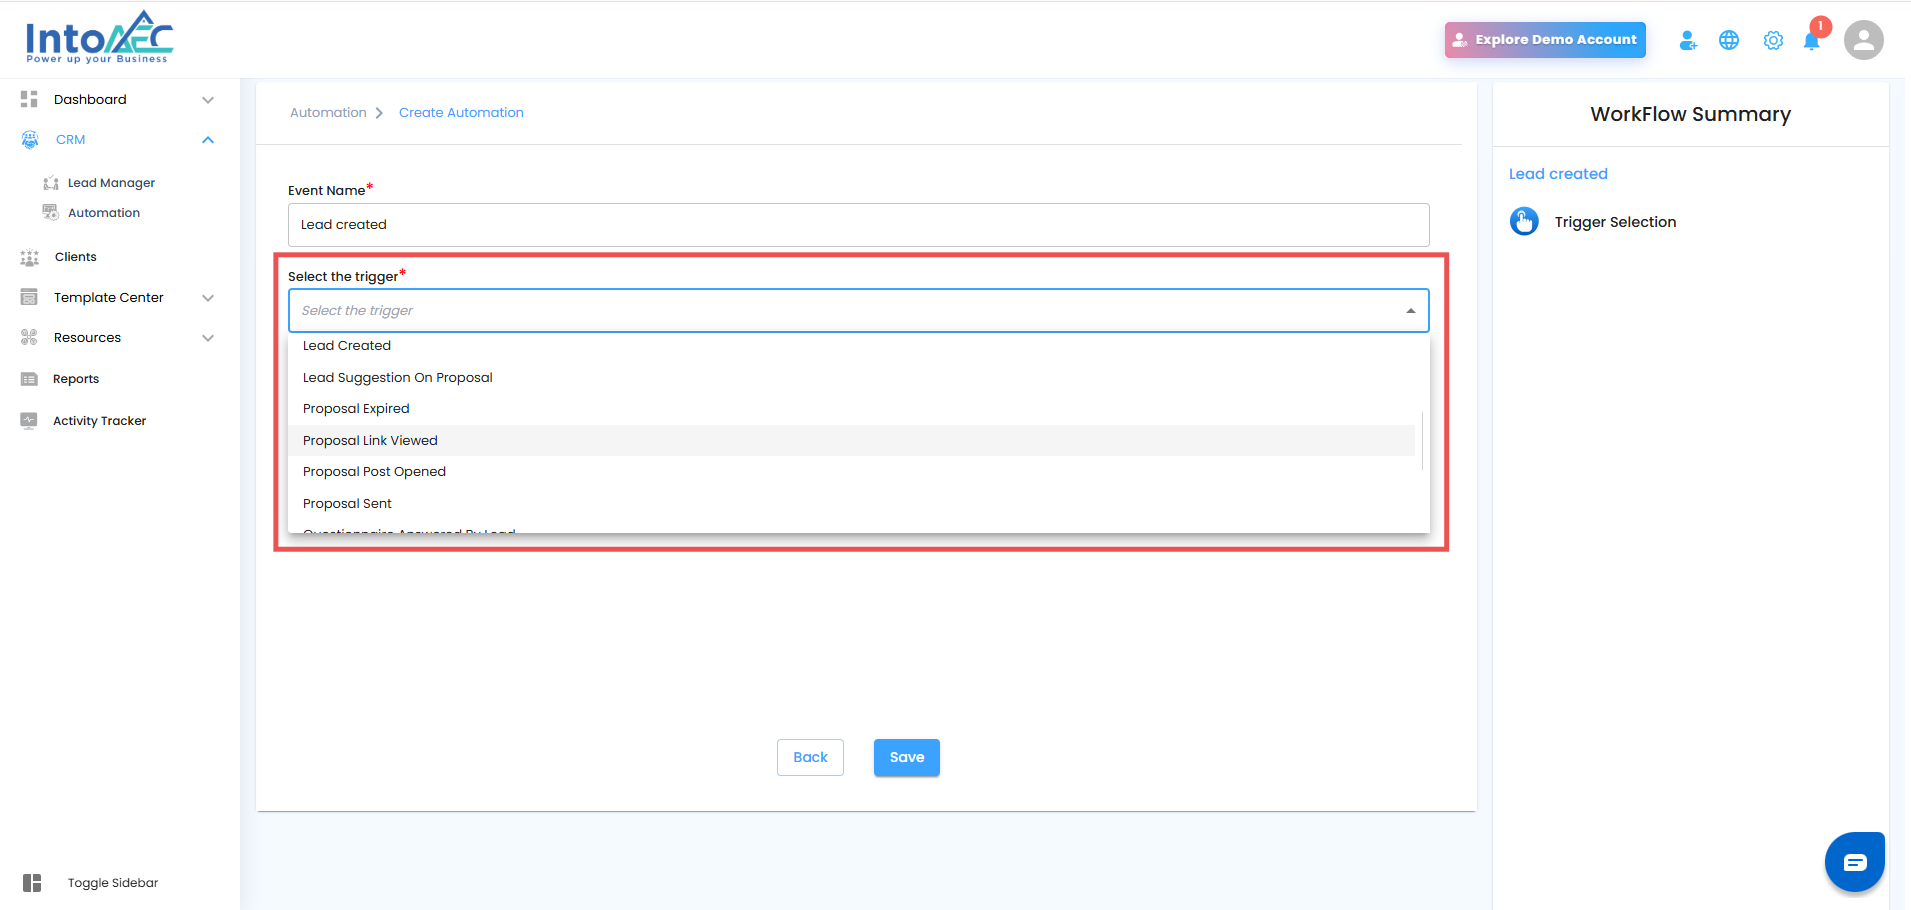
A trigger is the condition that kicks off the automation, and INTOAEC groups them into four categories:
Proposal-Based Triggers
Options include:
Accepted Proposal
Declined Proposal
Lead Suggested on Proposal
Proposal Expired
When one of these is selected:
An Email Template dropdown appears.
- Send Availability
- Proposal Expired
- Offline Cancelled Meeting → Lead
- Modified Event → Lead
- Offline Meeting Modified → Lead
- Upcoming Event → Lead
After selecting a template, extra fields like Update Status and Description will show up.
Questionnaire-Based Triggers
Options include:
Questionnaire Answered by Lead
Questionnaire Expired
When selected:
Pick an Email Template that will be automatically sent.
Add Update Status and a Description for clarity.
Engagement Triggers
Track and act on how leads interact with your content.
Options include:
Calendar Availability Link Viewed
Calendar Availability Post Opened
Calendar Availability Sent
Proposal Link Viewed
Proposal Post Opened
Proposal Sent
Questionnaire Link Viewed
Questionnaire Post Opened
Questionnaire Sent
When one of these is chosen:
A Follow-up section appears.
Here, you can configure:
Follow-up Schedule → decide the number of days after which the follow-up should occur.
Category dropdown → organize automations better (Offline Cancelled Meeting → Lead, Modified Event → Lead, Send Availability, etc.).
Lead-Based Triggers
Options include:
Lead Created
With this, you get access to special conditions that make your automation super targeted.
For each condition, select a Source Type, such as:
Project Type
Lead Source
Project Location
Priority Lead Channel
Select Actions
Once the trigger is set, define what INTOAEC should do automatically.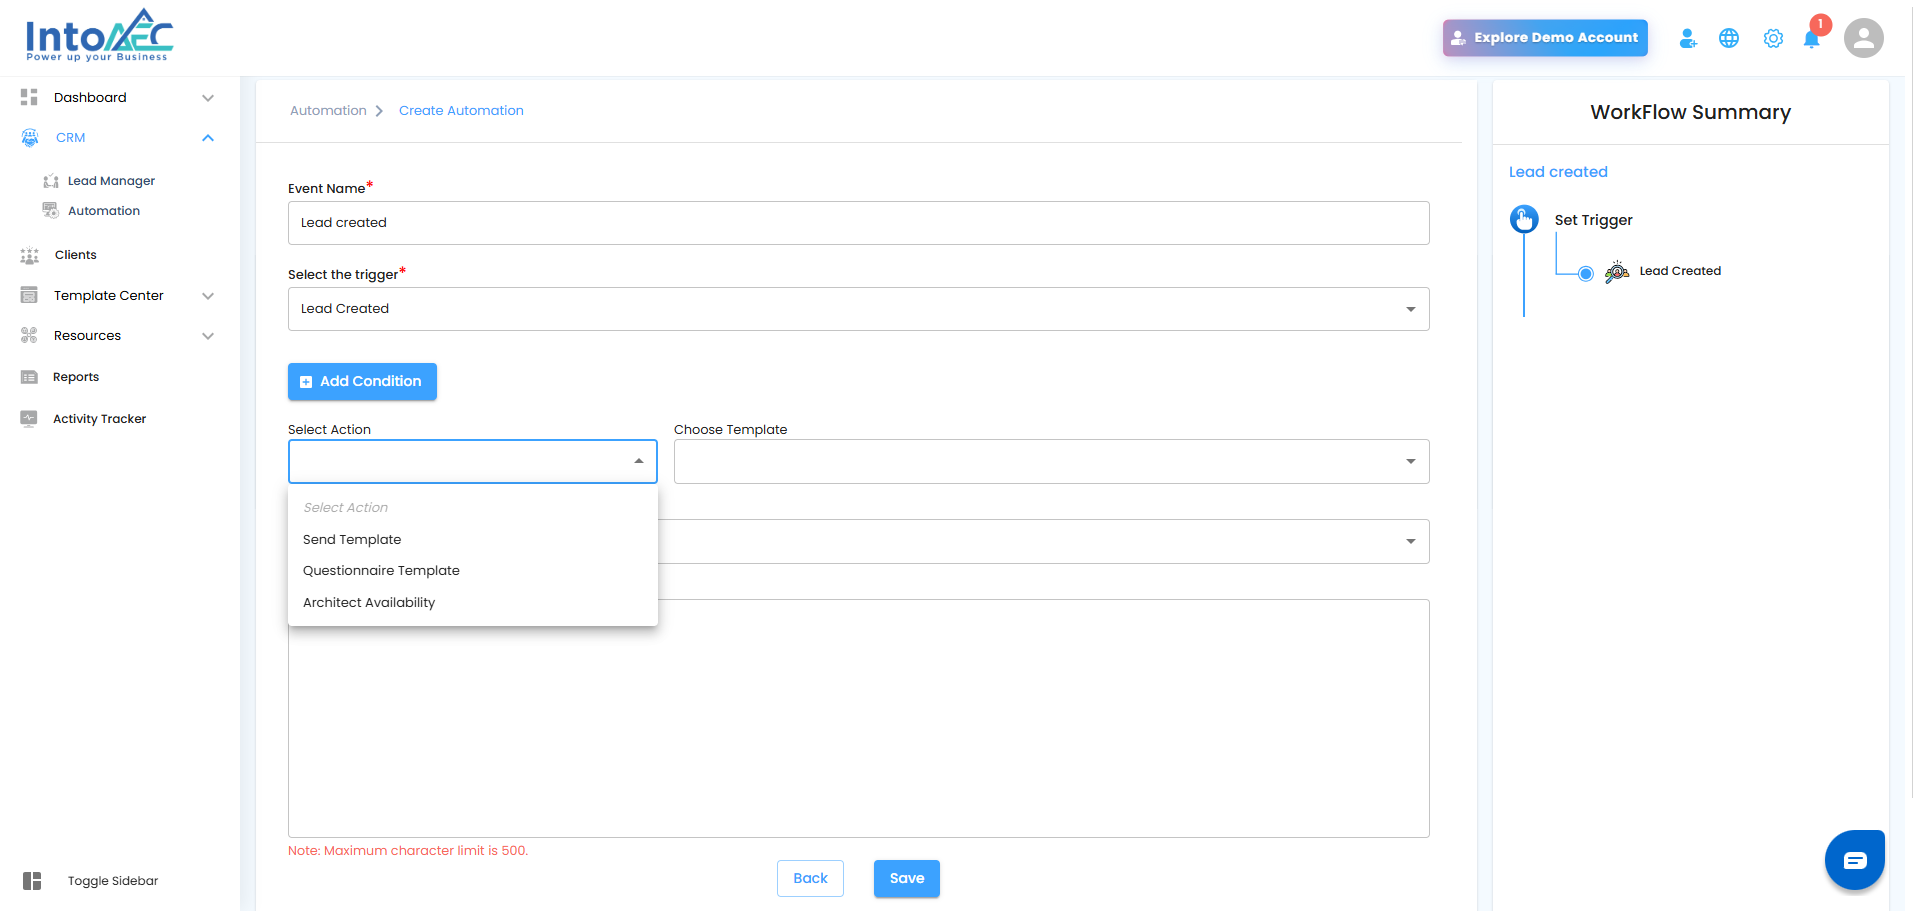
Action options include:
Send Template → Sends a predefined email template to the lead.
Questionnaire Template → Sends a questionnaire.
Architect Availability → Shares the architect’s calendar availability.
Important:
Pick the correct Template for your action.
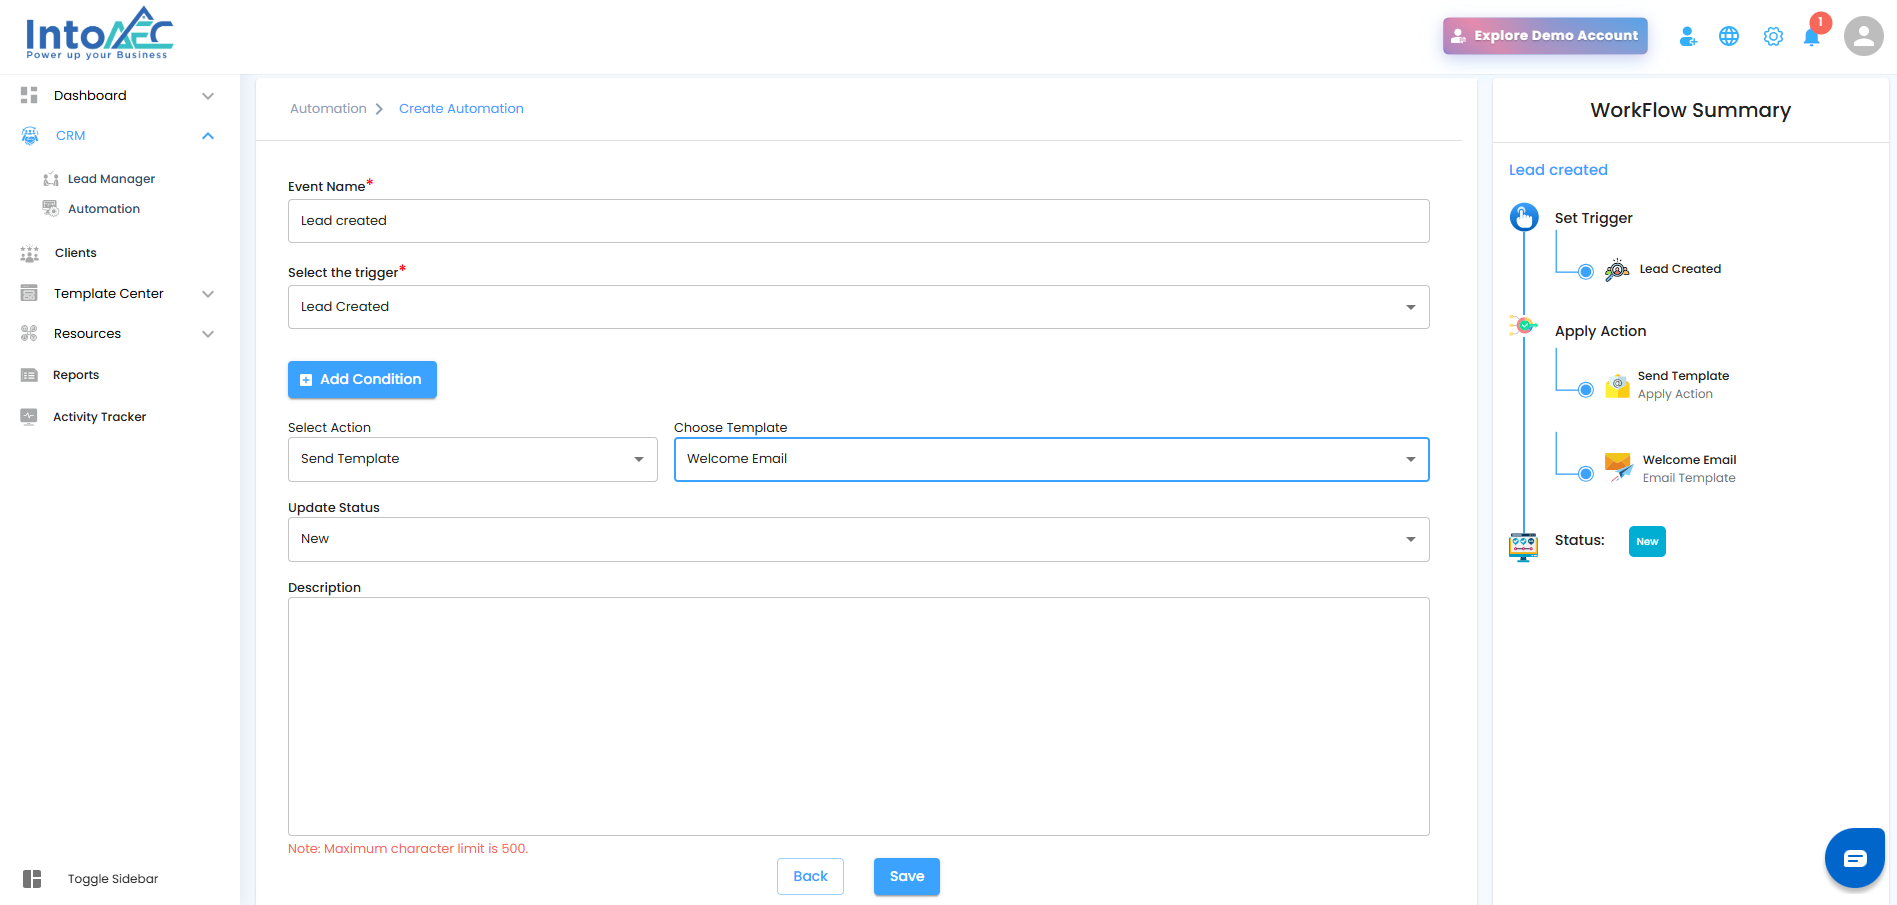
Add Update Status + Description so that every step is clearly documented and trackable.

Review Workflow Summary
On the right-hand side of the page, you’ll see the Workflow Summary Panel.
This panel gives you a live preview of your setup and displays:
Event Name
Trigger
Actions
Follow-ups
Conditions
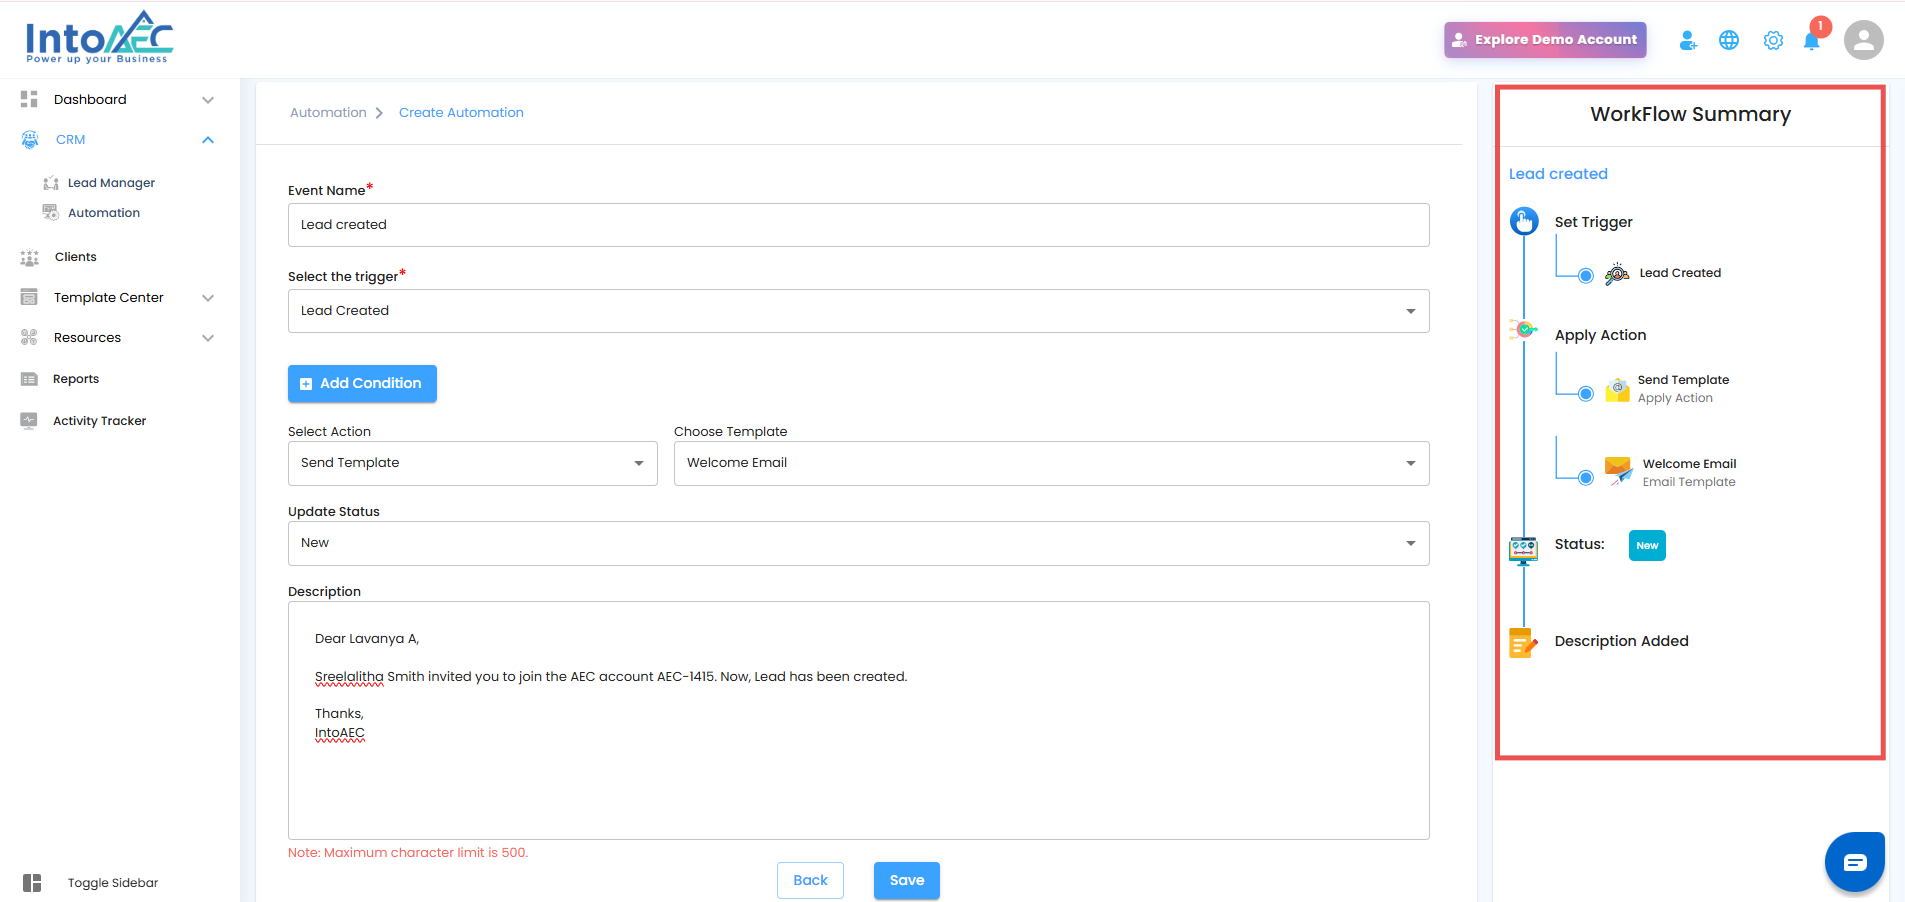
Treat it as your final checklist before launching.
Save the Automation
Happy with your setup?
Click Save.

Your automation is now added to the Automation List Table.
Pro Tip: Start with simple automations (like auto-sending thank-you emails) and gradually build advanced, multi-step workflows. The more you automate, the more time you win back for strategic work.
Was this article helpful?
That’s Great!
Thank you for your feedback
Sorry! We couldn't be helpful
Thank you for your feedback
Feedback sent
We appreciate your effort and will try to fix the article