Register Payment – Keeping Your Collections on Track
The Register Payment feature in IntoAEC helps you capture client payments seamlessly, ensuring every rupee is tracked and reflected instantly in the ledger.
How to Register a Payment
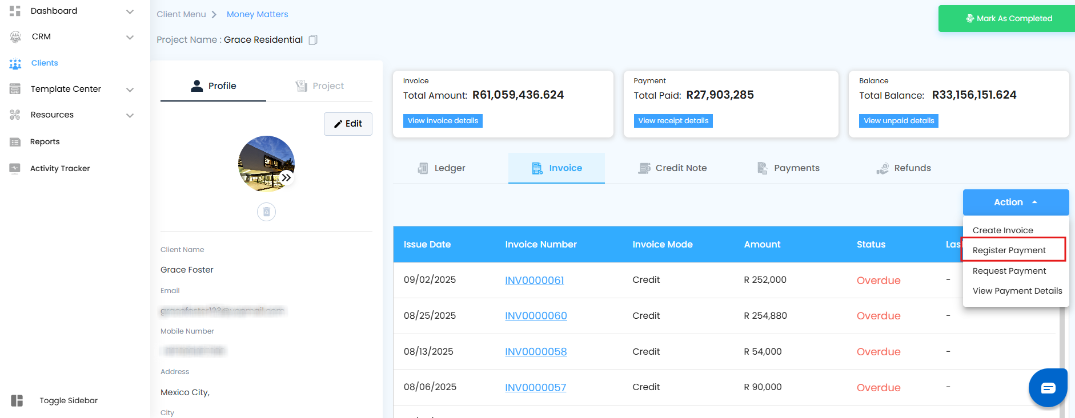
Navigate to Register Payment
Select Client → Choose the specific client.
Open Money Matters → Go to the Invoice Tab.

Click on the Action Dropdown and select Register Payment.
Payment Method Section
Once the amount is assigned in the Outstanding Invoices grid, specify how and when the payment was received:
Payment Type → Choose from Cash, Cheque, or Bank Transfer.
Payment Date → Enter the actual date of payment.

Outstanding Invoices – Apply Payments with Precision
This grid shows you all invoices with pending amounts. From here, you decide how the received payment should be applied.
Invoice → Unique identifier for each invoice.
Total → The full invoice value.
Scheduled Payments On → Displays installment due dates (if any).
Amount to be Paid → Expected installment amount or full invoice due.
Schedule Payment → If applicable, select the scheduled installment against which payment is being made.
Add Amount → Enter the exact amount received from the client.
Balance → Auto-calculated remaining balance after the payment is registered.

This ensures flexible handling — whether the client pays a full invoice, a scheduled installment, or even a partial amount.
Click Update Payment to finalize.
Ledger Auto-Update
As soon as the payment is registered:
A Receipt Entry is automatically created in the Ledger under Money Matters.
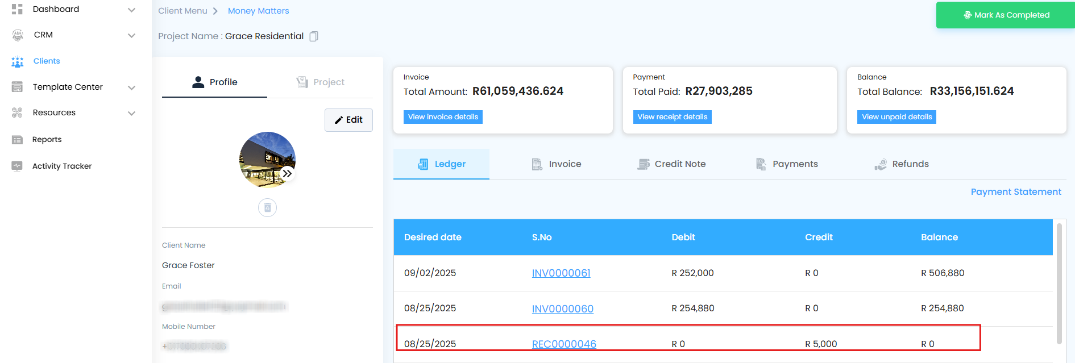
The running balance is updated in real time.
You can view or download the receipt instantly for records or client sharing.
With this structured process, you don’t just collect payments — you create a transparent financial trail for both your team and your clients.
Was this article helpful?
That’s Great!
Thank you for your feedback
Sorry! We couldn't be helpful
Thank you for your feedback
Feedback sent
We appreciate your effort and will try to fix the article