Comprehensive Procurement Management on the Vendor Portal
Procurement doesn’t have to feel like paperwork. On the Vendor Portal, it’s a smart, connected journey — from receiving your first quotation to downloading your final receipt. Every step is organized, traceable, and built for efficiency.
Let’s explore this step by step.
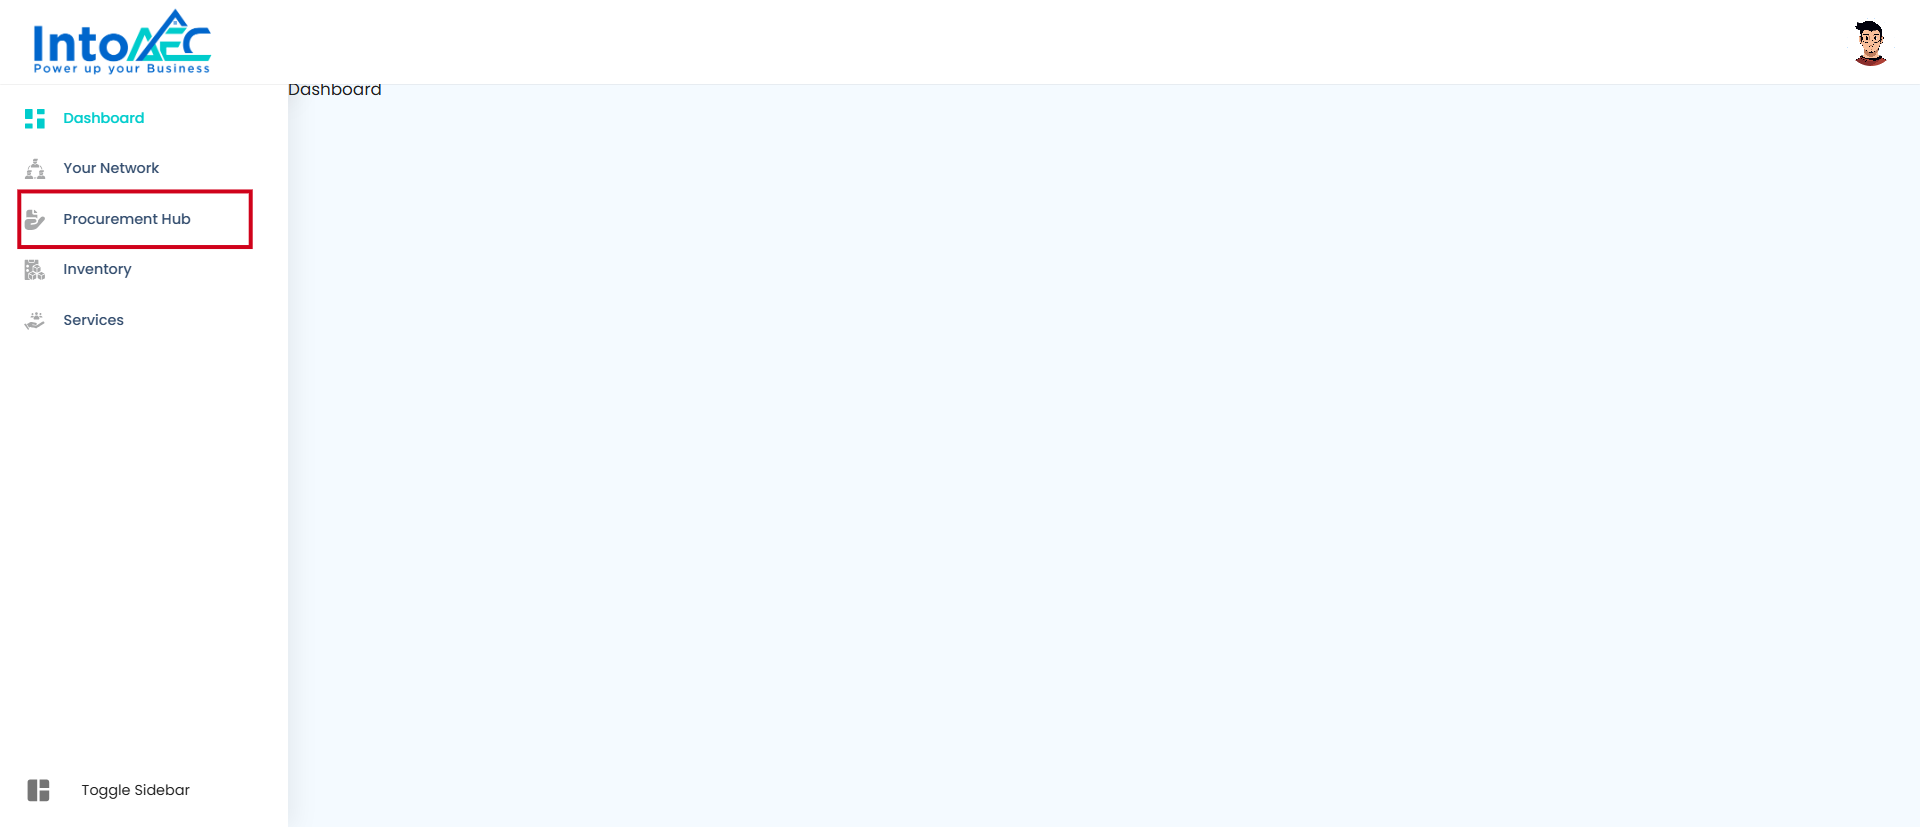
Enter the Procurement Hub
Navigate to Procurement Hub from the portal menu.
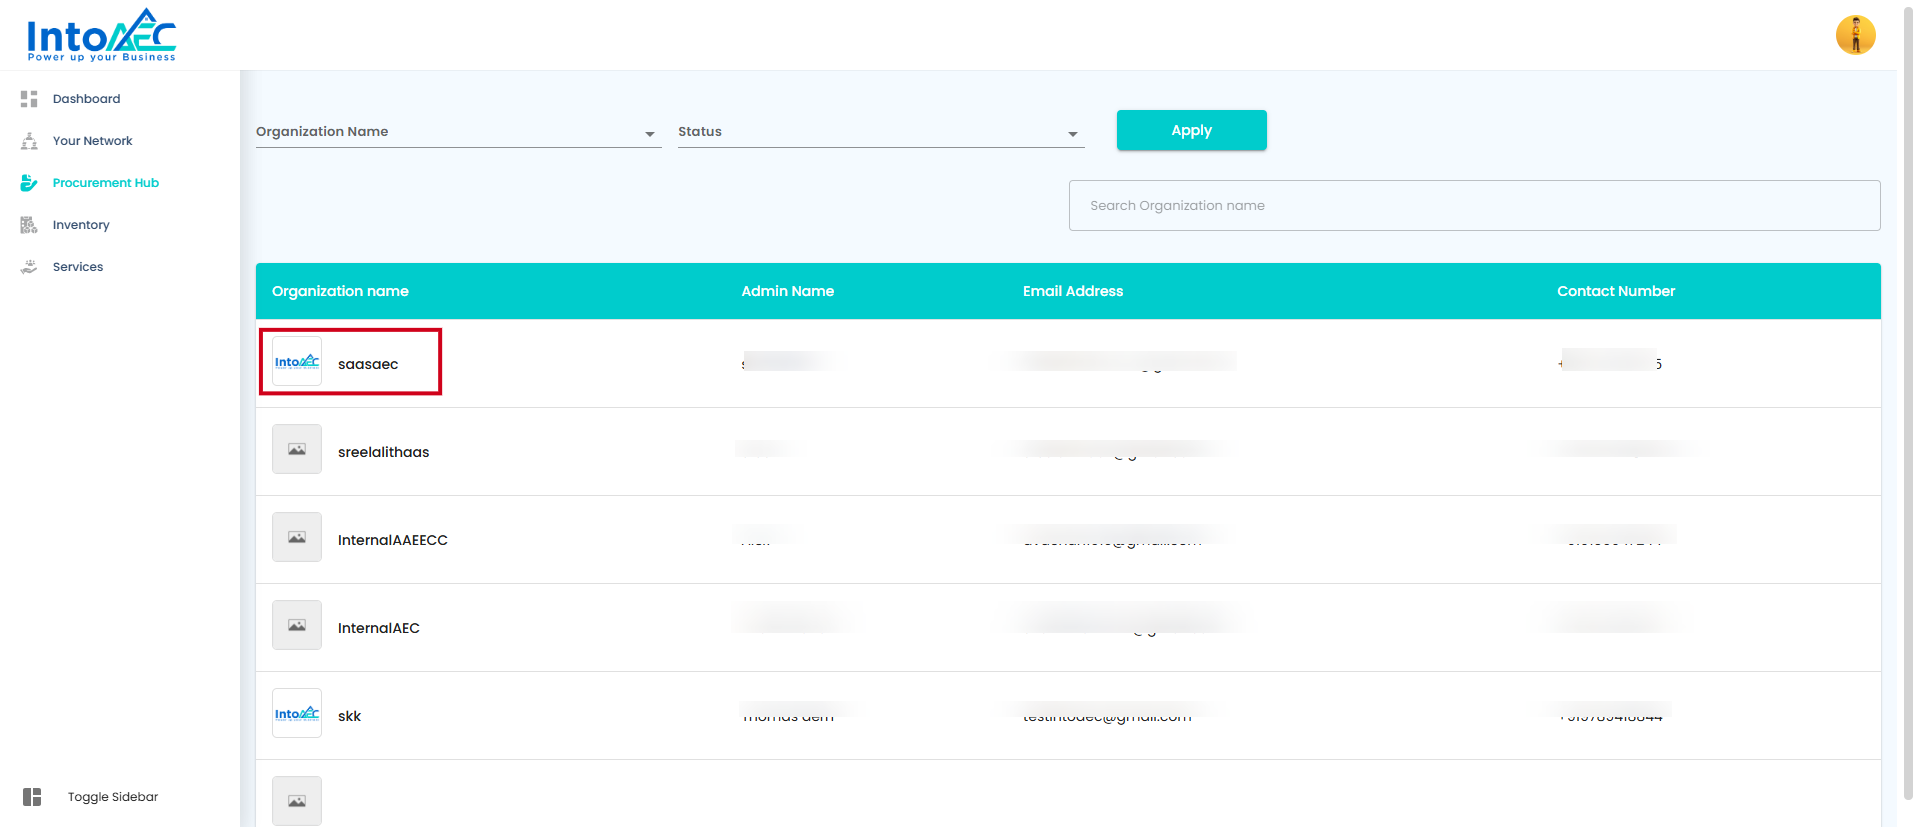
Select the organization whose procurement details you want to manage.
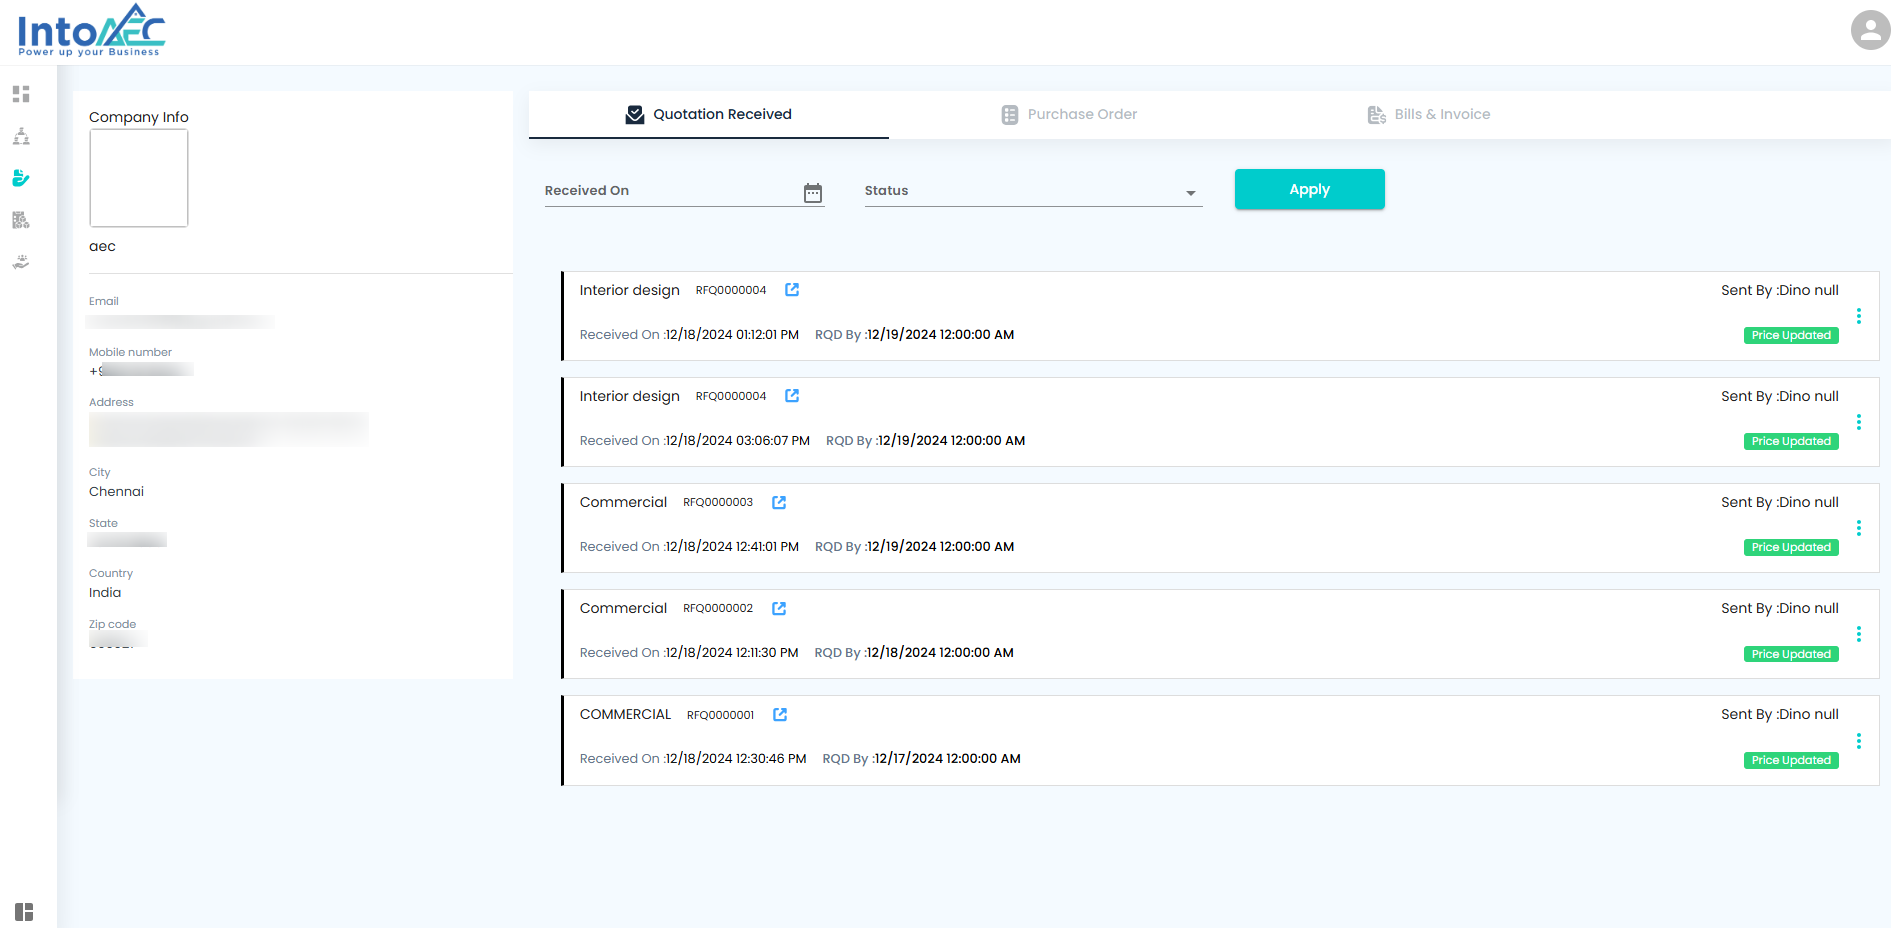
View Key Procurement Sections
The hub neatly organizes data into sections:
Quotation Received
Purchase Orders
Bills & Invoices
By default, the Quotation Received section is displayed as your starting point.
Think of this as the control tower where every procurement move begins.
Managing Quotations – Reviewing the Offers
Quotations are your first handshake with suppliers. The portal makes it effortless to review and decide.
Preview Quotation → Open and inspect details instantly.
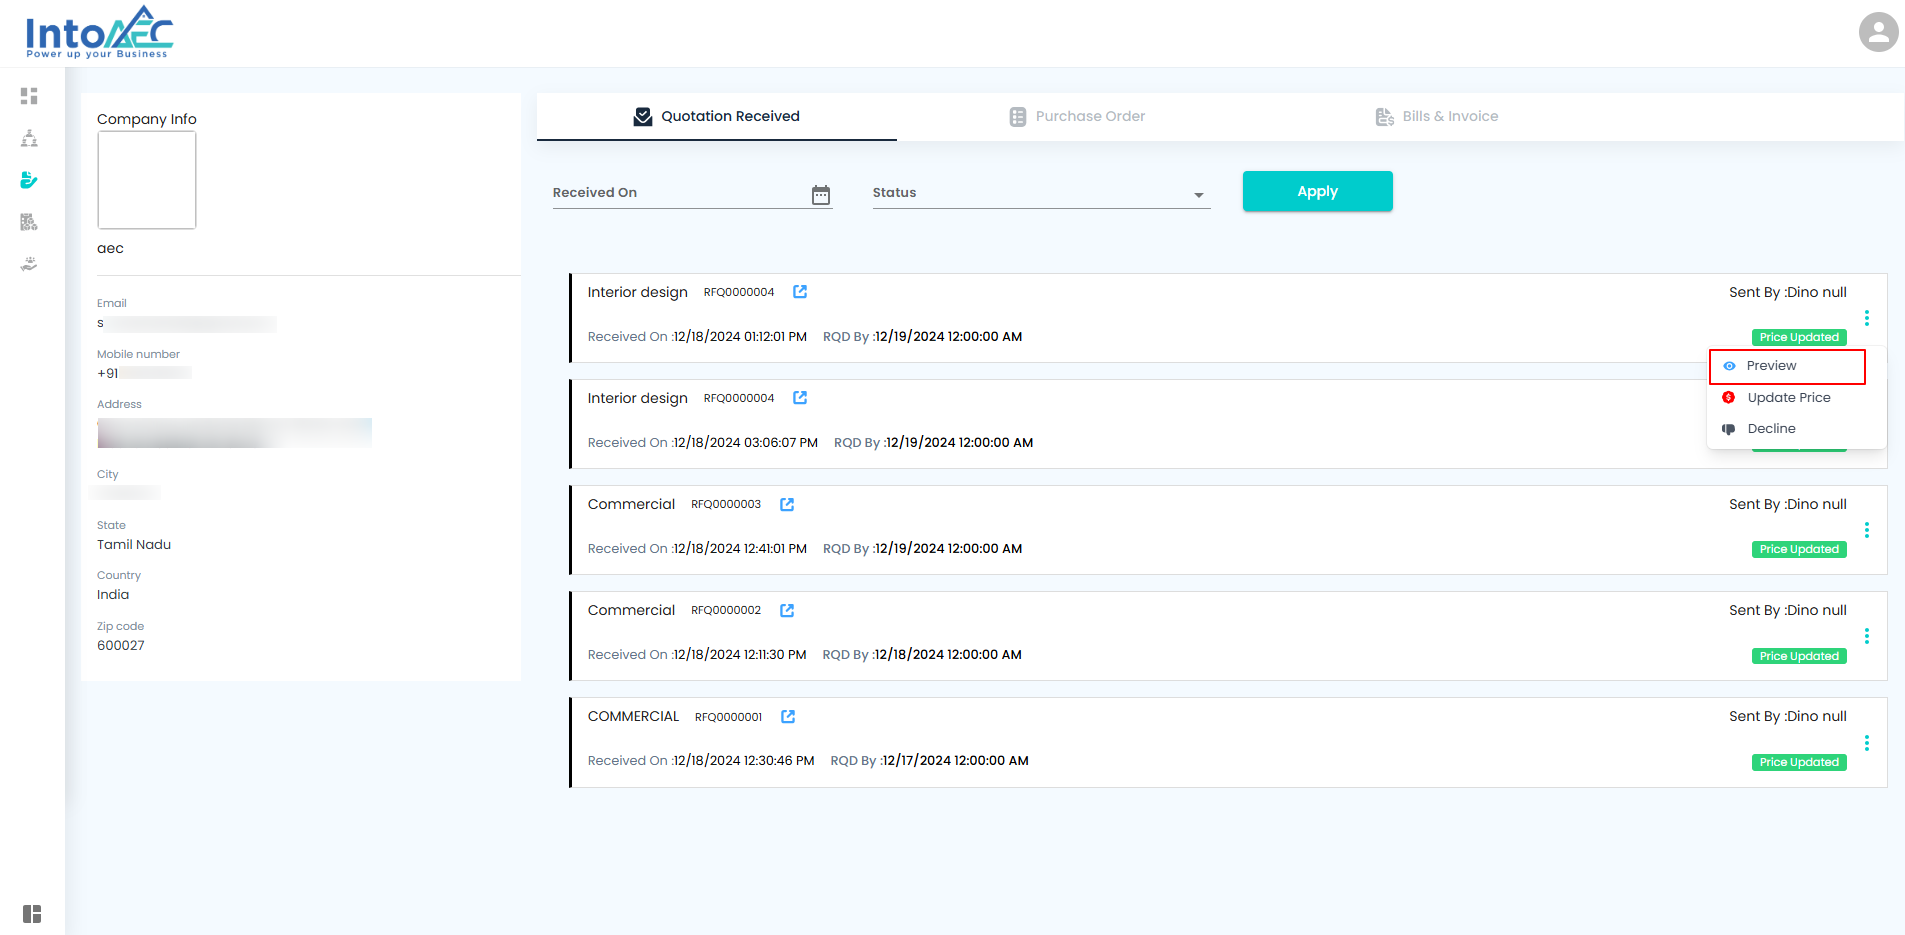
Update Price → Need adjustments? Edit and click Update to lock in changes.
Decline with Feedback → Reject with a reason/comment; the system auto-marks it as “Declined.”
Smart Filters → Enter a date range, click Apply, and instantly find the right quotations.
No clutter. Just clean, actionable offers — sorted, filtered, and crystal clear.
Purchase Order (PO) Management – Sealing the Deal
Once a quotation is accepted, it evolves into a Purchase Order. The portal ensures smooth tracking:
View POs → Instantly open and review the order details.
Filter POs by Date → Search based on a timeframe for quick tracking.
Accept PO → With one click, confirm and move forward.
Decline PO → If not feasible, decline; the PO is marked “Rejected” for transparency.
POs are more than documents — they’re your official agreements, neatly tracked and accessible.
Converting Purchase Orders into Invoices – The Magic Switch
The portal removes manual rework by allowing one-click conversion of accepted POs into invoices.
Convert Accepted PO → Click Convert to Invoice. Confirm with Yes in the popup.
Add Payment Schedule → Split into installments or due dates before creating the invoice.
Preview Invoice → Ensure every detail is correct; line items are locked for accuracy.
Finalize Invoice → Once ready, it appears in the Bills & Invoice grid.
This is where paperwork turns into progress — automatic, accurate, and efficient.
Invoice & Payment Management – Keeping Cash Flow Clear
Invoices are the backbone of procurement, and the portal ensures they’re organized and actionable.
Bills & Invoice Grid → View all invoices linked to their POs.
Edit Schedule Details → Modify payment schedules, due dates, or issue dates (while line items stay fixed for accuracy).
Register Payments → Record partial or full payments against the invoice.
Preview Invoice → Double-check all details before confirming.
Invoices here aren’t just bills — they’re financial trackers that keep your projects running smoothly.
Managing Receipts & Payment Tracking – Complete Financial Transparency
The Vendor Portal ensures that every rupee is accounted for — from pending dues to cleared payments.
View Invoice Details → Get a complete breakdown of any invoice; filter by date for accuracy.
View Receipt Details → Access all receipts; filter by date or payment method for quick reporting.
View Unpaid Details → Instantly identify outstanding invoices to take proactive action.
Make a Payment → Click Pay Now, select method, enter amount, and click Update Payment.
Payment Statements → Generate detailed statements for a full financial snapshot.
Download Receipt → Save official receipts instantly with the Download icon.
Every transaction tells a story. The portal ensures yours is always clear, accurate, and audit-ready.
Let's see about procurement detailly below.
Comprehensive Procurement Management on the Portal
The procurement hub offers a seamless and organized experience for managing all aspects of procurement, from quotations to invoices. Here’s a step-by-step guide to efficiently navigate the procurement process:
Accessing Procurement Details:
1. Navigate to Procurement Hub:
- Click on the "Procurement Hub" to access all procurement-related features.

2. Select an Organization:
- Choose the organization whose procurement details you want to view.

3. View Key Procurement Sections:
- The system will display the following key sections:
- Quotation Received
- Purchase Order
- Bills and Invoice
4. Default View - Quotation Received:
- By default, the Quotation Received section will be displayed.

Managing Quotations
1. Preview a Quotation:
- Click on the Preview option to view the details of any quotation.

2. Update Quotation Price:
- Click on the Update Price option.
- Edit the price as necessary and click "Update" to save the changes.
- You can also decline the quotation and leave comments by selecting the Decline option.

3. Declined Quotations:
- If declined, the quotation will be marked as "Declined" and displayed in the grid.


Filtering Quotations
Filter Quotations by Date:
- Enter the from-to dates and click on the Apply button to filter the quotations.

The Purchase Orders section will display all accepted and rejected POs.

Filter PO by Date:
Filter PO by Date:
- Enter the from-to dates and click on the Apply button to filter the PO.

Preview and Manage Purchase Orders:
- Click Preview to view the purchase order.

- To accept the PO, click on the Accept PO option.

Converting Purchase Order to Invoice
1. Convert Accepted PO to Invoice:
- After accepting the PO, the Convert to Invoice option will become available.

- Click on Convert to Invoice and confirm by clicking Yes in the pop-up.

2. Add Payment Schedule:
- Add the payment schedule and click Create to proceed.

3. View Purchase Order and Invoice:
- Accepted POs and the invoices created for them will be displayed in the Bills and Invoice grid.

Users can edit the schedule payment, due date, and issue date before registering a payment in the invoice.
The line items cannot be edited in the invoice page.
Users can preview the invoice to review all details before finalizing it.

Declining Purchase Orders
1. Decline PO:
- If necessary, click Decline PO to reject the purchase order.

- Rejected POs will be marked and displayed accordingly.

Managing Invoices
Edit an Invoice:
- To edit an invoice, click on the Edit option next to the invoice.

- After making the changes, click Update to save the edited invoice.

Managing Receipts and Payments
1. View Invoice Details:
- Click on View Invoice Details to see a complete breakdown of the invoice.

- You can also filter the details by date.

2. View Receipt Details:
- Click on View Receipt Details to display all receipt information.

- You can filter by date and payment method.

3. View Unpaid Details:
- Click on View Unpaid Details to view all unpaid invoices.

- Again, you can filter by date.

Make a Payment:
- To make a payment, click on the Pay Now button.

- Select the payment method, enter the amount, and click Update Payment to finalize the payment.

Payment Statement:
- Click on Payment Statement to view all payment statements.

Download Receipt:
- To download a receipt, click on the Download icon in the receipt section.

By following these steps, you can effortlessly manage procurement processes, from receiving quotations to making payments and handling invoices. The portal's streamlined interface ensures a seamless and organized experience, empowering you to manage all procurement activities with ease and precision.
Was this article helpful?
That’s Great!
Thank you for your feedback
Sorry! We couldn't be helpful
Thank you for your feedback
Feedback sent
We appreciate your effort and will try to fix the article