Converting an Accepted Estimate into an Invoice – Step-by-Step
Turning an accepted estimate into an invoice is straightforward in IntoAEC. Follow these steps to ensure accuracy and
efficiency.
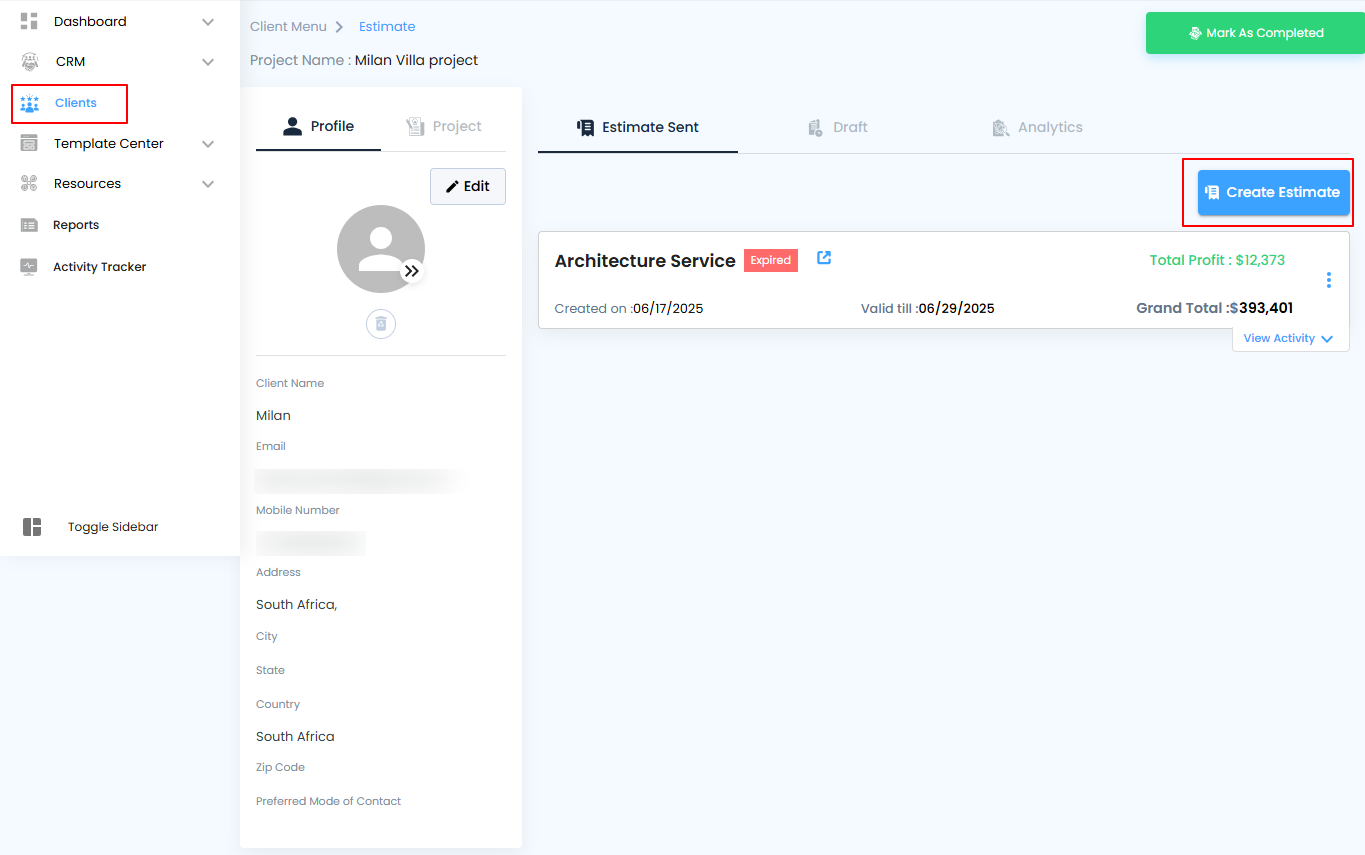
Step 1: Send an Estimate
- Navigate to Client > select the specific client > Estimate > Create Estimate.
- Fill in the estimate details as required and send it to the client for approval.
Pro tip: Double-check all client details and estimate items before sending to avoid errors later in invoicing
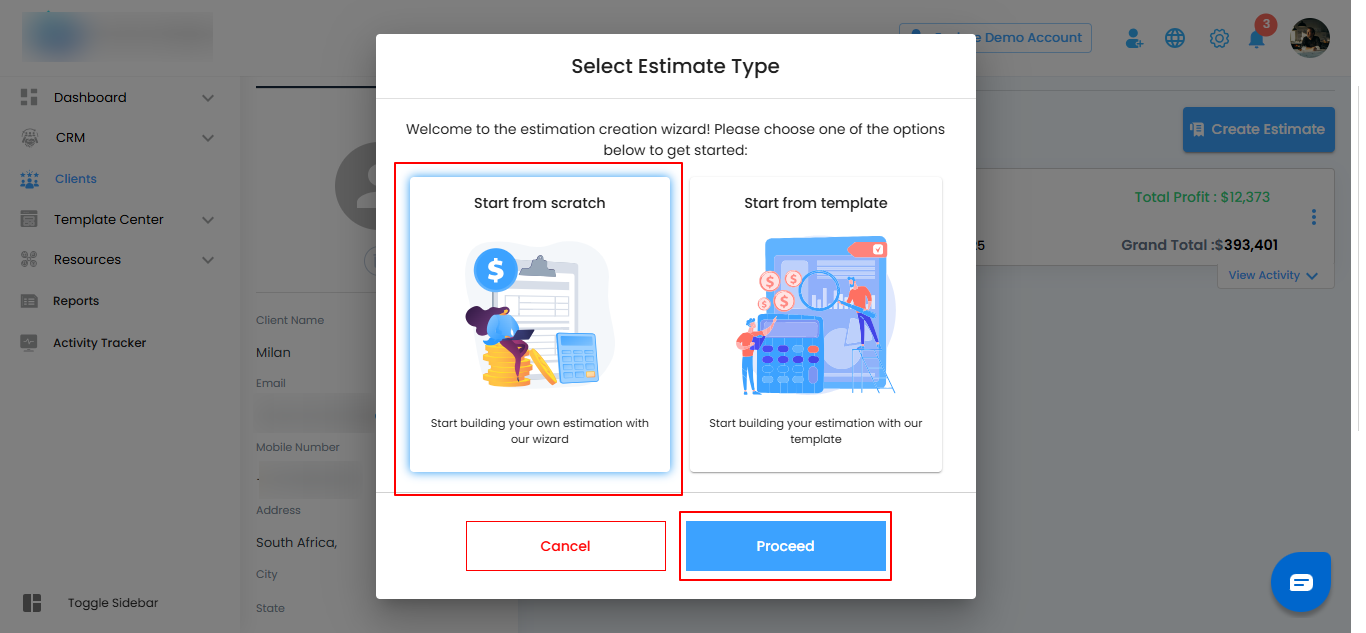
Choose Estimate Type
- Select the Estimate Type according to your project requirements.
- Click the Proceed button to move forward with sending the estimate.
Pro tip: Choosing the correct estimate type ensures consistency in billing and avoids confusion when converting it into an invoice later.
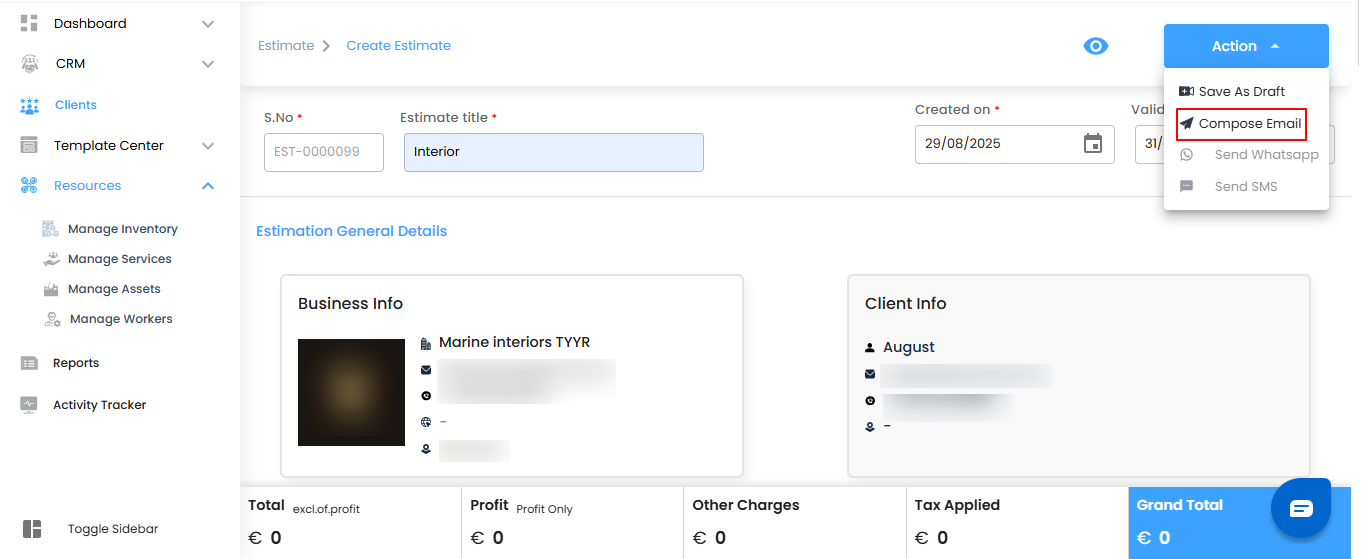
Fill in Estimate Details
- Enter all the required details in the estimate, including items, quantities, rates, and descriptions.
- Once completed, click the Action button to proceed with sending or managing the estimate.
Pro tip: Review all entered details carefully to ensure accuracy before sending the estimate to the client.

Compose and Send the Estimate
- Click Compose Email to open the email interface for sending the estimate.
- Review the email content and attachments to ensure all details are accurate.
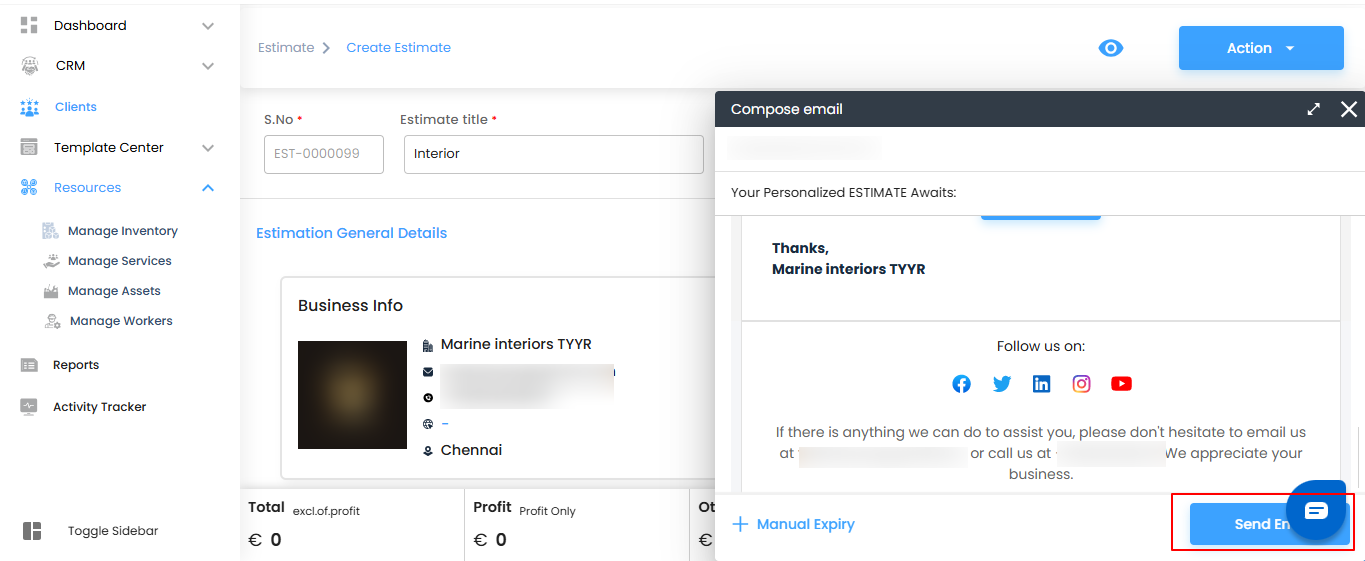
Send the Estimate
- After reviewing the email content, click Send Email to deliver the estimate to the client.
Pro tip: Double-check the recipient’s email and attached estimate before sending to ensure it reaches the right person without errors.
Client Confirmation
- The client opens their inbox and clicks on the estimate link.
- Click the Sign Estimate button to review and approve the estimate.
Pro tip: Encourage the client to carefully review all items and amounts before signing to ensure clarity and prevent disputes.

2. Upload/ draw the signature and click on " sign estimate".

Accept the Estimate
After reviewing and signing, the client clicks the Accept Estimate button to finalize approval.
Pro tip: Confirm with the client that all details are correct before acceptance—this ensures a smooth transition to invoice generation and project execution.

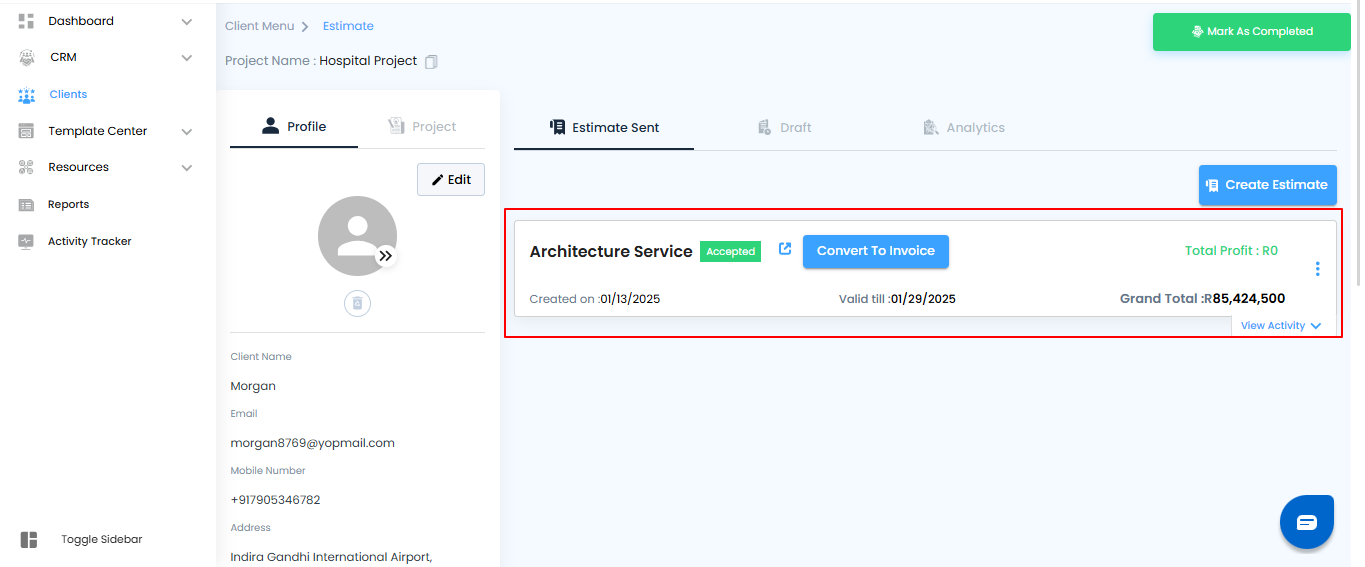
Convert Estimate to Invoice
- Once the client has accepted the estimate, a Convert to Invoice button will appear within the estimate.
- Click the button to start generating the invoice based on the approved estimate.
Pro tip: Make sure all estimate details are finalized before conversion—this ensures the invoice is accurate and ready for client billing.
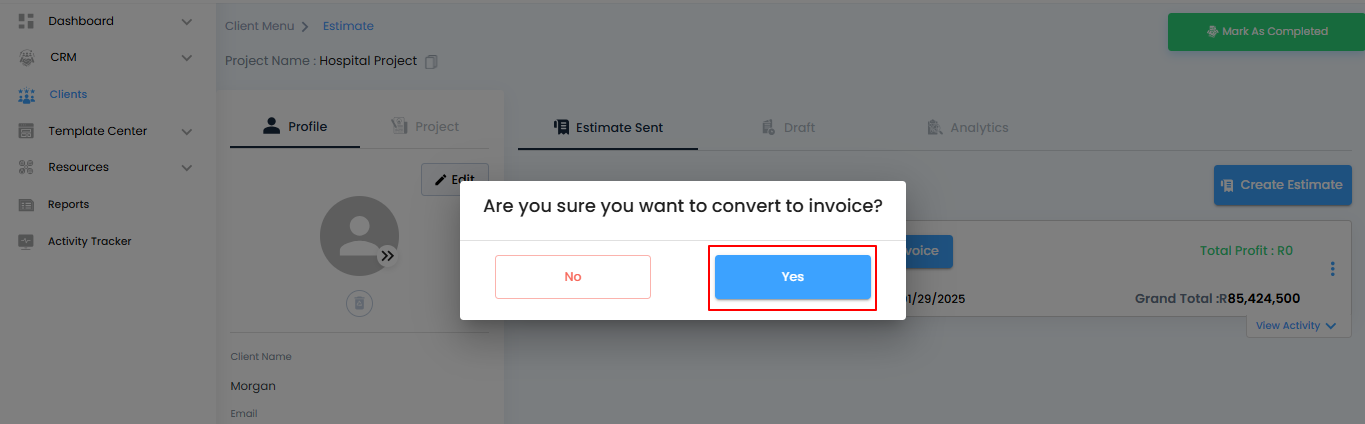
2. Click "yes".
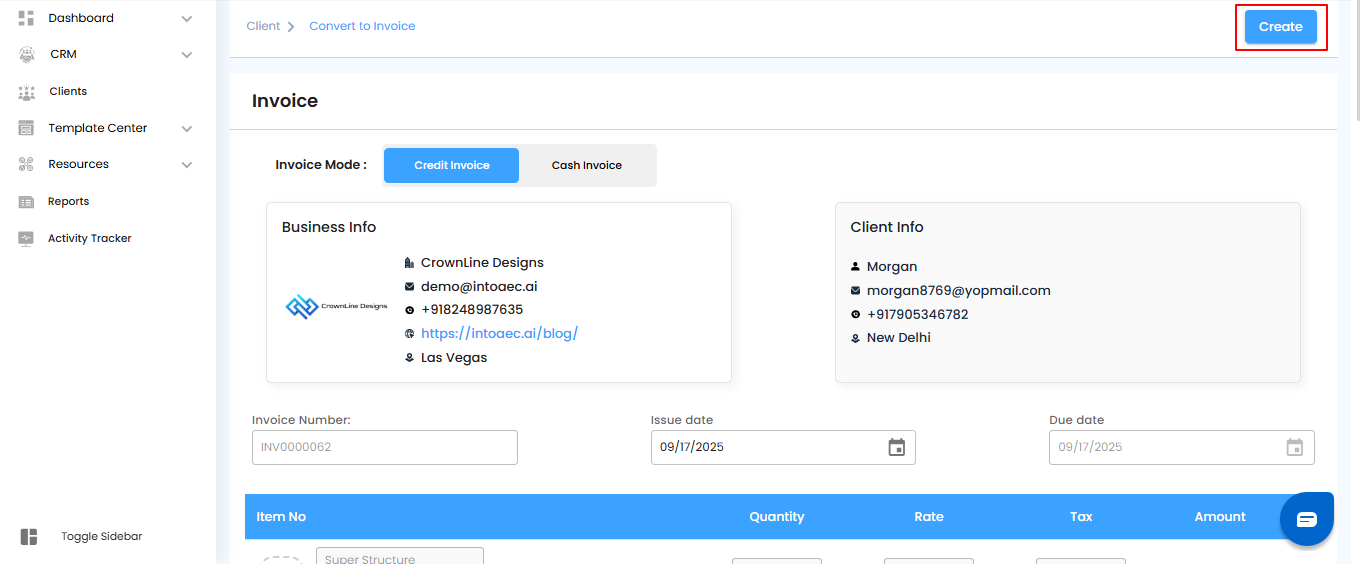
Review and Create the Invoice
- The converted invoice will be displayed for review.
- Make any necessary adjustments to the invoice details, such as quantities, rates, or descriptions.
- Click the Create button to finalize the invoice.
Pro tip: Carefully review all details before creating the invoice to ensure accuracy and avoid corrections later.
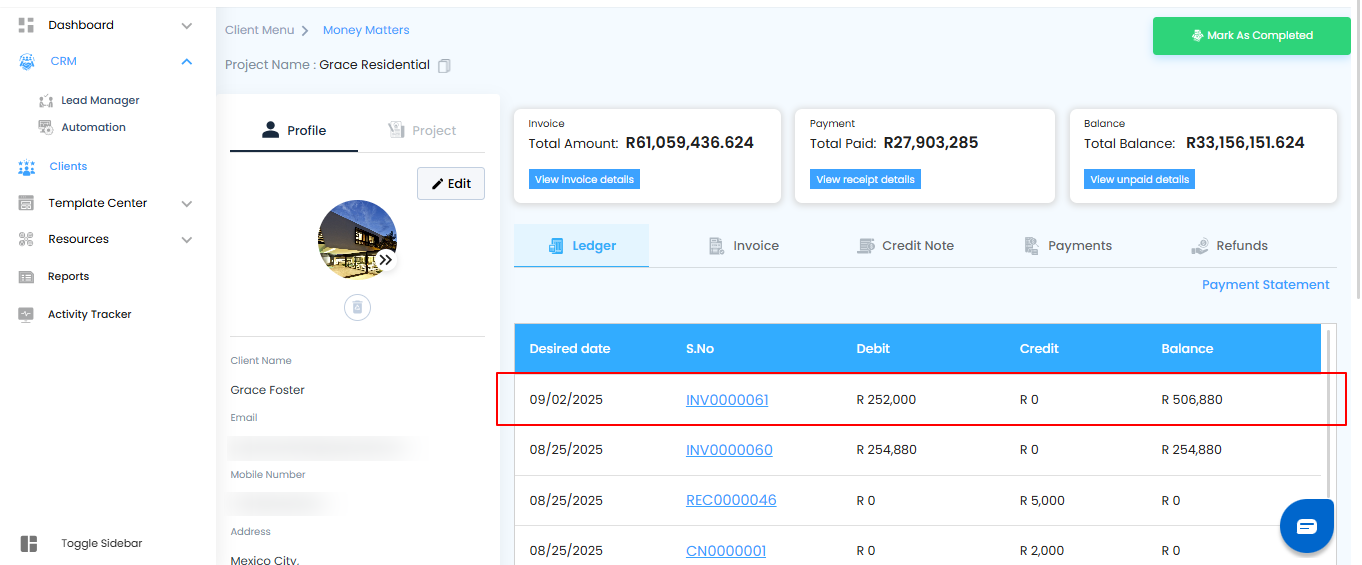
Invoice Created and Recorded
- Once finalized, the invoice will be created and automatically displayed in the Ledger under Money Matters.
- From here, you can track payments, manage records, and maintain a clear overview of your financials.
Pro tip: Regularly check the ledger to monitor payment status and ensure all invoices are accounted for.
Was this article helpful?
That’s Great!
Thank you for your feedback
Sorry! We couldn't be helpful
Thank you for your feedback
Feedback sent
We appreciate your effort and will try to fix the article