Enter Vendor Details and Send Invitation
Capturing the right vendor information at the start ensures a smooth onboarding process and avoids back-and-forth communication later.
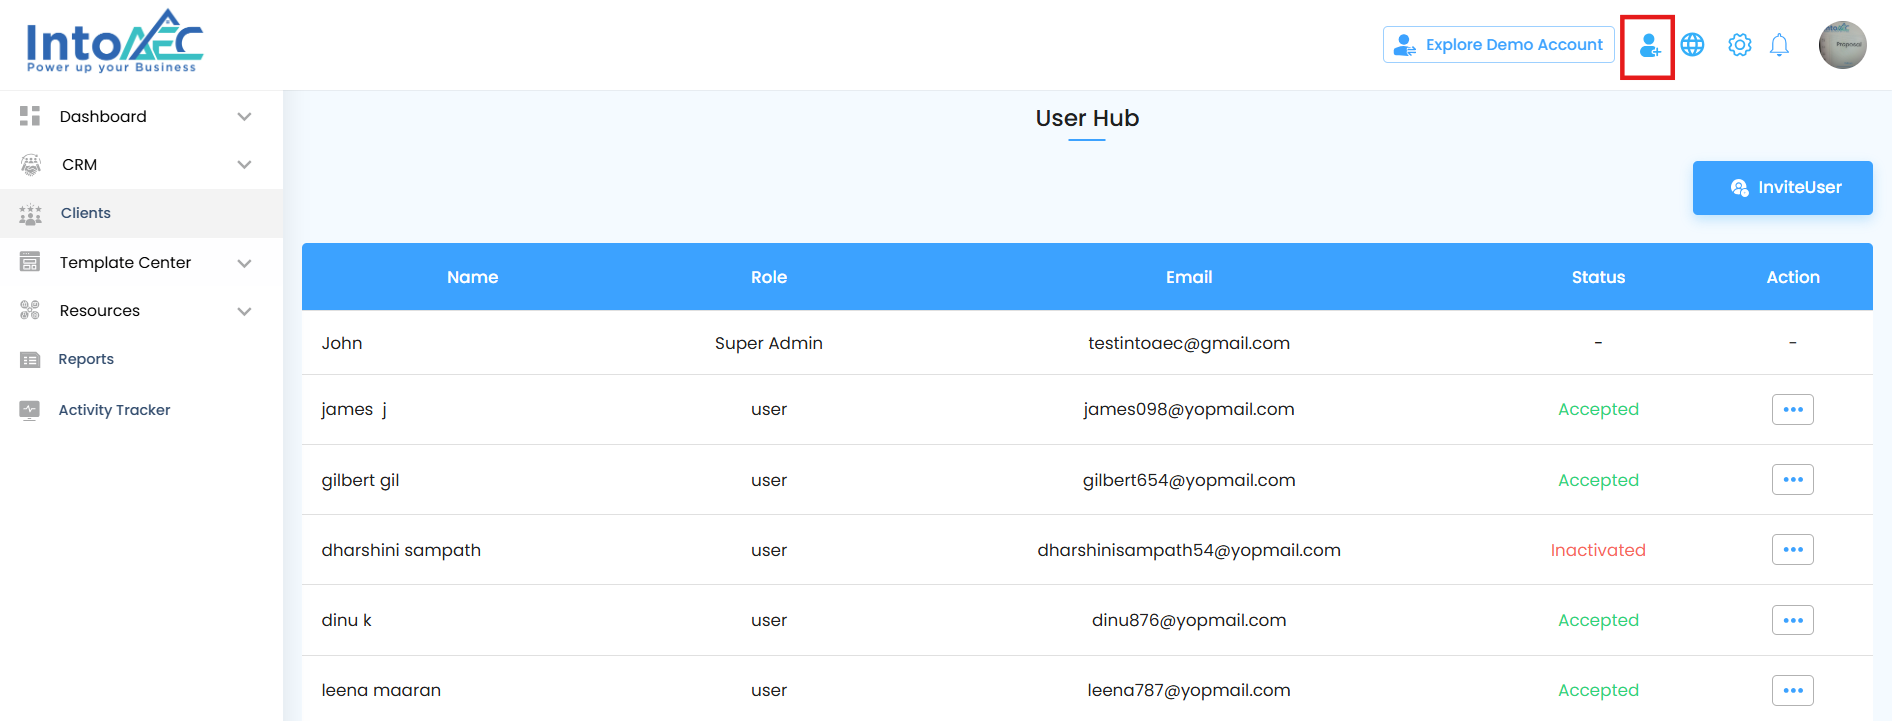
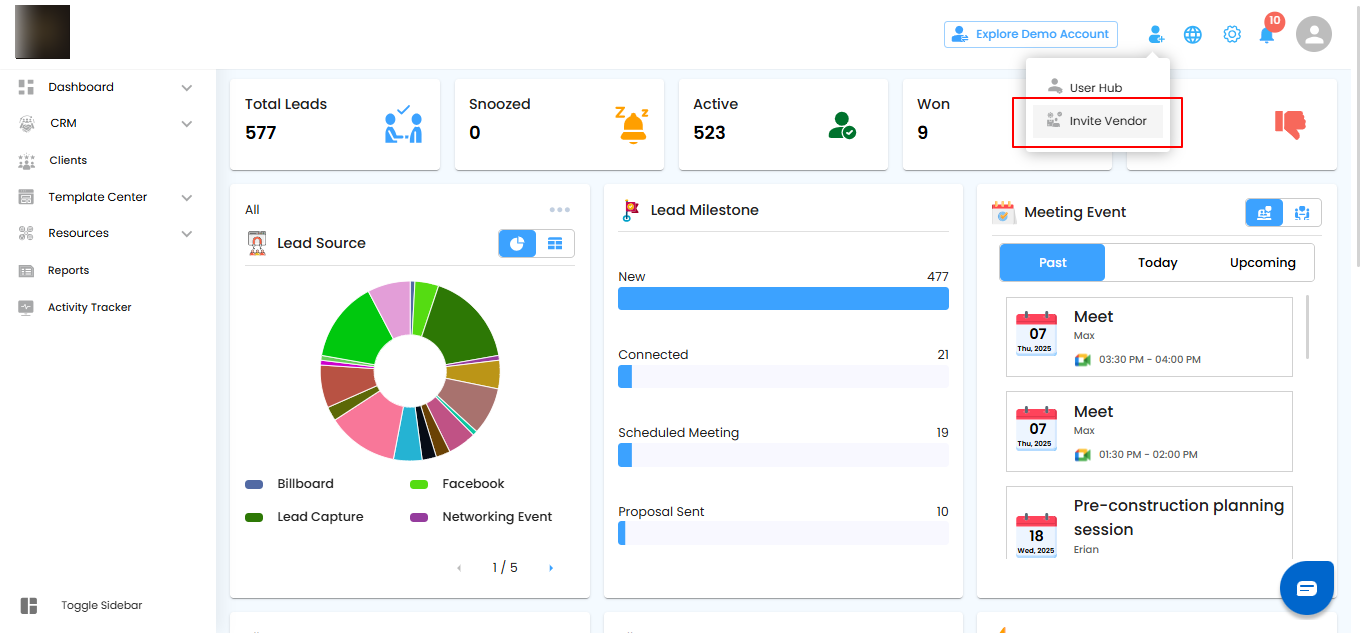
Steps to Complete the Invitation
Enter Vendor Details: In the pop-up window, fill in the vendor’s Name, Email Address, and other contact information.
Send the Invitation: Once all details are entered, click Send Invite to send the invitation directly to the vendor.
Pro tip: Double-check contact details before sending the invite — incorrect information can delay vendor approval and portal access.

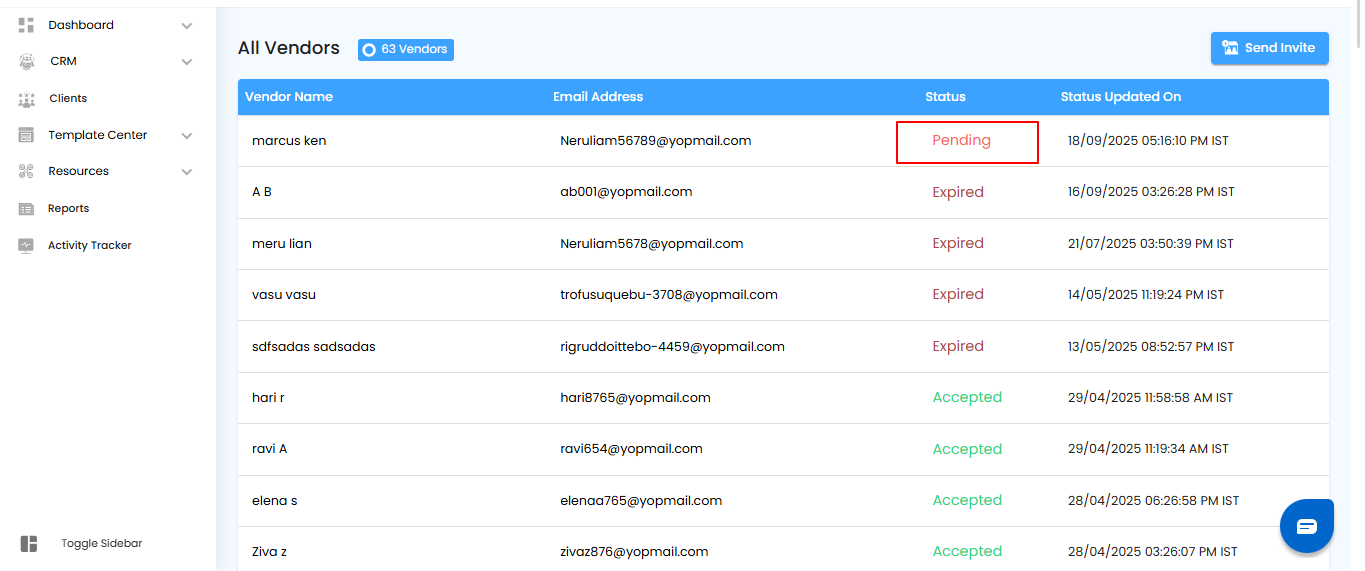
Vendor Invitation Status
Understanding vendor statuses helps you keep track of their onboarding progress with clarity and ease.
Pending Status
- If the vendor has not yet accepted the invitation, the status will display as Pending.
Accepted Status
- Once the vendor accepts the invitation, the status will update to Accepted, confirming their successful registration.
Pro tip: Regularly check pending invitations to follow up with vendors who haven’t accepted yet this helps avoid delays in collaboration.
Vendor Acceptance Process
Clear acceptance steps make it easy for vendors to join your network without confusion or delays.
Vendor Action
- The invited vendor will receive the invitation in their inbox.
- To join, they need to click on Accept Invite.
Access the Vendor Portal
- Once accepted, the vendor can log in using their credentials.
- The vendor will then have full access to the Vendor Portal based on the permissions assigned.
Pro tip: Remind vendors to check their spam or junk folder if they don’t see the invitation email right away.

Wrapping Up Vendor Invitations
- By following these steps, you can efficiently invite vendors and seamlessly integrate them into your system, ensuring smooth collaboration and streamlined management within the Vendor Portal.
Pro tip: Keep your vendor list updated — removing inactive vendors and tracking new ones helps maintain a clean, secure, and efficient portal.
Was this article helpful?
That’s Great!
Thank you for your feedback
Sorry! We couldn't be helpful
Thank you for your feedback
Feedback sent
We appreciate your effort and will try to fix the article