Seamless Inventory Management – Add Items Manually
In the world of project management and procurement, not every item comes ready-made in a predefined list. With INTOAEC’s Add Manually feature, you can effortlessly include new products, special orders, or custom items into your inventory. This keeps your stock organized, up to date, and perfectly suited to your project’s unique needs—all in just a few clicks.
Adding Items Manually to Inventory
If you want to add items manually to a group in the inventory, follow the steps below:
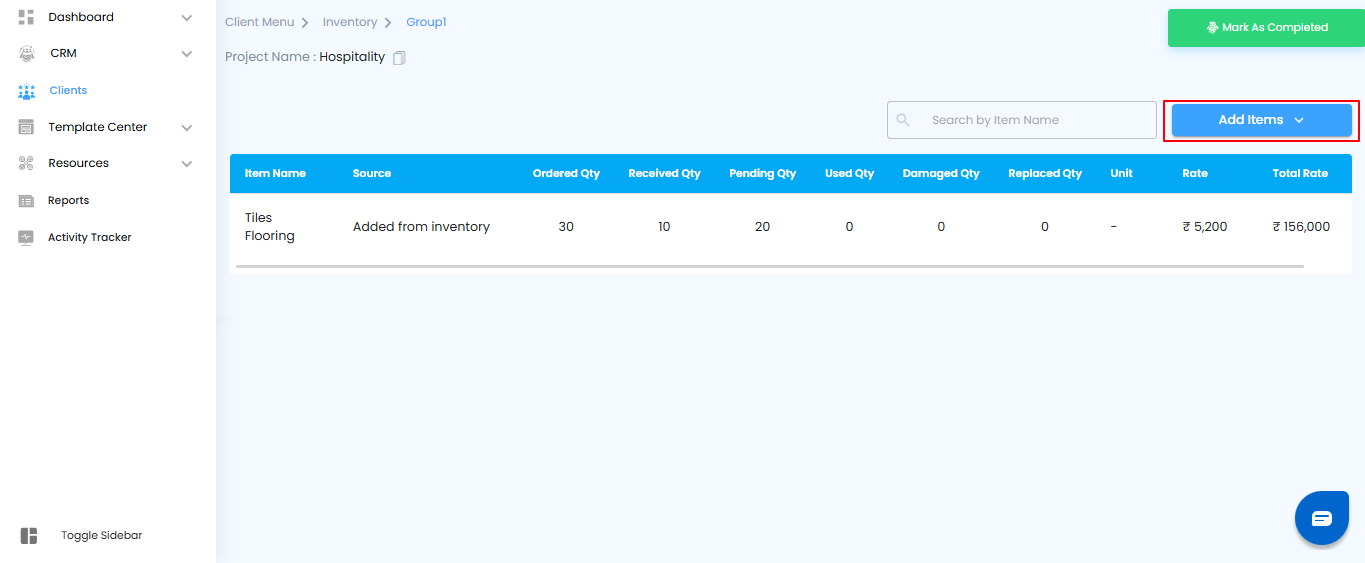
Open the Add Items Menu
- Go to the group’s inventory page.
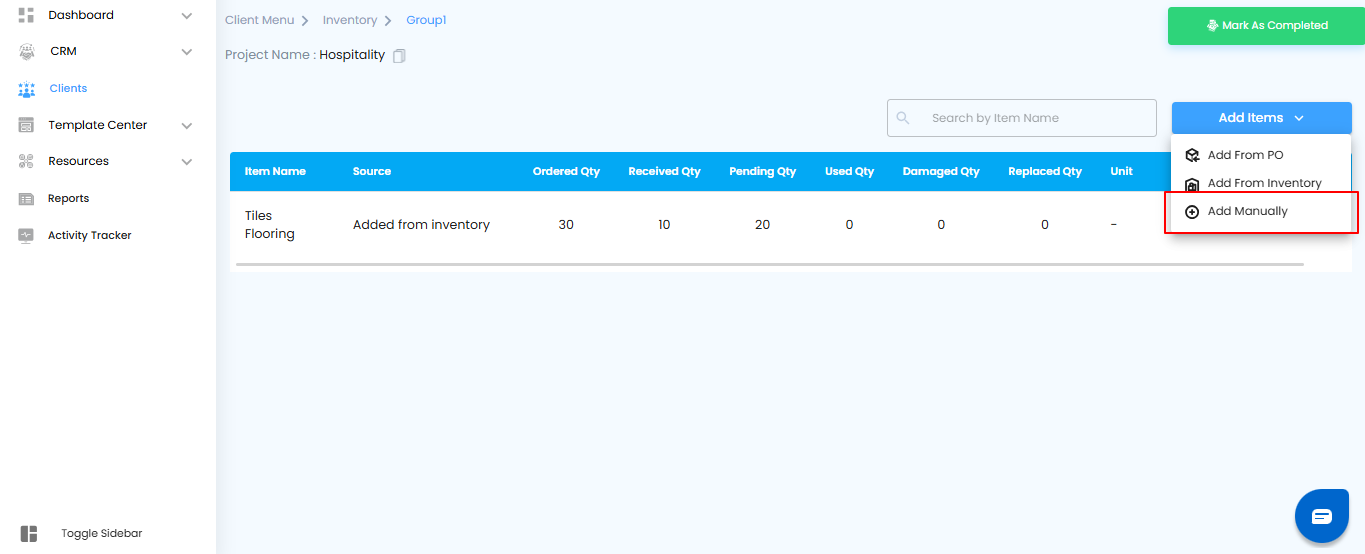
- Click on the Add Items button to reveal the available options
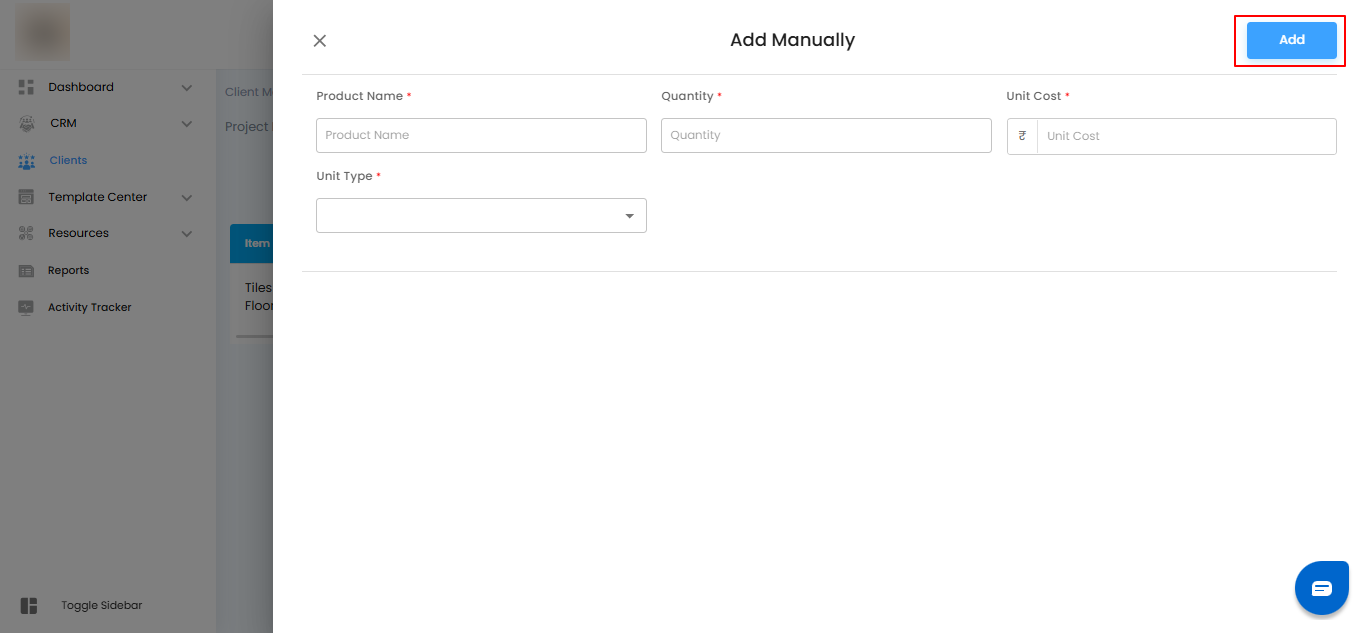
Enter Item Details
- In the Add Manually popup, provide the following required information:
- Product Name – Enter the name of the item.
- Quantity – Specify how many units you want to add.
- Unit Cost – Enter the cost per individual unit.
- Unit Type – Select the appropriate unit type from the dropdown menu.
- Once all the details are filled in, you’re ready to add the item to the inventory.
Pro Tip: Double-check the quantity and unit cost before adding the item. Accurate details help maintain precise inventory records and prevent discrepancies later.
Fill in Item Details
- In the Add Manually popup, provide the following required information:
- Product Name – Type in the name of the product.
- Quantity – Specify the number of units you want to add.
- Unit Cost – Enter the cost for a single unit.
- Unit Type – Choose the appropriate unit from the dropdown menu.
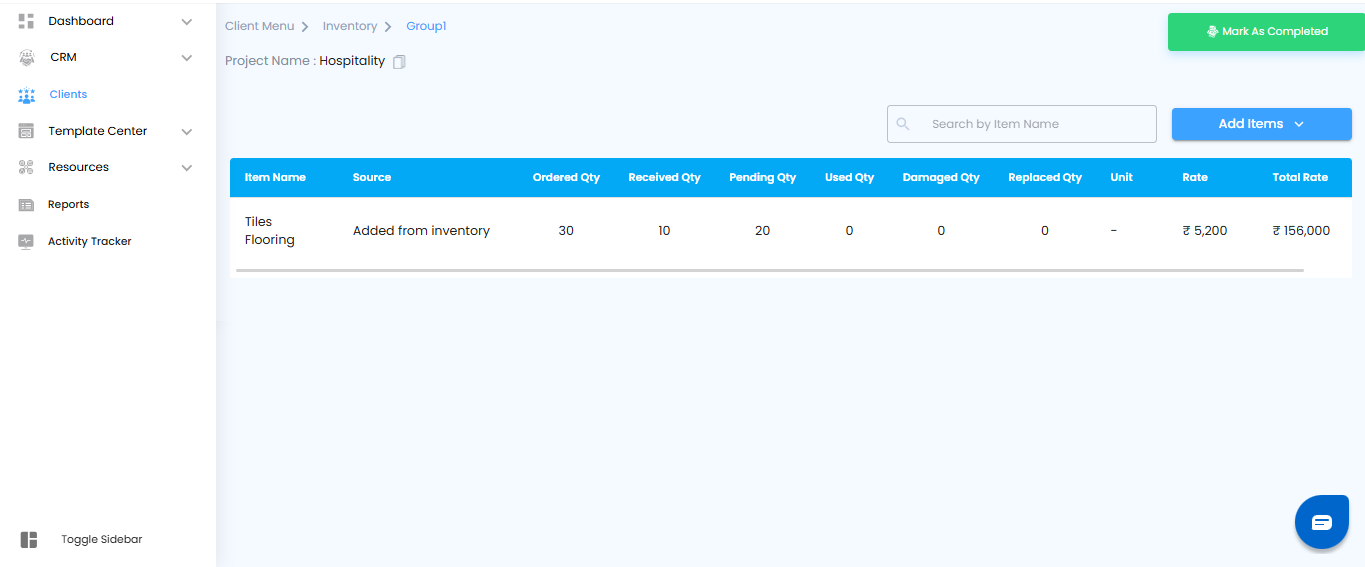
Add the Item to Inventory
- Once all required fields are filled, click the Add button.
- The item will now be added to the group’s inventory and will appear in the Items Table, ready for tracking, usage, or further management.
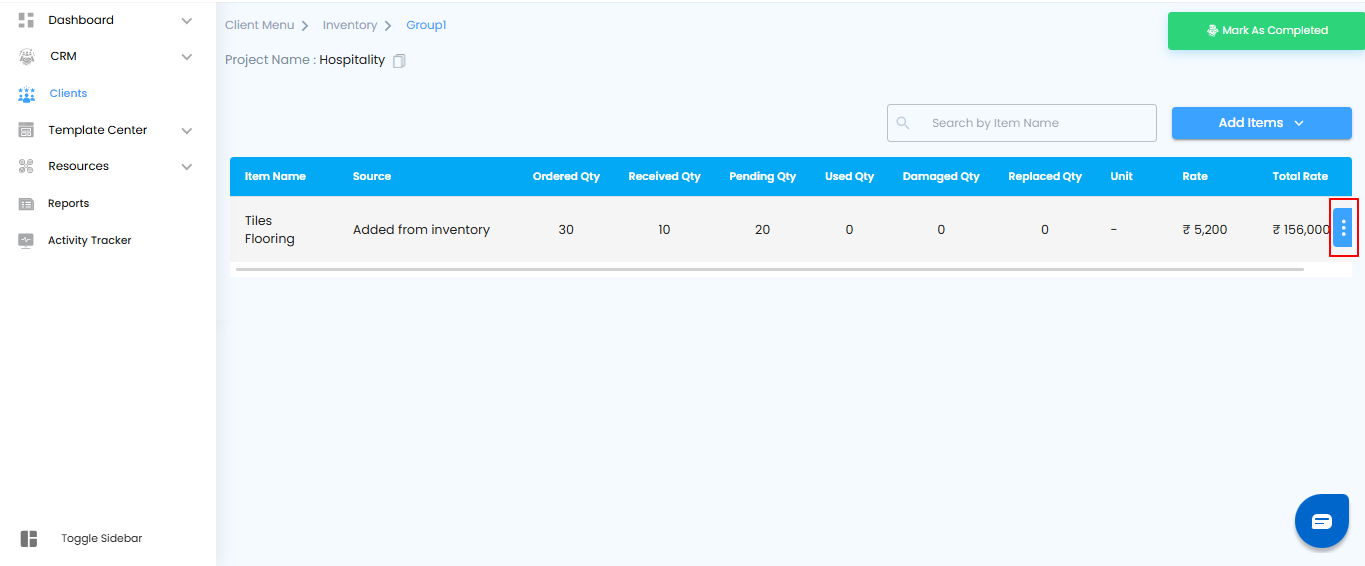
Viewing Added Items in the Items Table
After adding an item manually, it will appear in the group’s Items Table. The table provides a clear overview of each product with the following details:
- Item Name – The name of the product you added.
- Source – Shows Added manually to indicate how the item was included.
- Ordered Quantity – The total number of units added for the group.
- Received Quantity – Editable field to track how many units have been received.
- Pending Quantity – Automatically calculated based on the difference between ordered and received quantities.
- Used Quantity – Editable field to track how much stock has been used.
- Damaged Quantity – Editable field to record any damaged items.
- Replaced Quantity – Editable field to track replacements.
- Unit Rate – The cost per unit of the product.
- Total Rate – Automatically calculated as Unit Rate × Ordered Quantity.
Pro Tip: Regularly update the editable fields like Received, Used, Damaged, and Replaced quantities to keep your inventory records accurate and up to date.
Managing Added Items
- Once an item has been added, you can perform several actions to manage it efficiently.
- Hover over the item in the Items Table, and a three-dot menu will appear at the end of the row.
- Clicking this menu reveals options to move to inventory, convert, or delete the item, giving you full control over your inventory.
Convert to Expense
- If an item needs to be recorded as a project expense, you can easily convert it:
- Click the three-dot menu (⋮) next to the item.
- Select Convert to Expense.
A Convert to Expense pop-up will appear, prompting you to enter the payment information required for the expense.
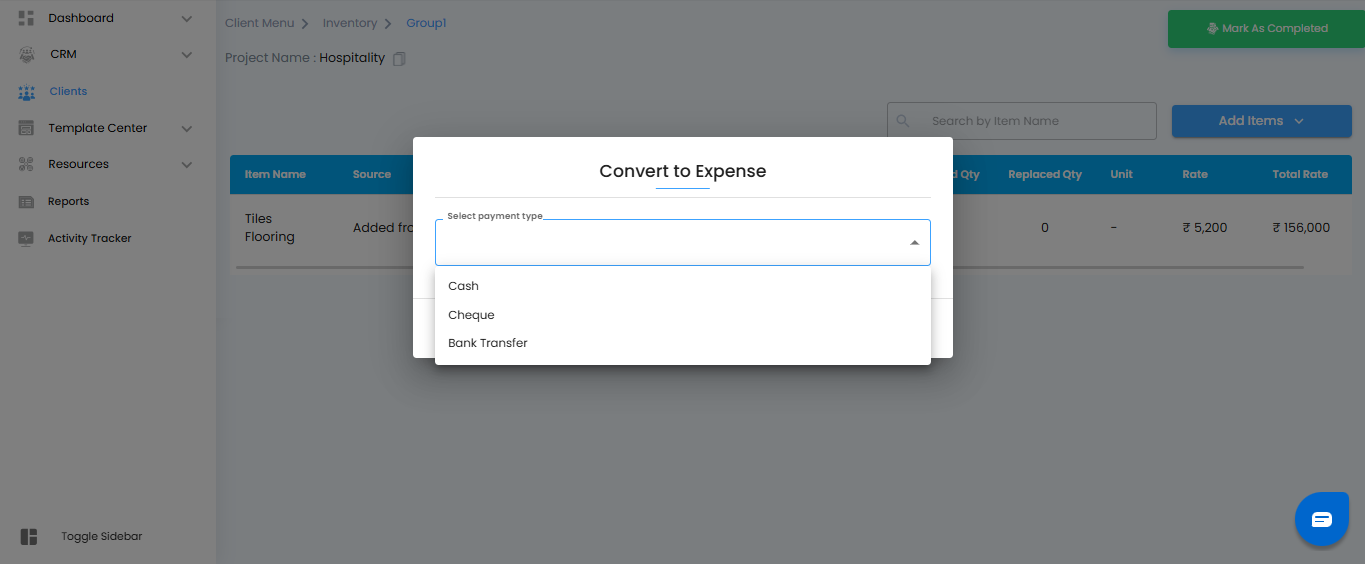
Selecting Payment Type and Confirming Conversion
- In the Convert to Expense popup, use the Select Payment Type dropdown to choose the method of payment:
- Cash
- Cheque
- Bank Transfer
- After selecting the payment type, click Yes to confirm the conversion.
The item is now successfully recorded as a project expense in the system.
Deleting an Item
- If the item is no longer needed:
- Click the three-dot menu (⋮) next to the item and select Delete.
- A confirmation popup will appear asking if you are sure you want to remove the item.
- Click Yes to confirm deletion.

Pro Tip: Use the delete option carefully. Once removed, the item is permanently deleted from the group’s inventory table.
Was this article helpful?
That’s Great!
Thank you for your feedback
Sorry! We couldn't be helpful
Thank you for your feedback
Feedback sent
We appreciate your effort and will try to fix the article