Detailed Guide to Adding a Received Payment
Recording received payments ensures your financial records remain accurate and up to date. Follow these steps to add a payment:
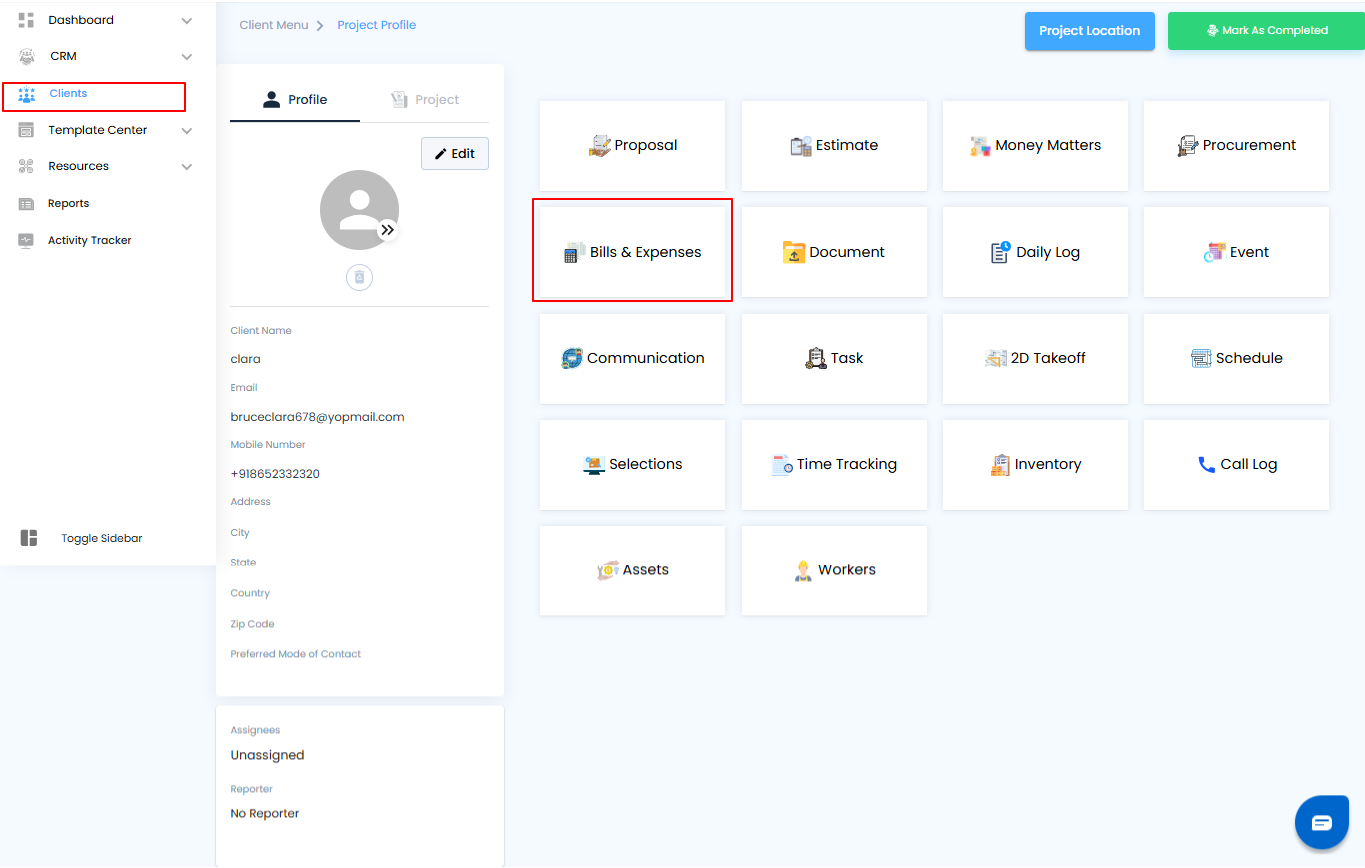
Step 1: Navigate to Bills and Expenses
- From the main menu, select Client.
- Choose the specific client.
- Open the Bills and Expenses section.
Pro Tip:
Always match the received payment with the correct invoice to avoid reconciliation issues later. Keeping notes (like transaction ID or payment method) can make future audits and tracking much easier.
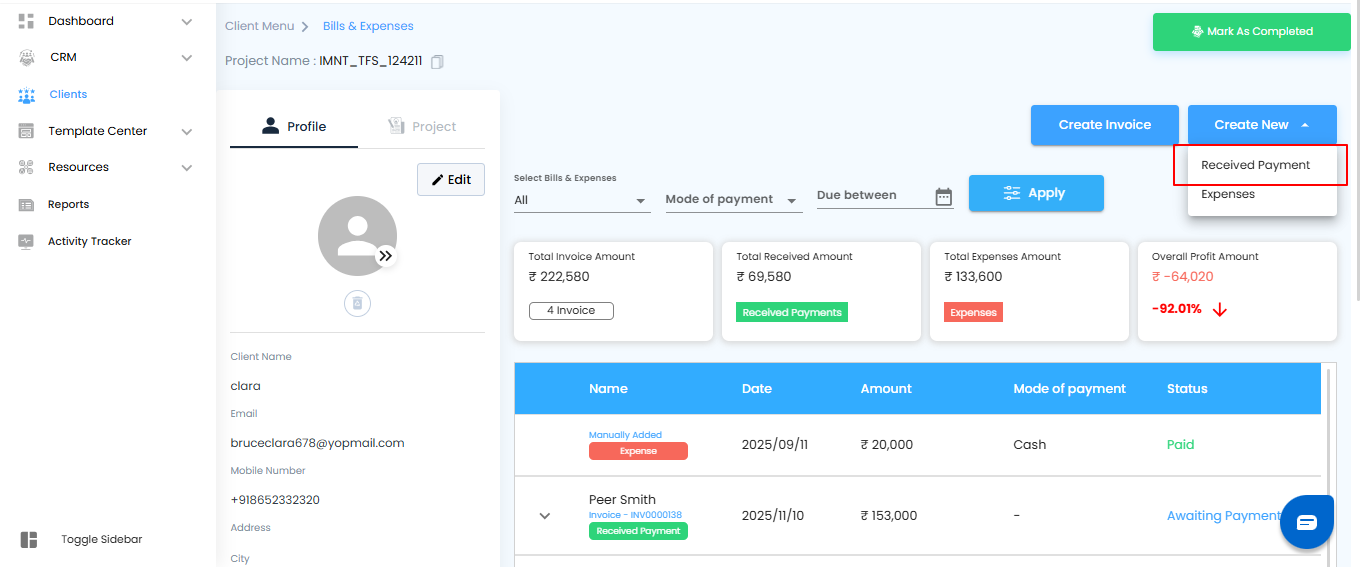
Step 2: Create a New Received Payment
- Click on Create New.
- From the available options, select Received Payment.
Pro Tip:
Double-check that you’re creating a Received Payment and not another financial entry (like an expense) to keep your records accurate.
Step 3: Enter Payment Details
- The Received Payment form will open in an off-canvas view.
- Fill in all the required fields, such as payment amount, method, and date.
- Once completed, click Save to finalize the entry.

Fields in the Received Payment Off-Canvas Form
- When adding a received payment, complete the following fields:
- Name: Enter the name associated with the payment (required).
- Date: Select the date the payment was received using the calendar picker (required).
- Amount: Specify the exact amount received (required).
- Payment Type: Choose the payment method (e.g., card, cash, bank transfer).
- Description: Add any relevant details or notes about the payment for future reference.
- File Upload: Drag and drop up to 4 files (images or PDFs) to attach supporting documents, such as receipts or bank slips.
Pro Tip:
Uploading receipts or transaction slips ensures better record-keeping and simplifies audits or client queries later.
Action Buttons
- Save: Click this button to submit the payment information you’ve entered and record the received payment in the system.
Pro Tip:
Before clicking Save, double-check all required fields (Name, Date, Amount). Correcting errors after saving may require additional steps or edits.
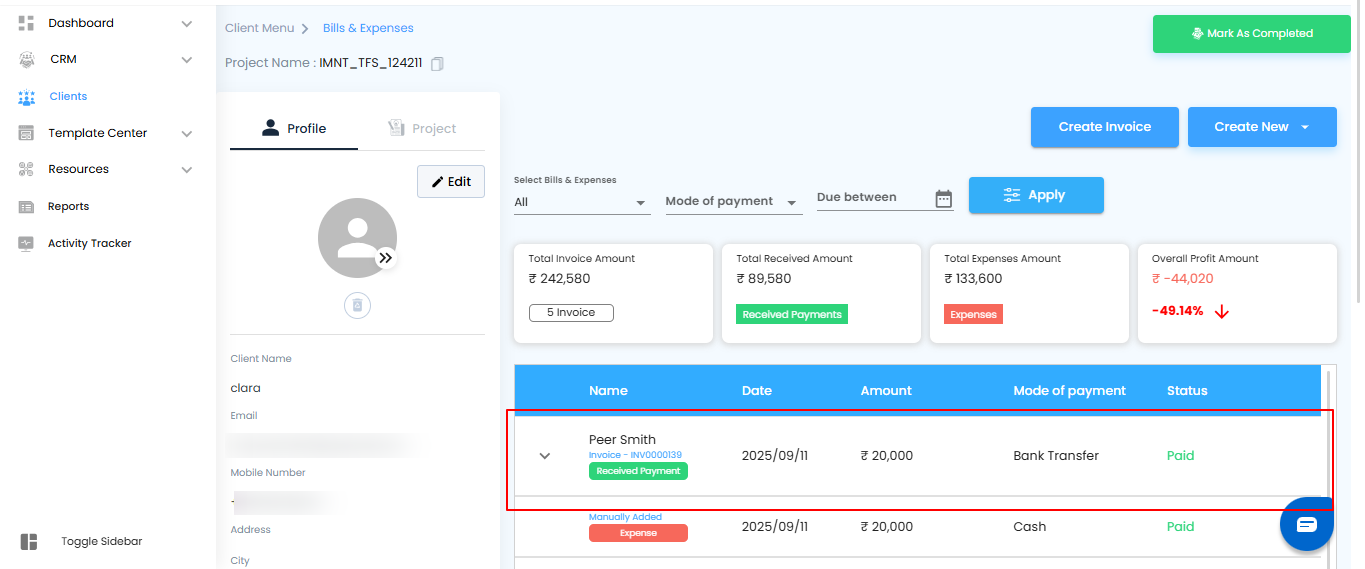
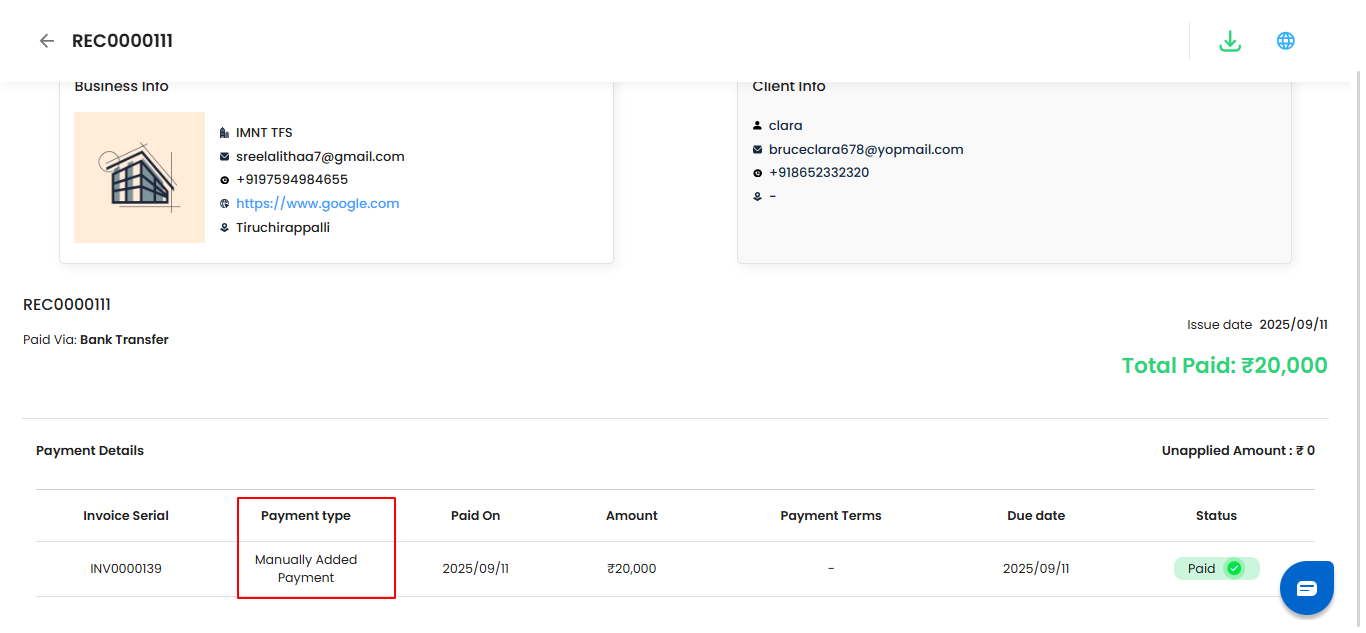
After Saving
- Once the received payment is added, it will automatically appear in both the Bills and Expenses sections and Money Matters, ensuring complete visibility and accurate tracking of your financial transactions.
Pro Tip:
Use these sections to quickly review or reconcile payments without needing to search manually everything stays organized and up to date.
Was this article helpful?
That’s Great!
Thank you for your feedback
Sorry! We couldn't be helpful
Thank you for your feedback
Feedback sent
We appreciate your effort and will try to fix the article