Custom Notification Templates – Make It Your Own
- Custom notification templates give you full control over your messages.
- Unlike default templates, these are entirely yours to design, edit, and personalize for every scenario.
How to Create a Custom Template
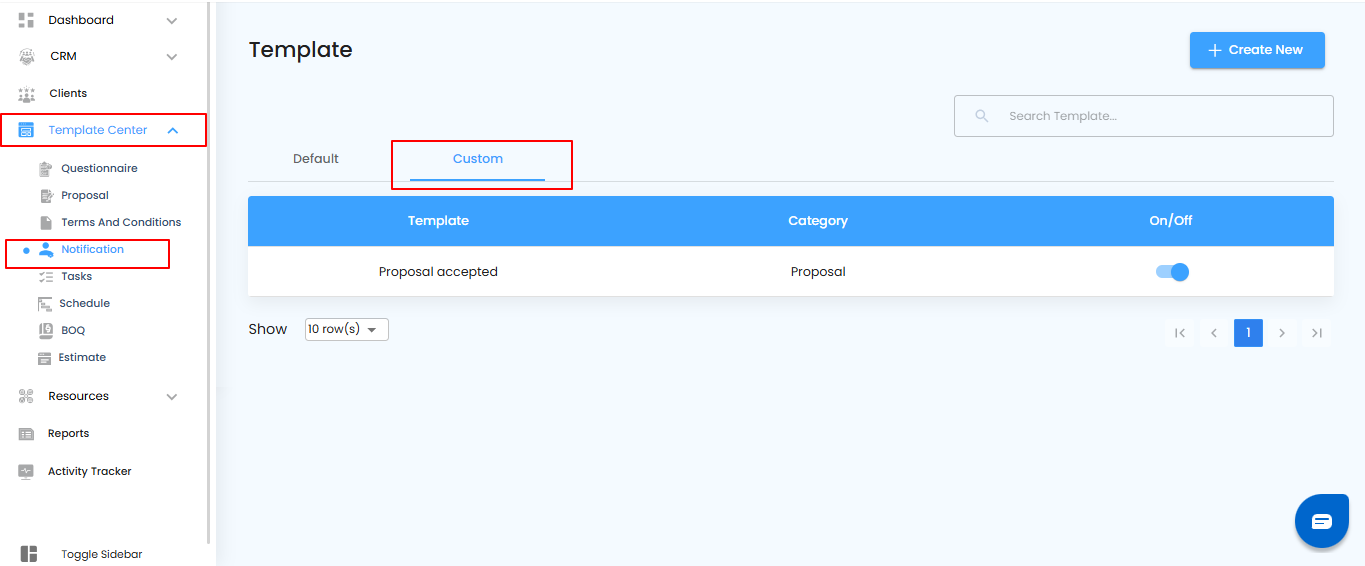
- Go to Template Center and open the Notification Template section.
- Click to start a new custom template and prepare to add your content
- Customize the title, message, and settings to match your project’s needs.
Pro tip: Start with a clear purpose for your template—knowing exactly what message you want to send helps you craft effective notifications.

Once you’re in the notification template section, it’s time to start building your own.
What You Can Do Here
- Select the Custom option to work with templates you own.
- Click the Create New button to open a blank template ready for your content.
- Begin adding titles, messages, and any other details specific to your project.

After starting a new custom template, the next step is adding all the necessary information so it’s ready to use.
What You Can Do Here
- Enter the Template Name to identify it easily.
- Add the Template Subject for clarity in notifications.
- Select the Category to organize your templates efficiently.
- Insert any Variables needed for dynamic content.
- Click the Save button to store your new custom template

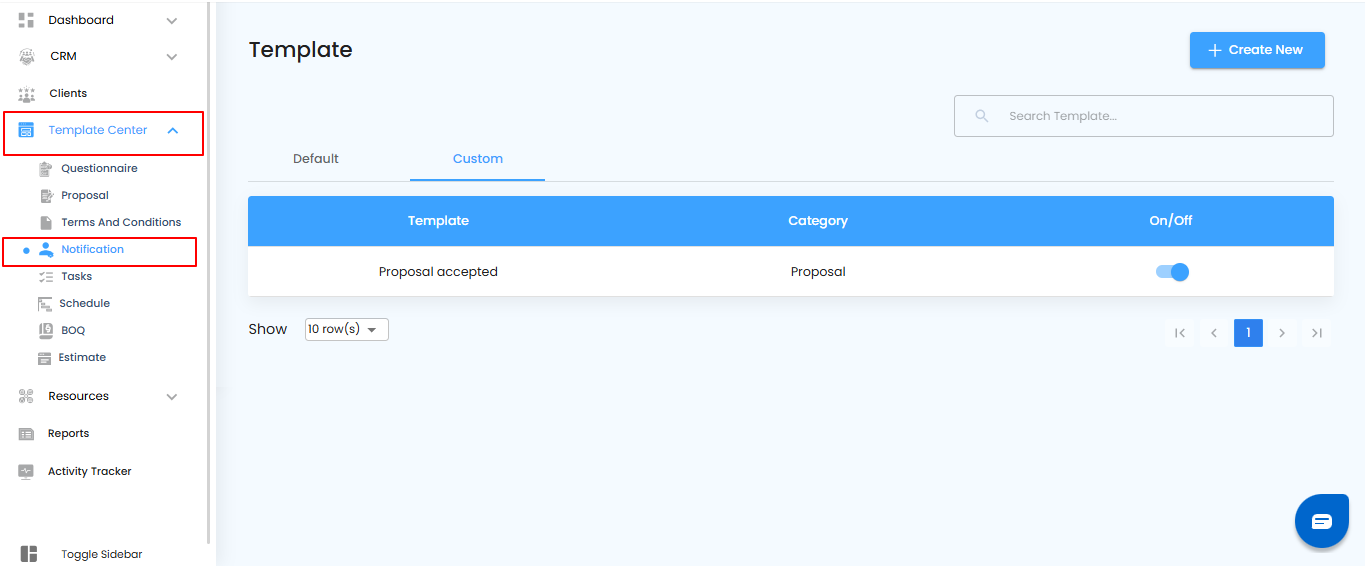
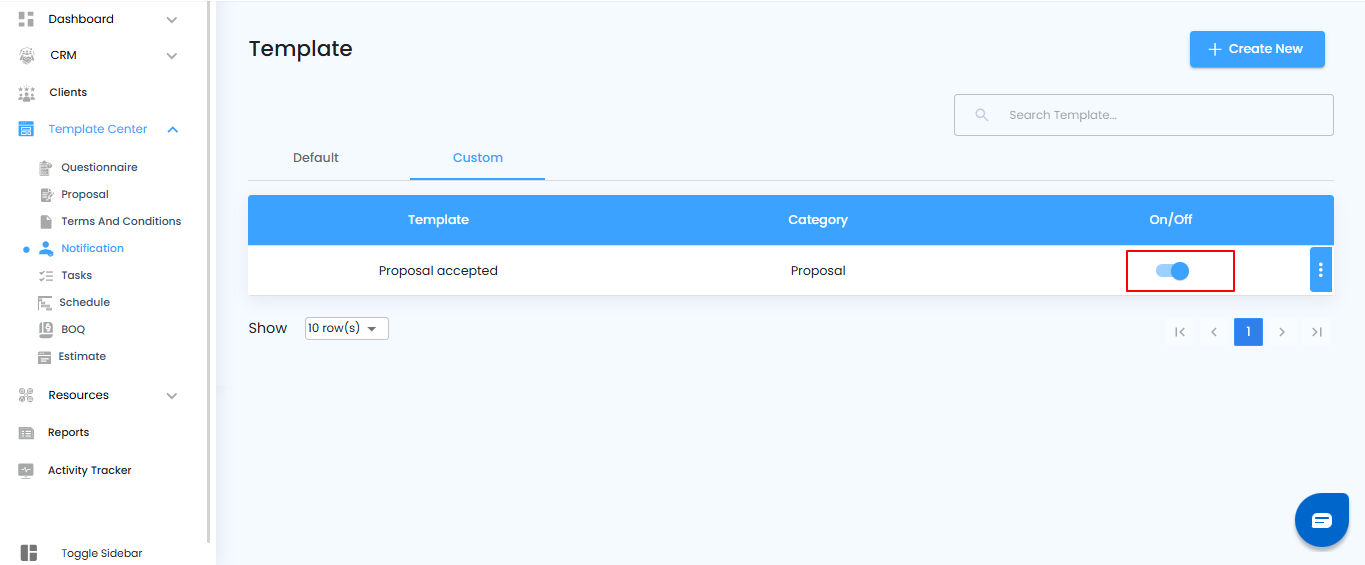
Any template you create will automatically appear in the Custom section, keeping it separate from default templates and easy to access.
What You Can Do Here
- Find all your custom templates neatly organized in the Custom section.
- Access, edit, or duplicate them anytime without affecting default templates.
Editing Custom Notification Templates – Make It Yours
Custom templates are flexible—you can modify them anytime to keep your messages accurate and up to date.
What You Can Do Here
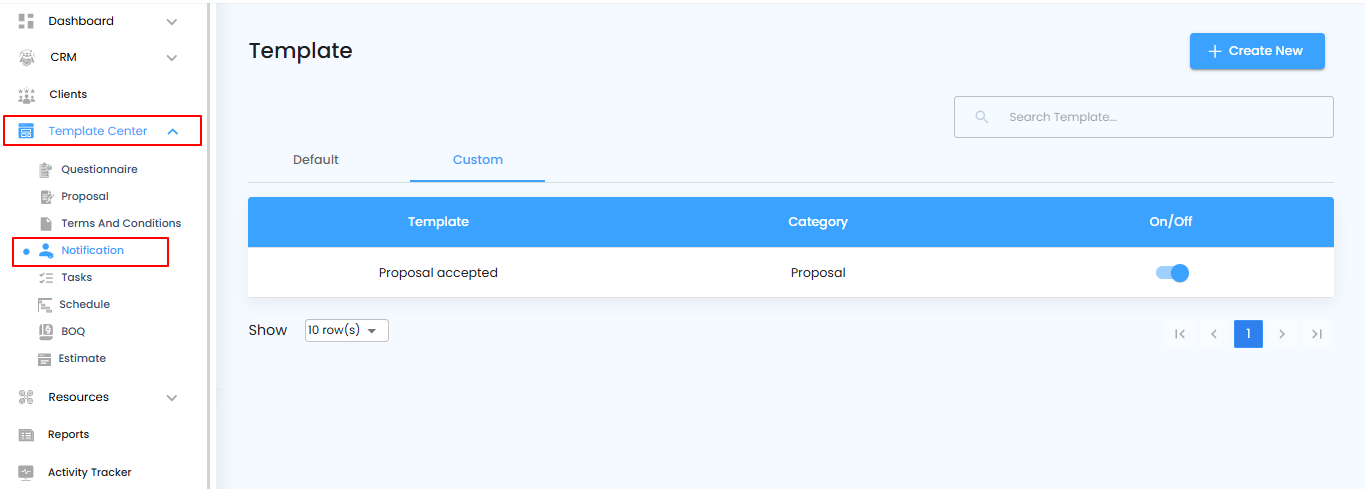
- Go to Template Center and open the Notification Template section.
- Select the custom template you want to edit.
- Prepare to make changes to the content, variables, or settings.
Pro tip: Regularly review custom templates to ensure your notifications stay relevant and professional
Once you’ve selected your custom template, the next step is to enter edit mode so you can make updates.
What You Can Do Here
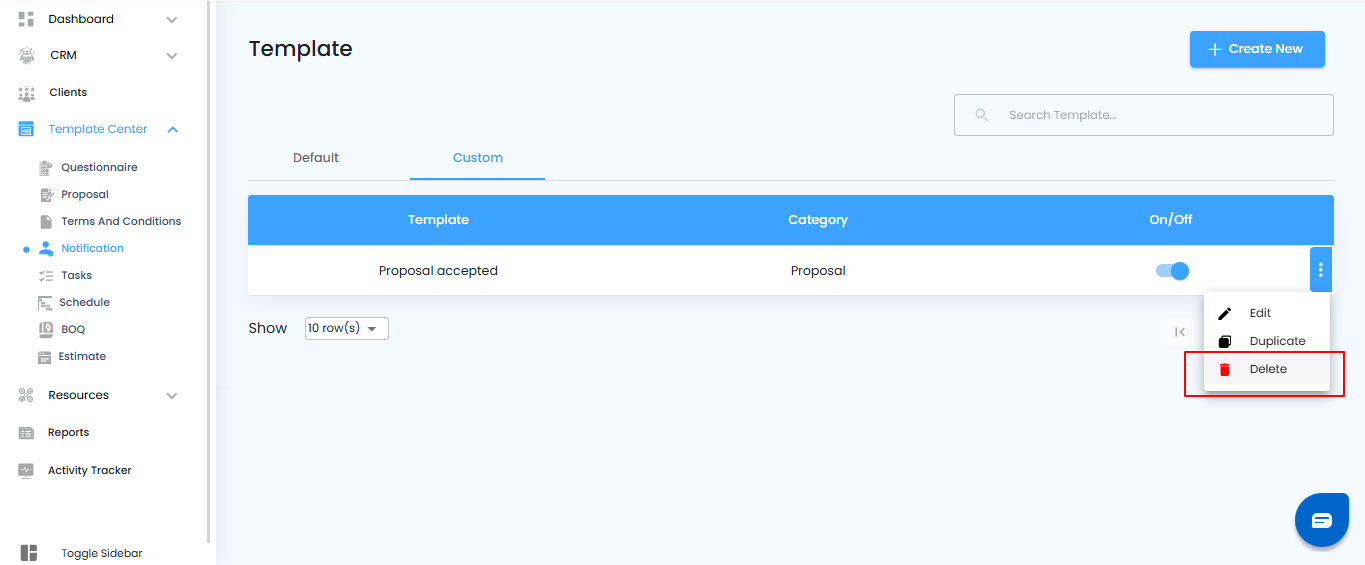
- Click the Edit option to unlock the template for modifications.
- Adjust content, variables, or settings as needed.
- Save your changes once you’re satisfied.

After making the necessary changes, it’s time to lock them in so your custom template is ready for use.
What You Can Do Here
- Edit the content, variables, or settings as needed.
- Click the Save button to apply your changes.
- Confirm that your updated custom template is now active in the Custom section.

Sometimes you need a version of a template without altering the original. Duplicating lets you do this in seconds.
What You Can Do Here
- Go to Template Center and open the Notification Template section.
- Select the template you want to duplicate.
- Prepare to create a copy that you can customize independently.
Once you’ve chosen the template, duplicating it is quick and easy.
What You Can Do Here
- Select the Custom option.
- Click Duplicate to create an exact copy of the template.
- Work on the new copy without affecting the original.

After selecting to duplicate a template, the pop-up allows you to finalize it by giving it a name.
What You Can Do Here
- Enter a unique Template Name in the pop-up.
- Click the Yes button to confirm and create the duplicate.
- The new template will now appear in the Custom section, ready for use or further editing.

Every duplicated template is automatically stored in the Custom section, keeping your personalized versions separate from default templates.
Deleting Custom Templates – Keep Your Library Clean
If a custom template is no longer needed, you can remove it to keep your template library organized and clutter-free.
What You Can Do Here
- Go to Template Center and open the Notification Template section.
- Select the custom template you want to delete.
- Prepare to remove it safely from your workspace.
Pro tip: Only delete templates you’re sure won’t be needed later—consider duplicating first if you want a backup.
Once you’ve selected the template, the next step is to confirm its deletion.
What You Can Do Here
- Select the Custom option.
- Click Delete to remove the template permanently.
- Confirm the deletion if prompted, ensuring it’s no longer listed in the Custom section.
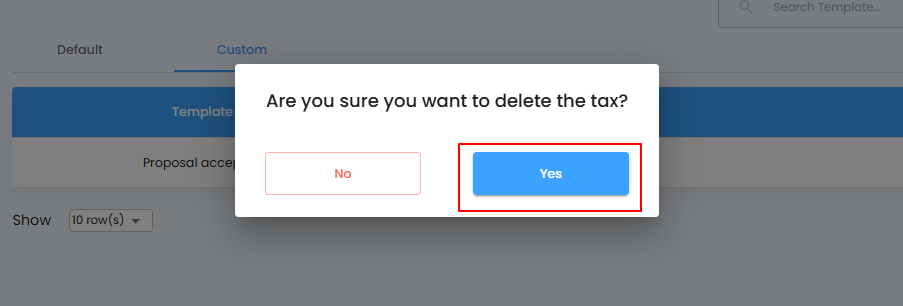
After selecting delete, a confirmation pop-up ensures you really want to remove the template.
What You Can Do Here
- In the pop-up, click the Yes button to confirm deletion.
- The custom template will be permanently removed from the Custom section.
Once confirmed, the custom template will be permanently removed from the Custom Grid, keeping your workspace clean and organized. Consider keeping backup duplicates of important templates before deletion—this way, you can restore them if needed.
Was this article helpful?
That’s Great!
Thank you for your feedback
Sorry! We couldn't be helpful
Thank you for your feedback
Feedback sent
We appreciate your effort and will try to fix the article