Notification Template – Your Default Messenger
Every project needs a reliable way to keep everyone in the loop. The default notification template makes sure updates are delivered clearly and consistently—no missed alerts, no confusion.
What You Can Do Here
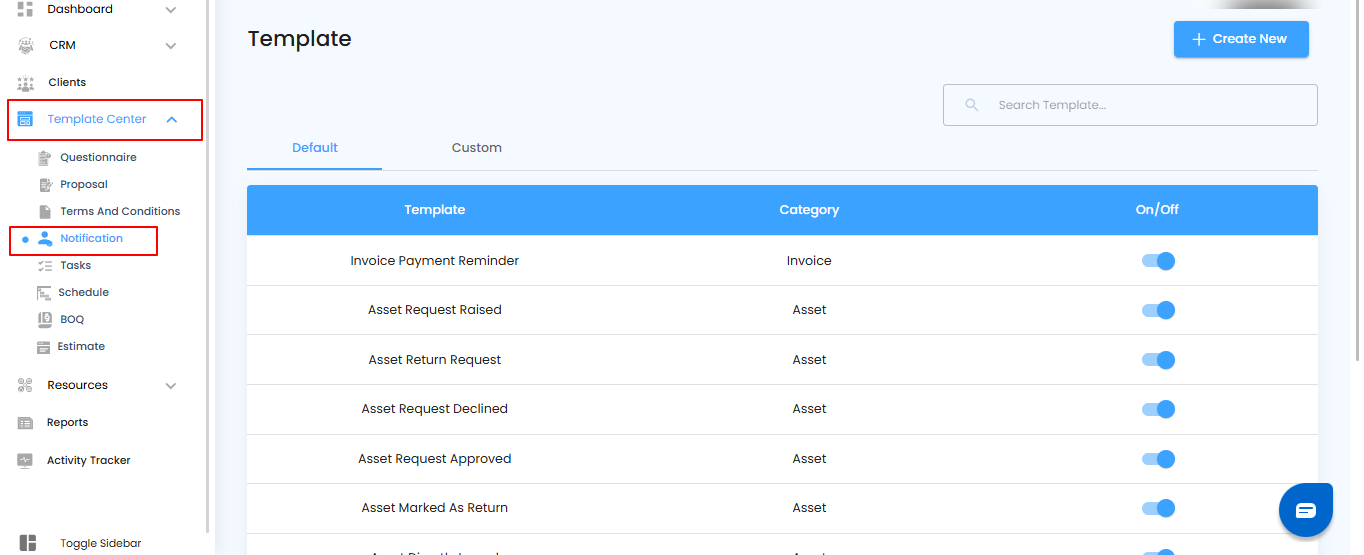
- Go to Template Center and open the Notification Template section.
- View the default template that comes preloaded for instant use.
- Customize it if needed to match your project’s communication style.
Pro tip: Keep templates short and to the point—clear messages mean faster actions.
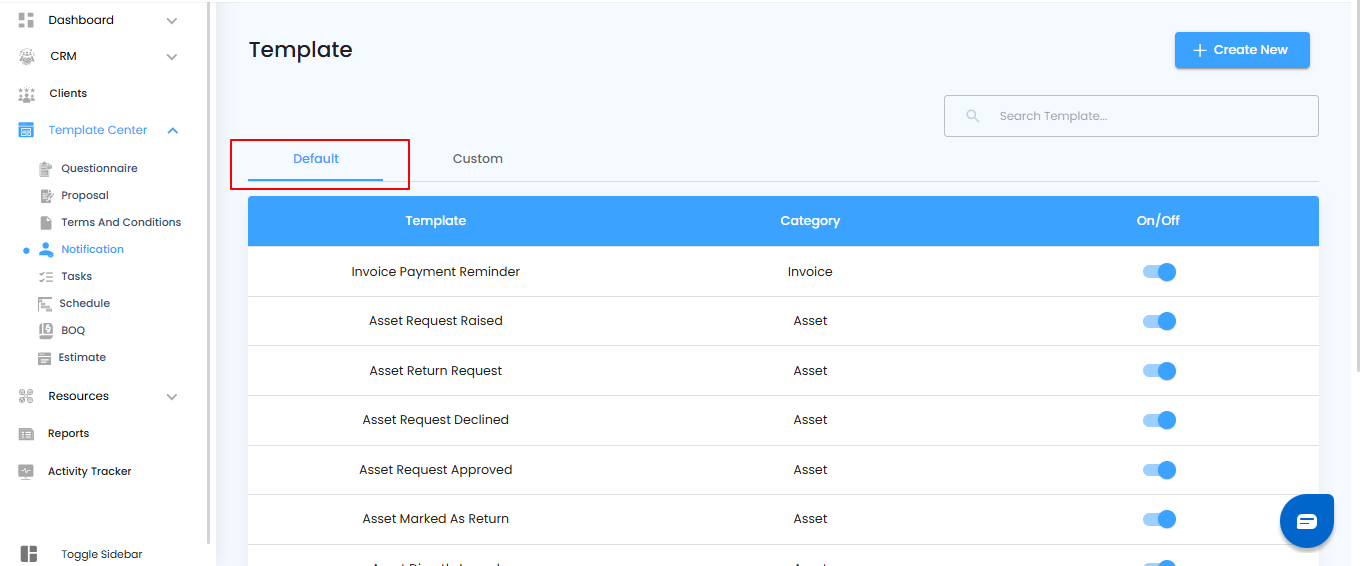
Default Notification Template – Simple but Powerful
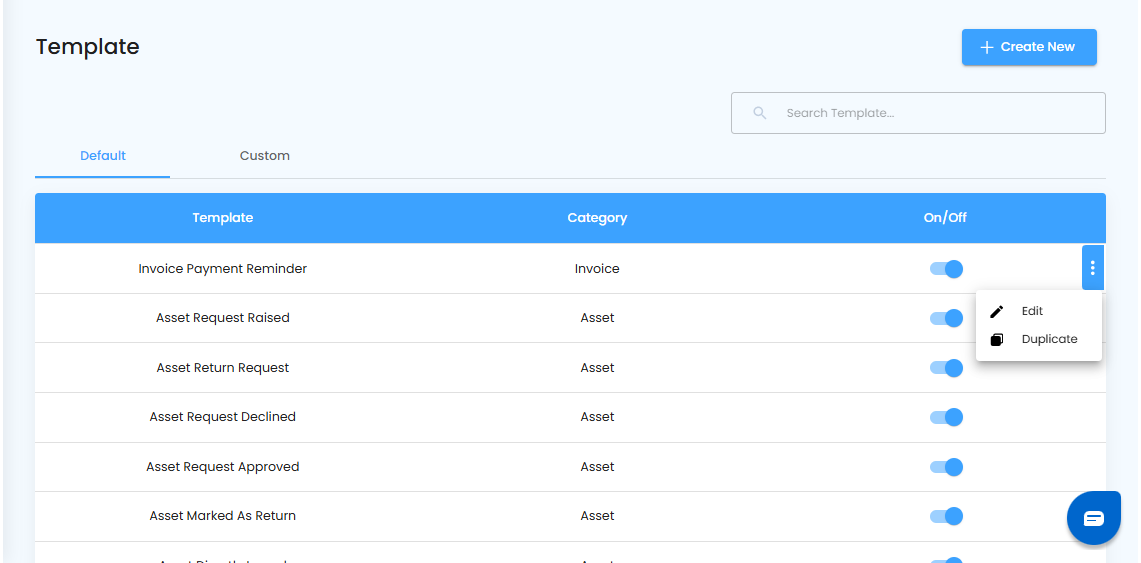
The notification template comes ready with two built-in features that give you flexibility without starting from scratch.
What You Can Do Here
- Edit the template to update content, tone, or details as per your needs.
- Duplicate the template to create a quick copy and modify it for a different purpose.
Pro tip: Use “Duplicate” instead of building from zero—it saves time and keeps your messaging consistent.
Editing the Default Notification Template – Make It Yours
The default template is a starting point, but you can fine-tune it to match your project’s exact needs.
What You Can Do Here
- Go to Template Center and open the Notification Template section.
- Select the default template you want to update.
- Make changes to the content, layout, or style and save your edits.
Pro tip: Keep a backup copy before editing—this way you can always return to the original if needed.
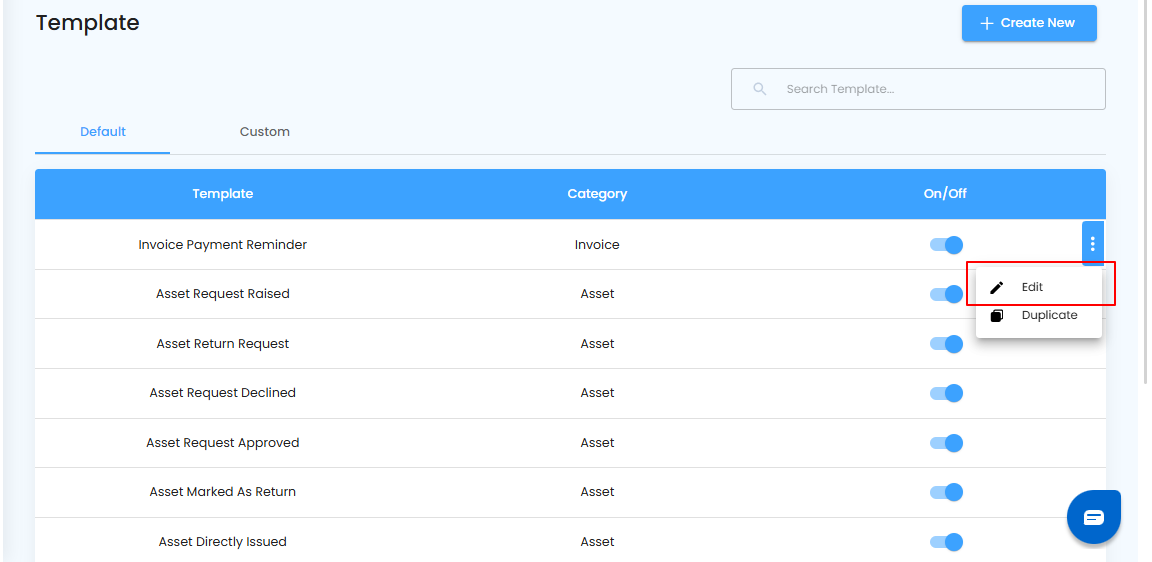
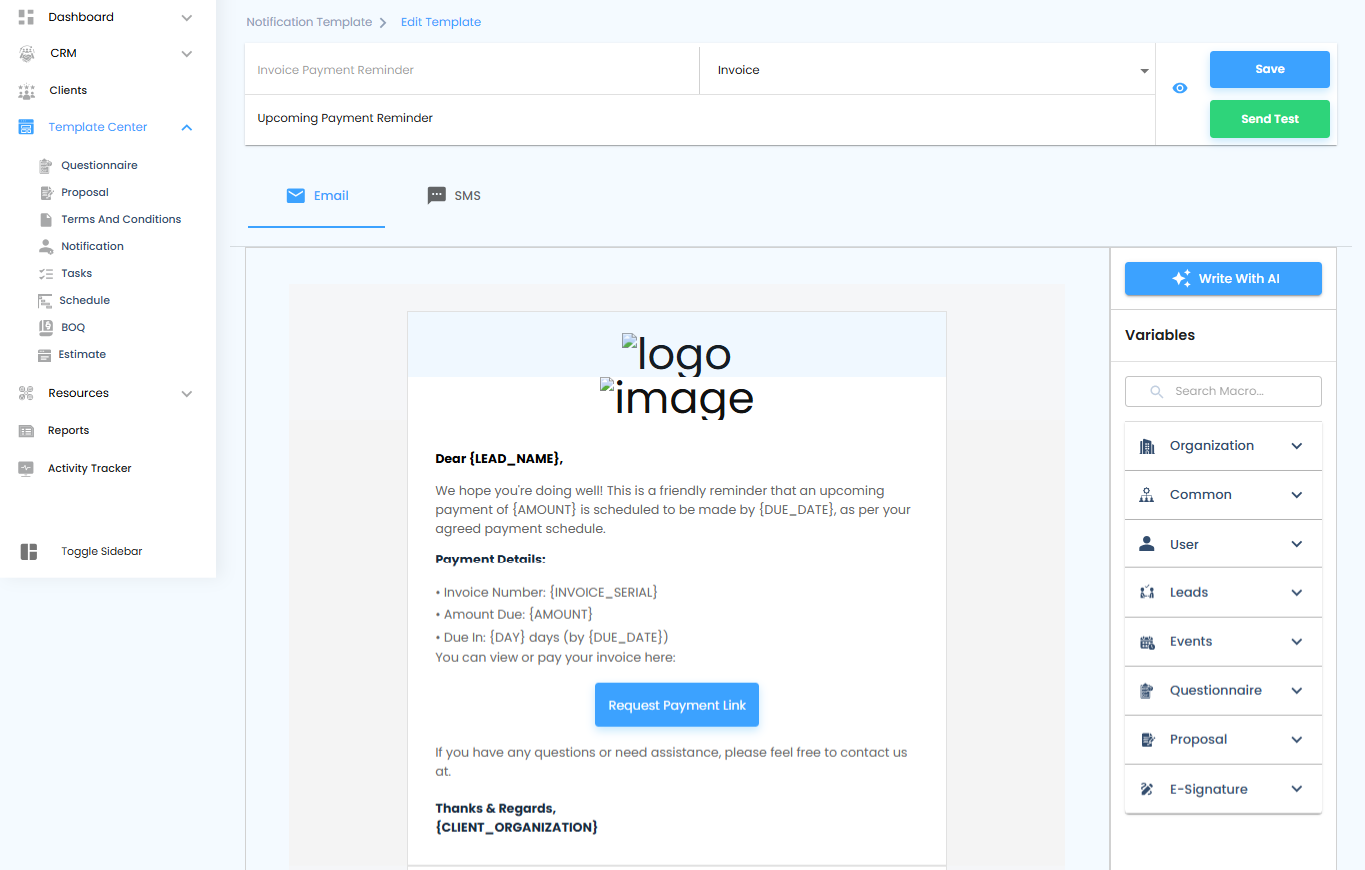
Editing the Default Template – Step Into Edit Mode
Once you’ve opened the notification template, the next move is switching it into edit mode so you can customize it freely.
What You Can Do Here
- Click the Edit option to unlock the template for changes.
- Adjust the wording, tone, or structure to fit your project’s communication style.
- Save your updates once you’re satisfied.
Pro tip: Keep edits consistent with your project’s voice—clear and uniform messages build trust with your team and clients.
Finalizing Your Edits – Save and Update
After making the necessary changes, it’s time to lock them in. This ensures your updated template is ready for use without losing any adjustments.
What You Can Do Here
- Edit the content to match your requirements.
- Click the Save button to apply your changes.
- Confirm that your updated template is now active.
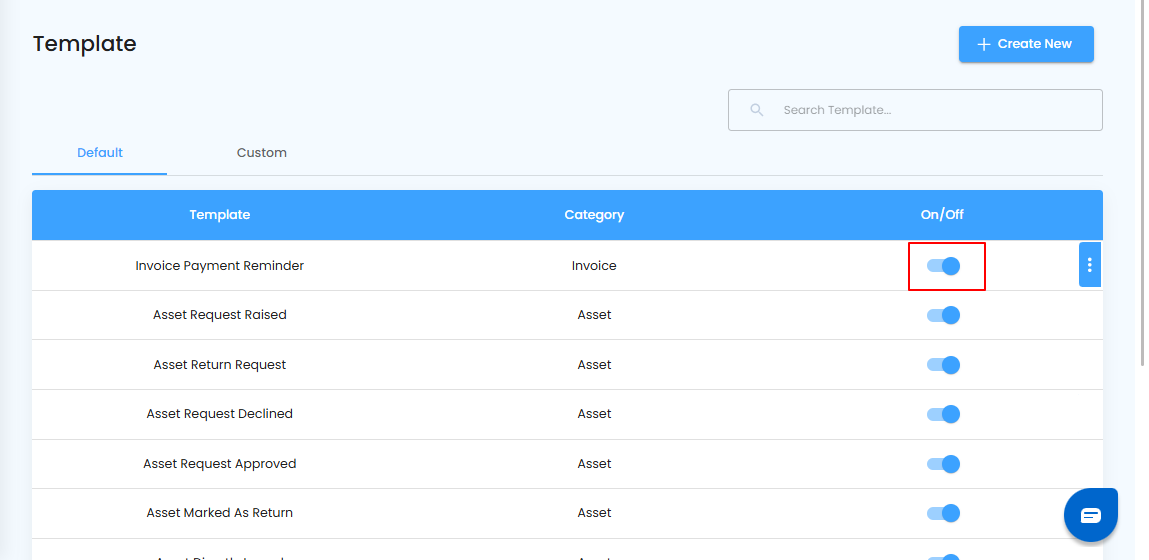
Where Your Edits Appear – Always in the Default
Any changes you make to the notification template will automatically update in the default template view—so you’ll always find your edited version right there.
Duplicating the Notification Template – Create a Copy in Seconds
Sometimes you need a variation of your notification without rebuilding it from scratch. That’s where duplication comes in fast, simple, and efficient.
What You Can Do Here
- Go to Template Center and open the Notification Template section.
- Select the template you want to duplicate.
- Prepare to create a copy that you can customize independently.

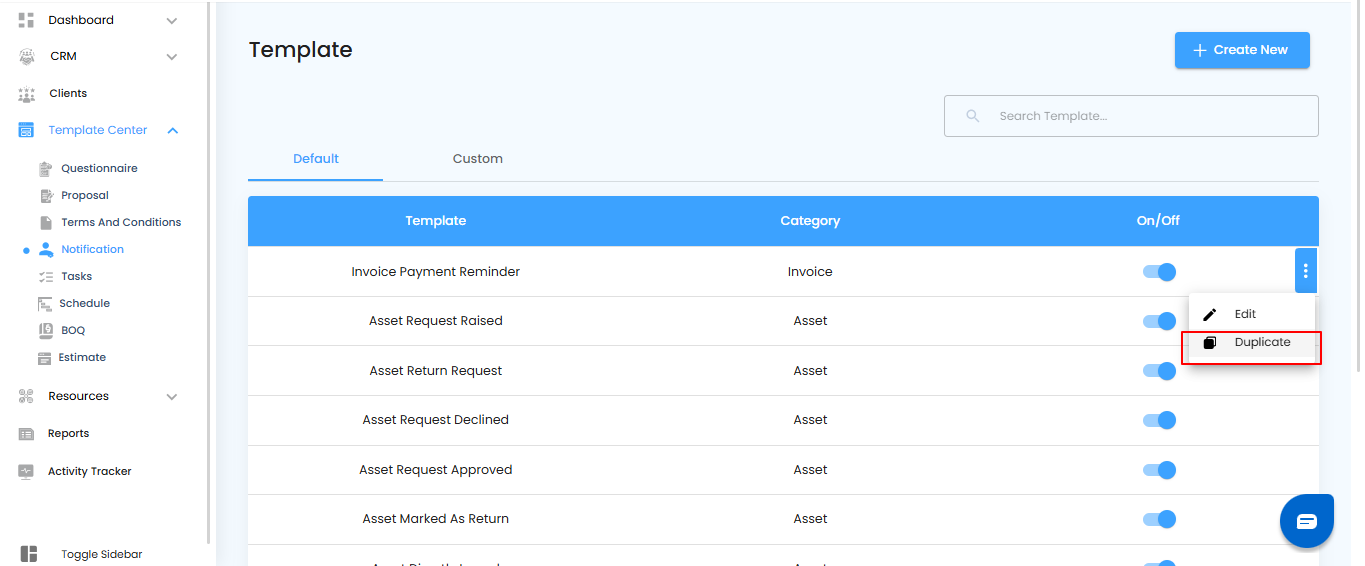
Duplicate in One Click – Make Your Copy
Once you’ve opened the notification template, it only takes a single action to create a copy.
What You Can Do Here
- Click the Duplicate option to generate an exact copy of the template.
- Work with the new copy without affecting the original.
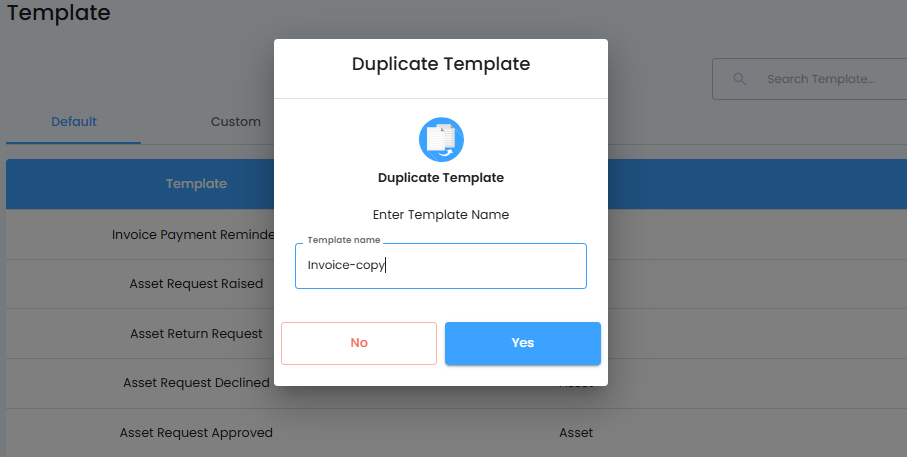
Naming Your Duplicate – Final Step
Once you choose to duplicate, a pop-up appears asking for a name. This step ensures your new template is easy to find and organize.
What You Can Do Here
- Enter a unique name for your duplicated template in the pop-up.
- Click the Yes button to confirm and create the copy.
- Your new template is now ready for use and customization.
Every duplicated template is automatically stored under the Custom section, keeping your personalized versions separate from the default.
Pro tip: Hide outdated templates instead of deleting them—you never know when you might need to bring them back.
Was this article helpful?
That’s Great!
Thank you for your feedback
Sorry! We couldn't be helpful
Thank you for your feedback
Feedback sent
We appreciate your effort and will try to fix the article