Your project's financial compass. See every estimate you've sent, which ones clients accepted or declined, and what each one is worth.
What you can do here
- Track which estimates are sent, accepted or declined
- Filter estimates by date to find what you need fast
- View totals, profit and key dates for every estimate
- Export estimate data to Excel for reviews or sharing
Pro tip: Check this report regularly to stay ahead of approvals and budget decisions.
Open the Estimate Report
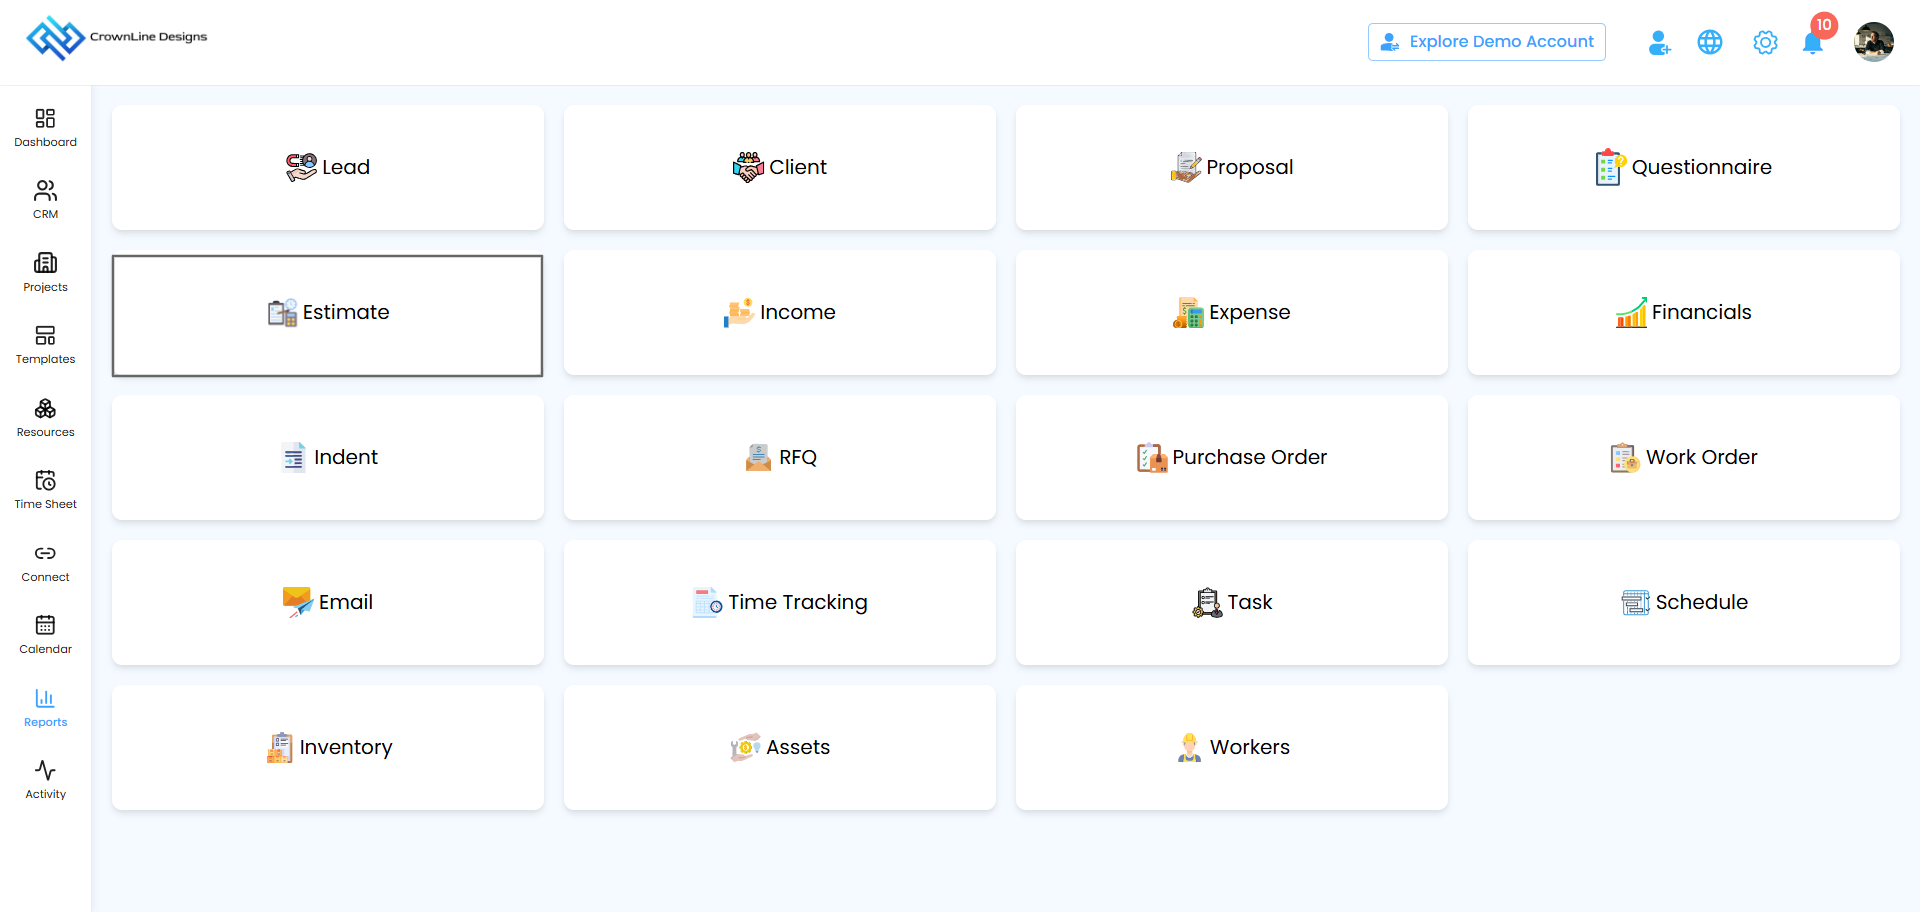
- Go to Reports in the main menu.
- Click Estimate Report.
Pro tip: Bookmark this page. It's your one-stop view of estimate activity.
Filter your estimates
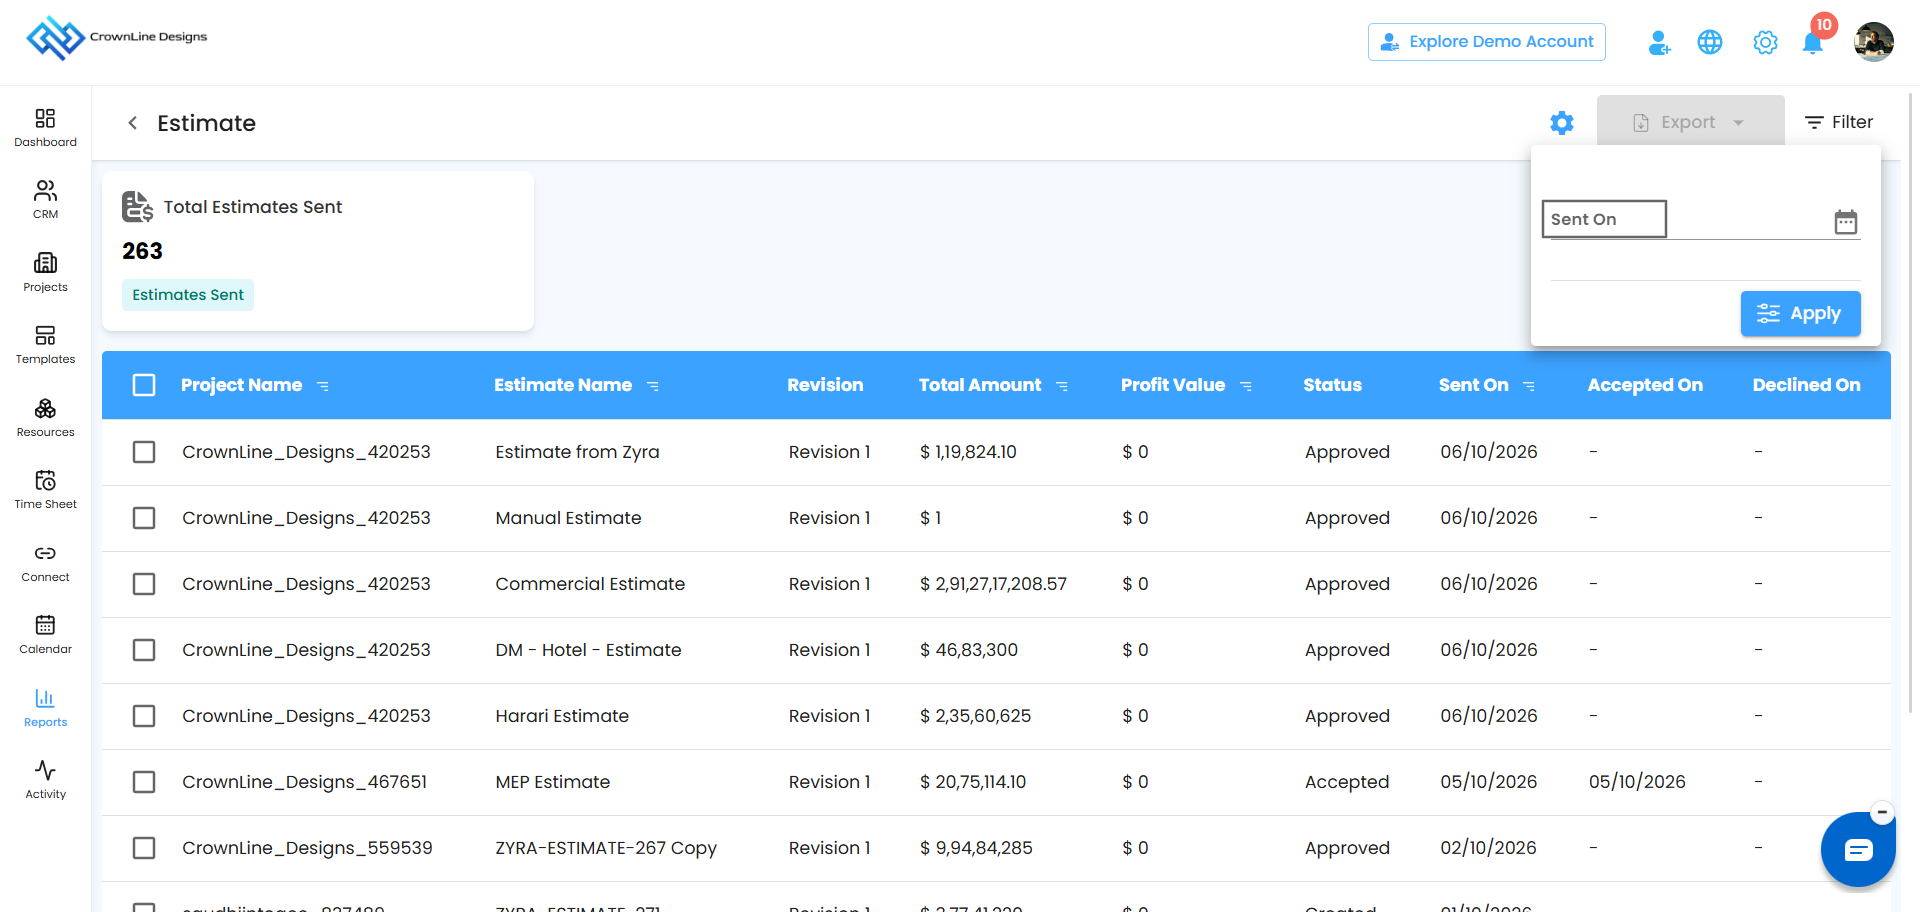
- Choose a Sent On date or date range.
- Click Apply to update the results.
- Click Clear to see all estimates again.
Pro tip: Use weekly or monthly date ranges to spot trends quickly.
Dashboard insights
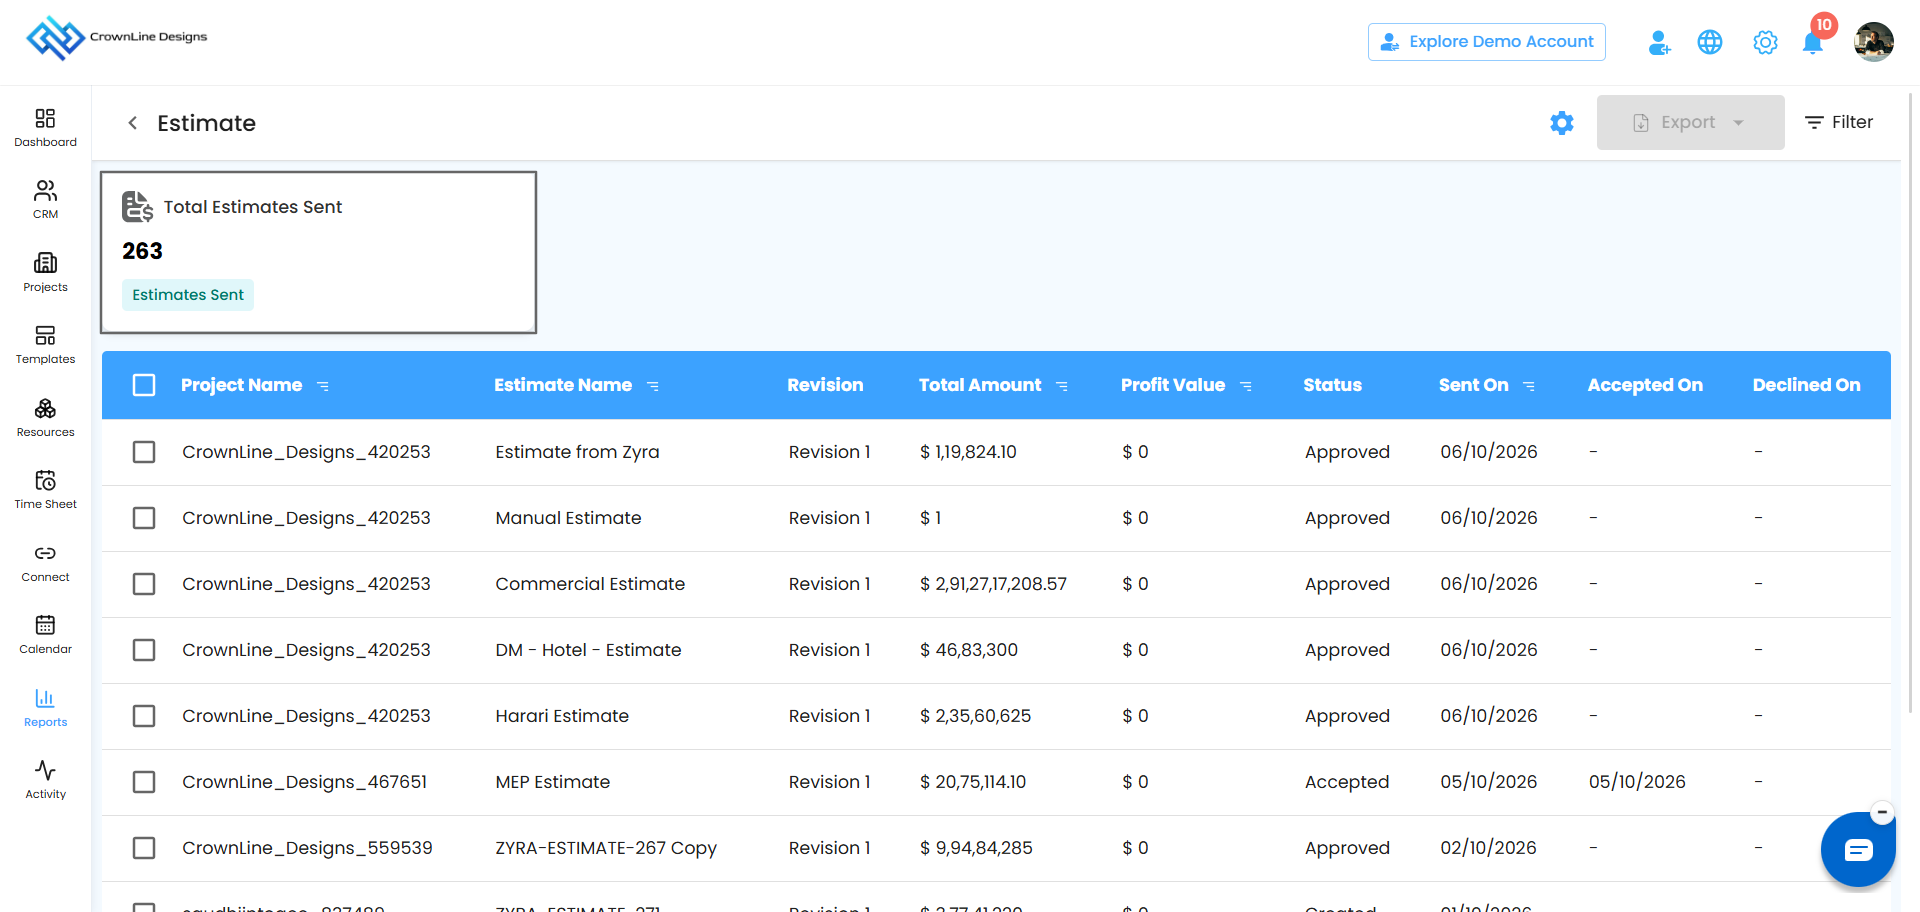
The top of the page shows Total Estimates Sent, a quick pulse check on how active your team is with clients.
The estimate table
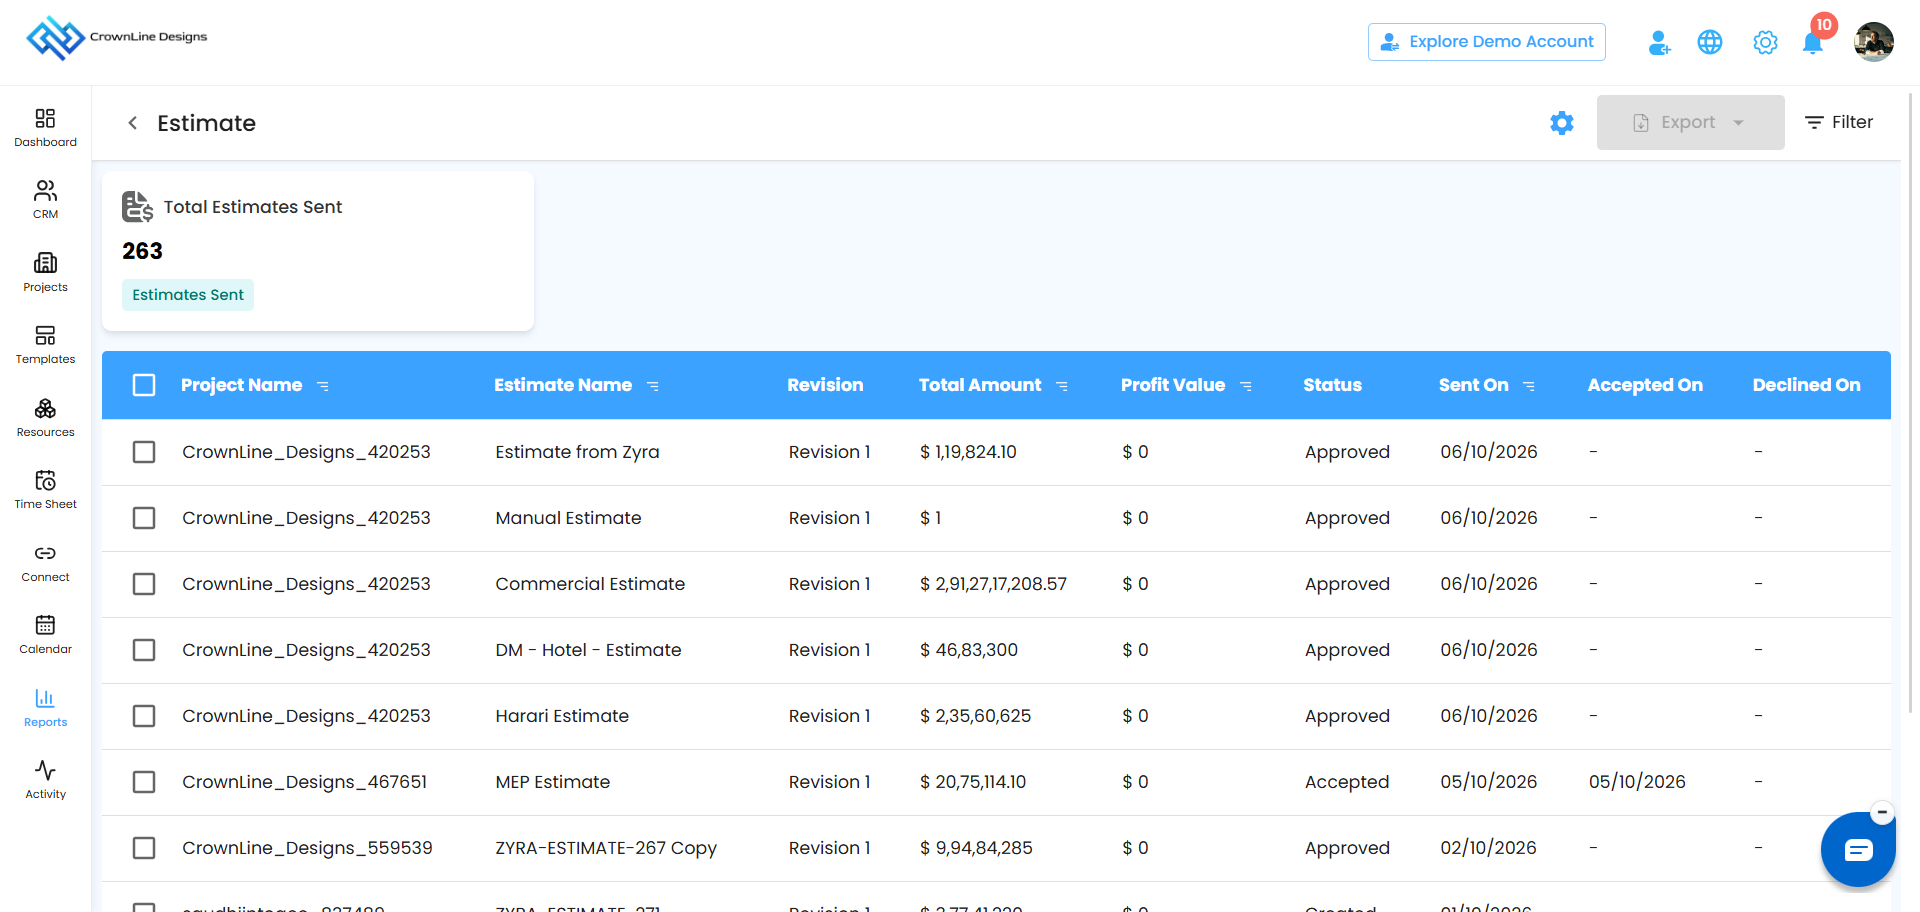
Each row gives you the full story behind an estimate.
| Column | Shows |
|---|---|
| Project Name | The linked project |
| Estimate Name | The estimate's reference name |
| Total Amount | The overall cost of the estimate |
| Profit Value | The projected profit |
| Status | Sent, Accepted or Declined |
| Sent On | Date it was shared with the client |
| Accepted On | Date the client approved it |
| Declined On | Date the client rejected it |
Pro tip: Declined estimates are worth a second look, because they tell you where pricing or scope needs a rethink.
Select and export estimates
- Tick the estimates you want, or select several at once.
- Click Export.
- The data downloads as an Excel file.
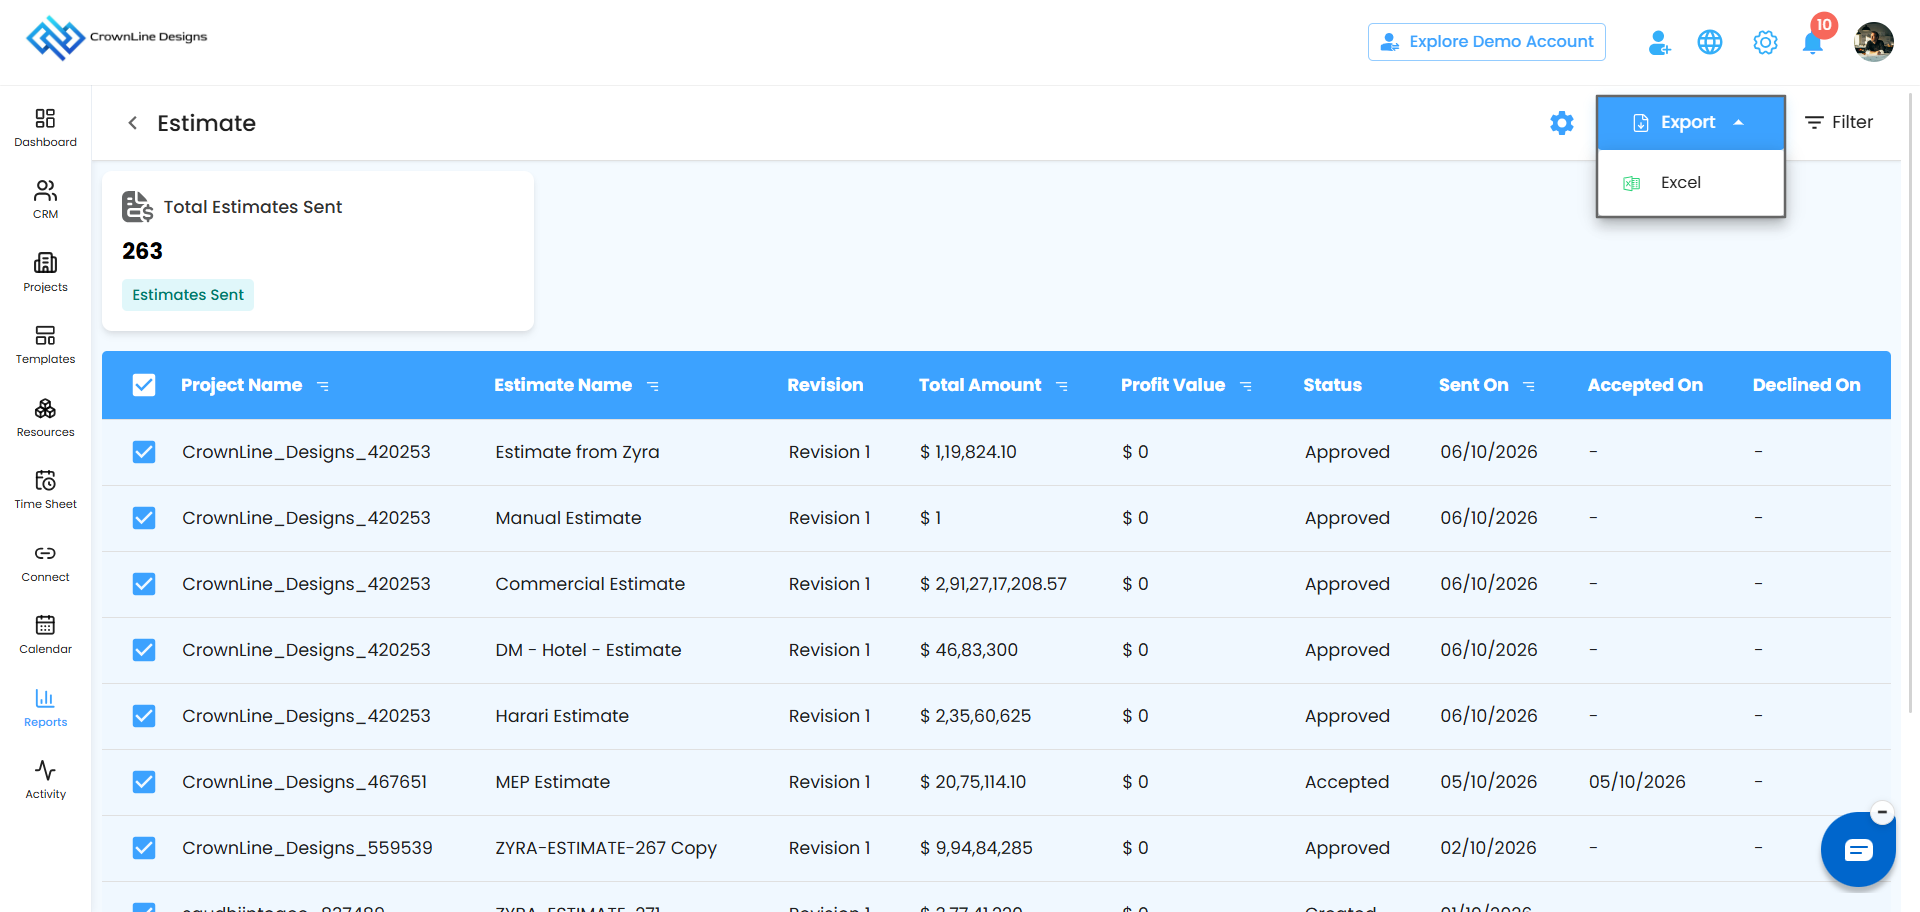
Pro tip: Filter first, select next, then export. It's the fastest way to get a clean report.
Automate the report
Set it up once and the report arrives in your inbox on schedule.
Click the Configure Report Automation icon.
In the popup, choose recipients from Send To.
Pick a frequency from Generate Report:
- Daily (default): sent within an hour of your chosen time. If you set 6:00 PM, it arrives between 6:00 and 6:59 PM.
- Weekly: covers the week and is sent at the same day and time the following week.
- Monthly: covers the month and is sent on the same day and time next month.
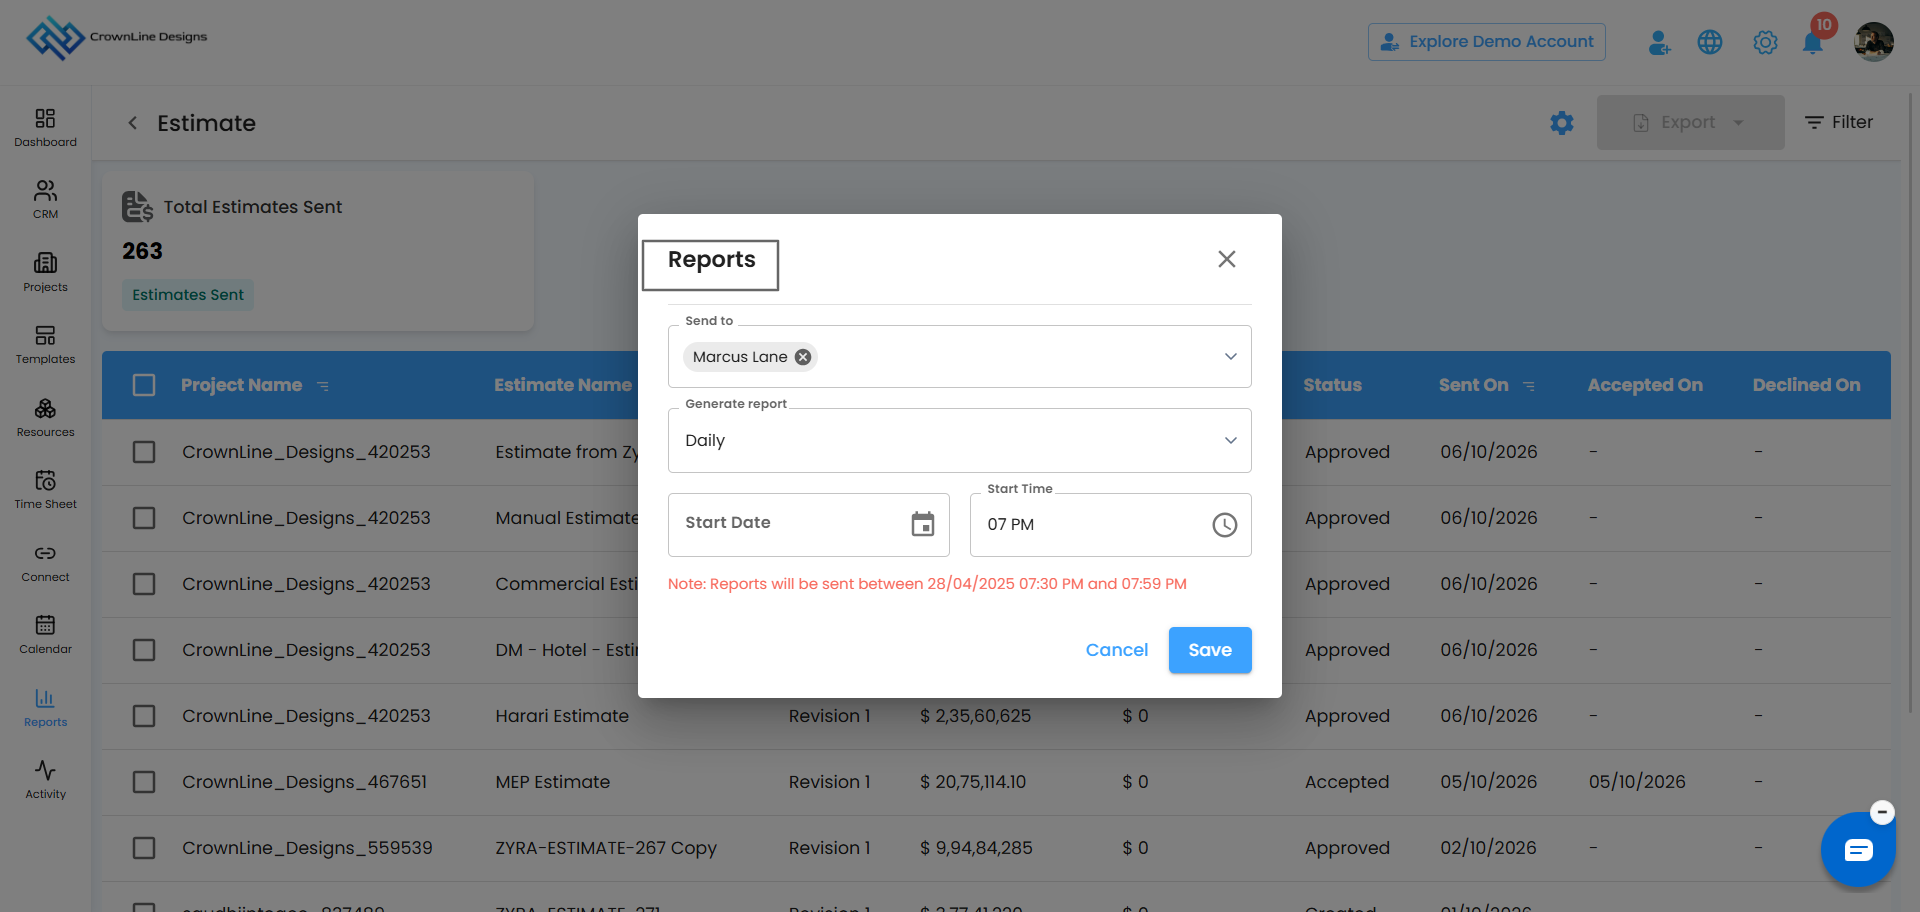
Set the Start Date and Start Time. The start time is required, so reports won't go out without it.
Click Save to activate, or Cancel to discard.
Pro tip: Keep the schedule consistent so everyone knows when to expect the numbers.
In short: The Estimate Report helps you track costs, monitor client responses and understand profit at a glance, with filters, bulk export and automation built in.
Was this article helpful?
That’s Great!
Thank you for your feedback
Sorry! We couldn't be helpful
Thank you for your feedback
Feedback sent
We appreciate your effort and will try to fix the article