Overview
An estimate isn't the finish line - it's the starting point for procurement. Converting an estimate into an RFQ carries over the items, quantities, and pricing you already worked out, so vendors can quote against exactly what was approved, without you re-entering anything.
Getting There
- Open the Client module from the sidebar and choose the client whose estimate has been accepted.
- Go to Procurement > RFQ.
- Click Create RFQ.
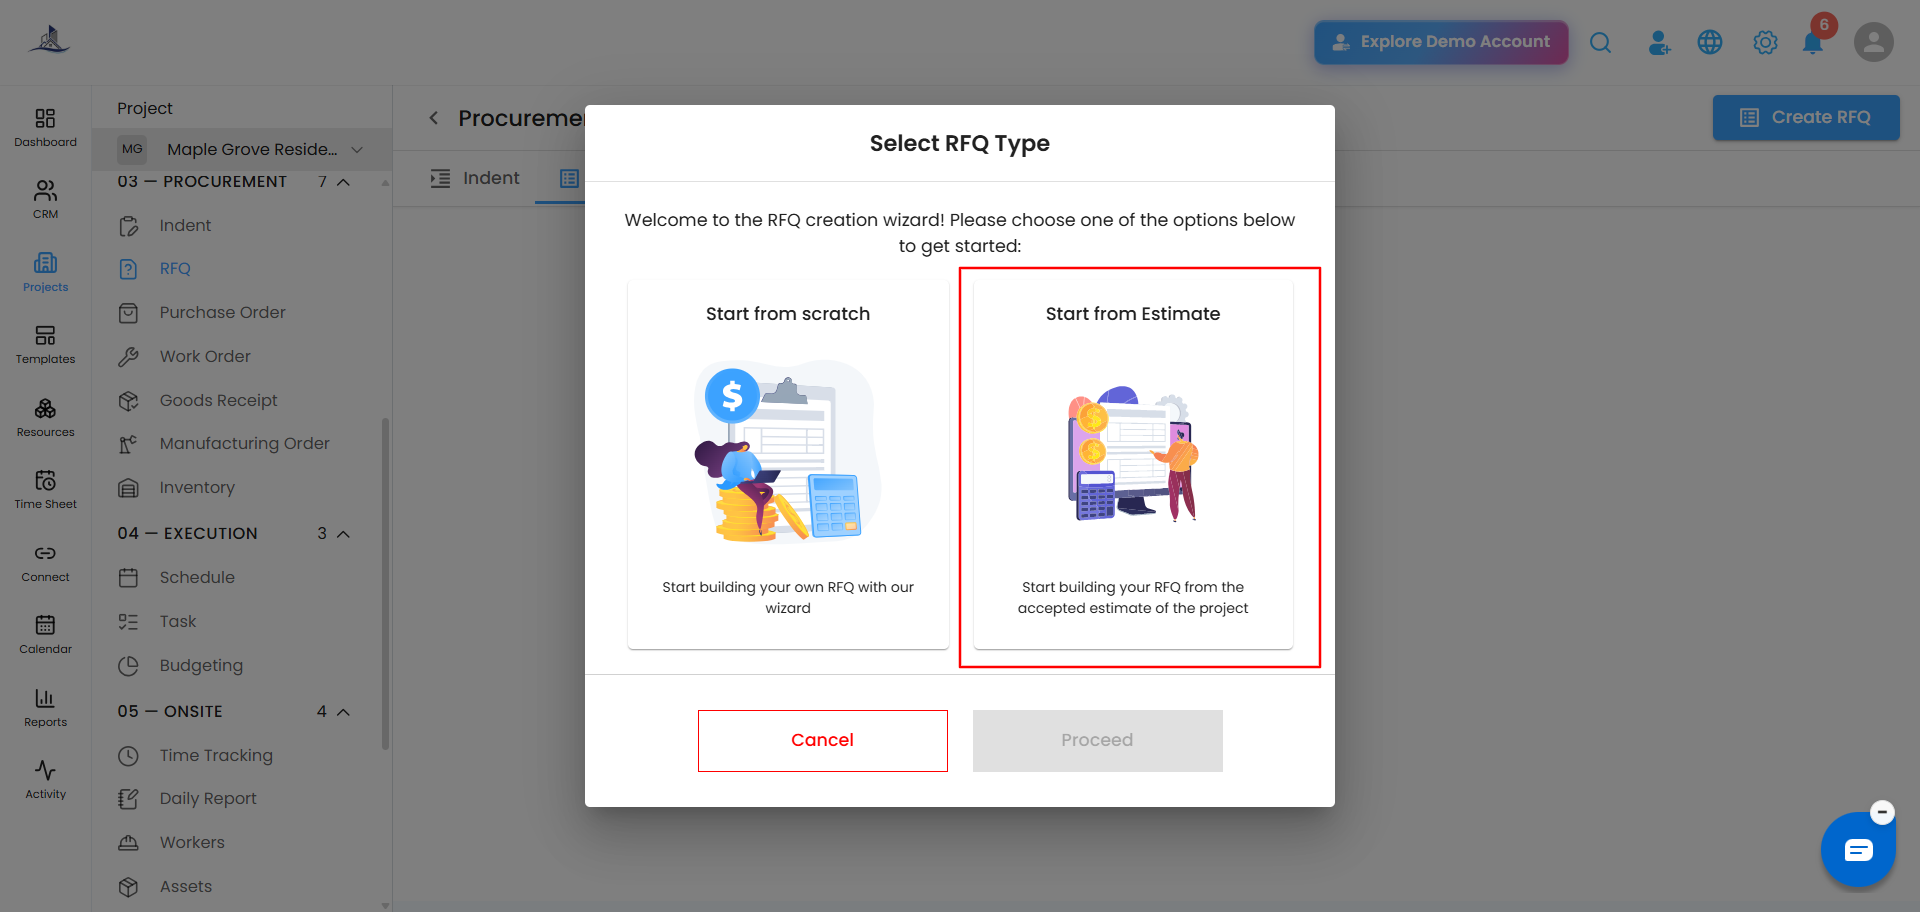
Choosing How to Start
Select Start from Estimate, then click Proceed.
 Selecting the Estimate
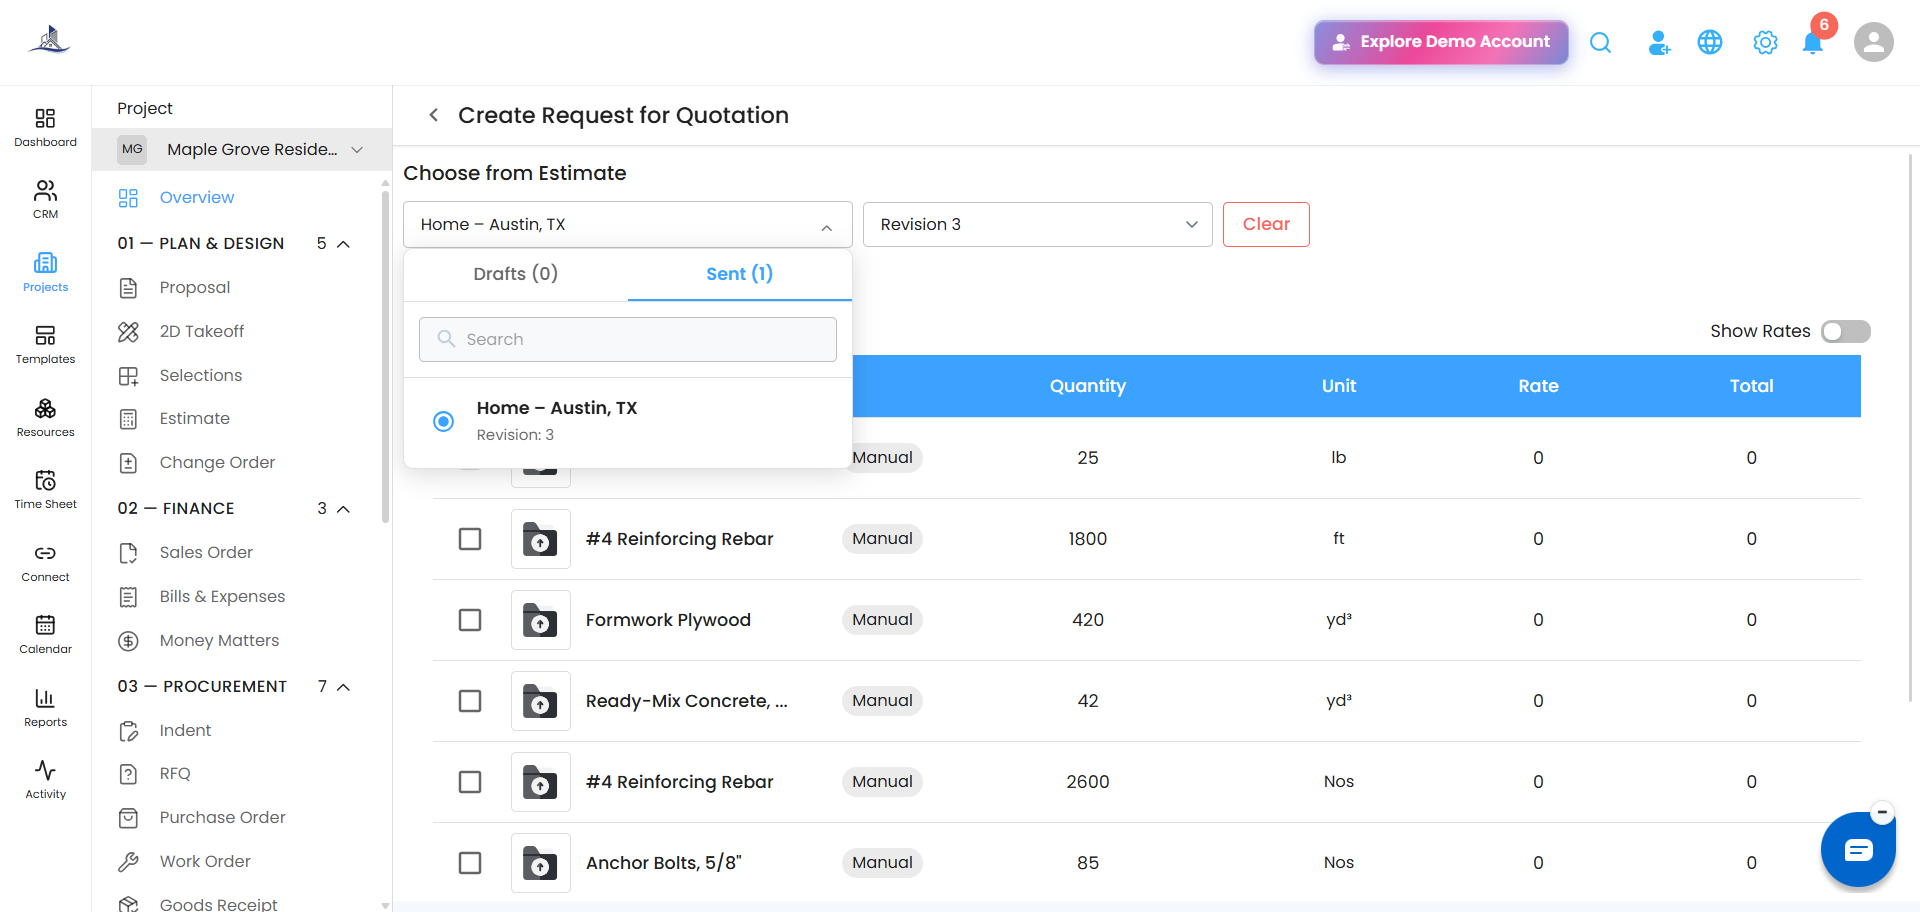
Choose which estimate to pull from:
- Drafts - estimates still being worked on
- Sent - estimates already shared with the client
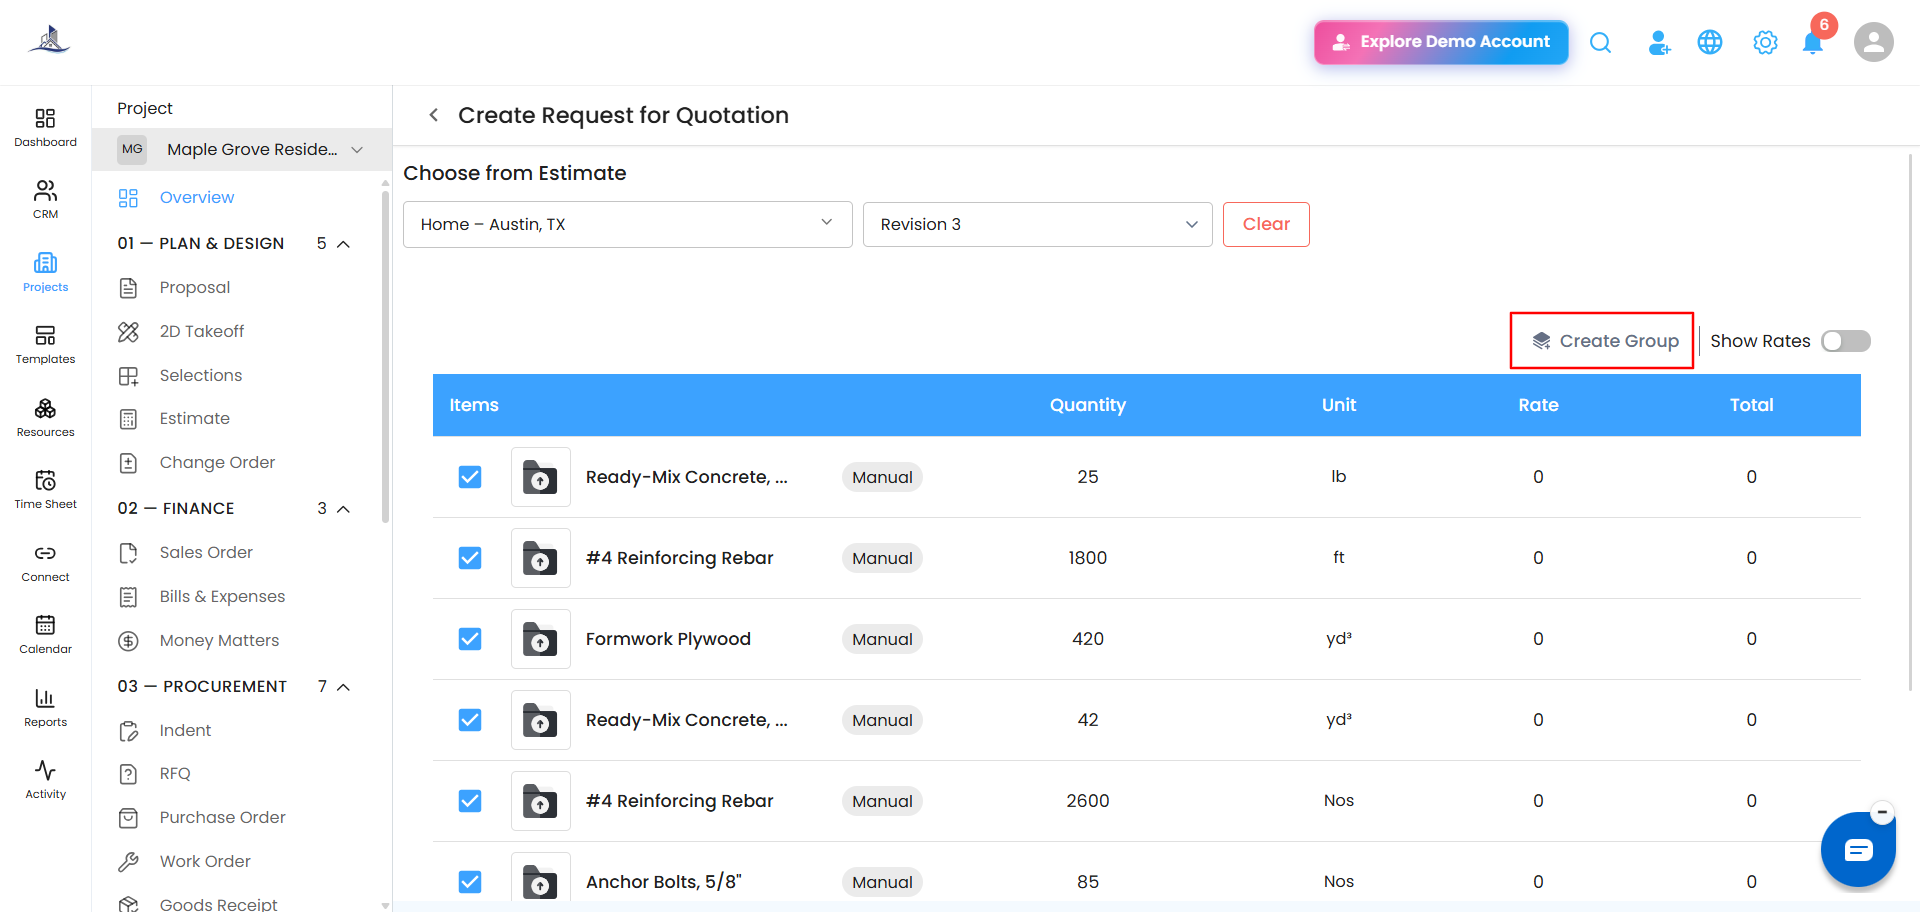
Selecting Items and Creating a Group
- Browse the items listed in the estimate.
- Select the item(s) you want to include - a single item or several.
- Click Create Group to bundle your selected items together.
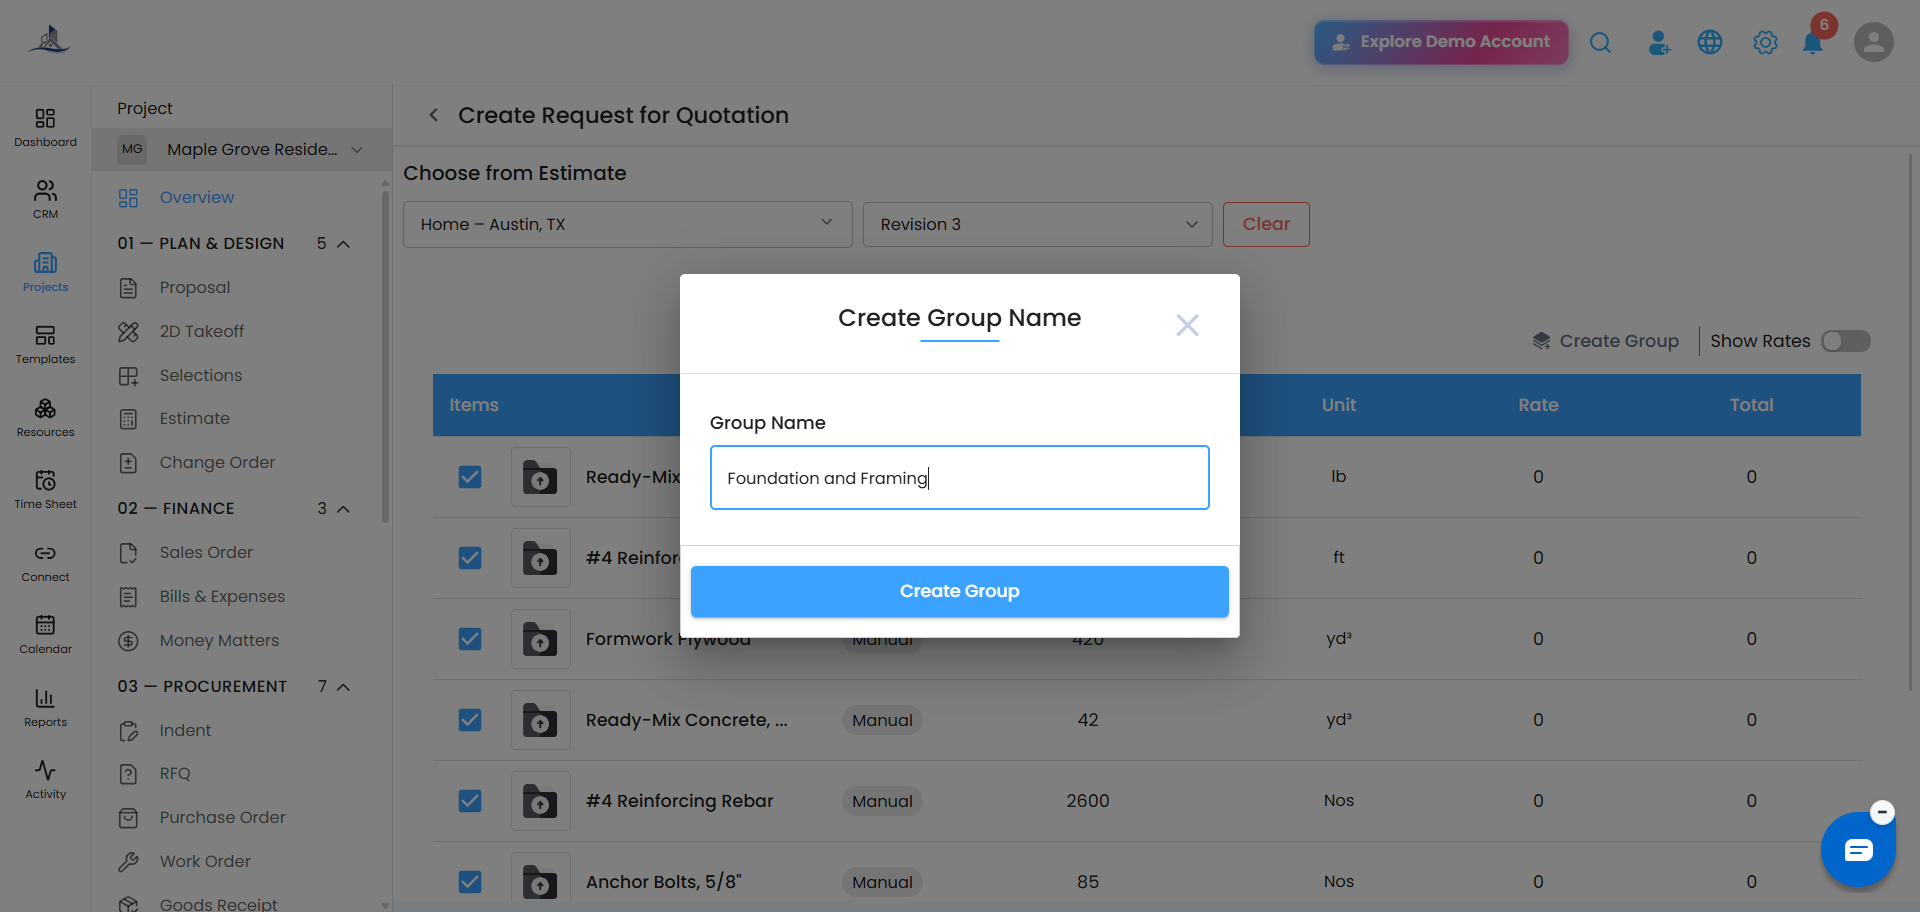
Naming Your Group
- In the pop-up, enter a clear, descriptive Group Name so it's easy to identify later.
- Click Create Group to confirm.
Generating the RFQ
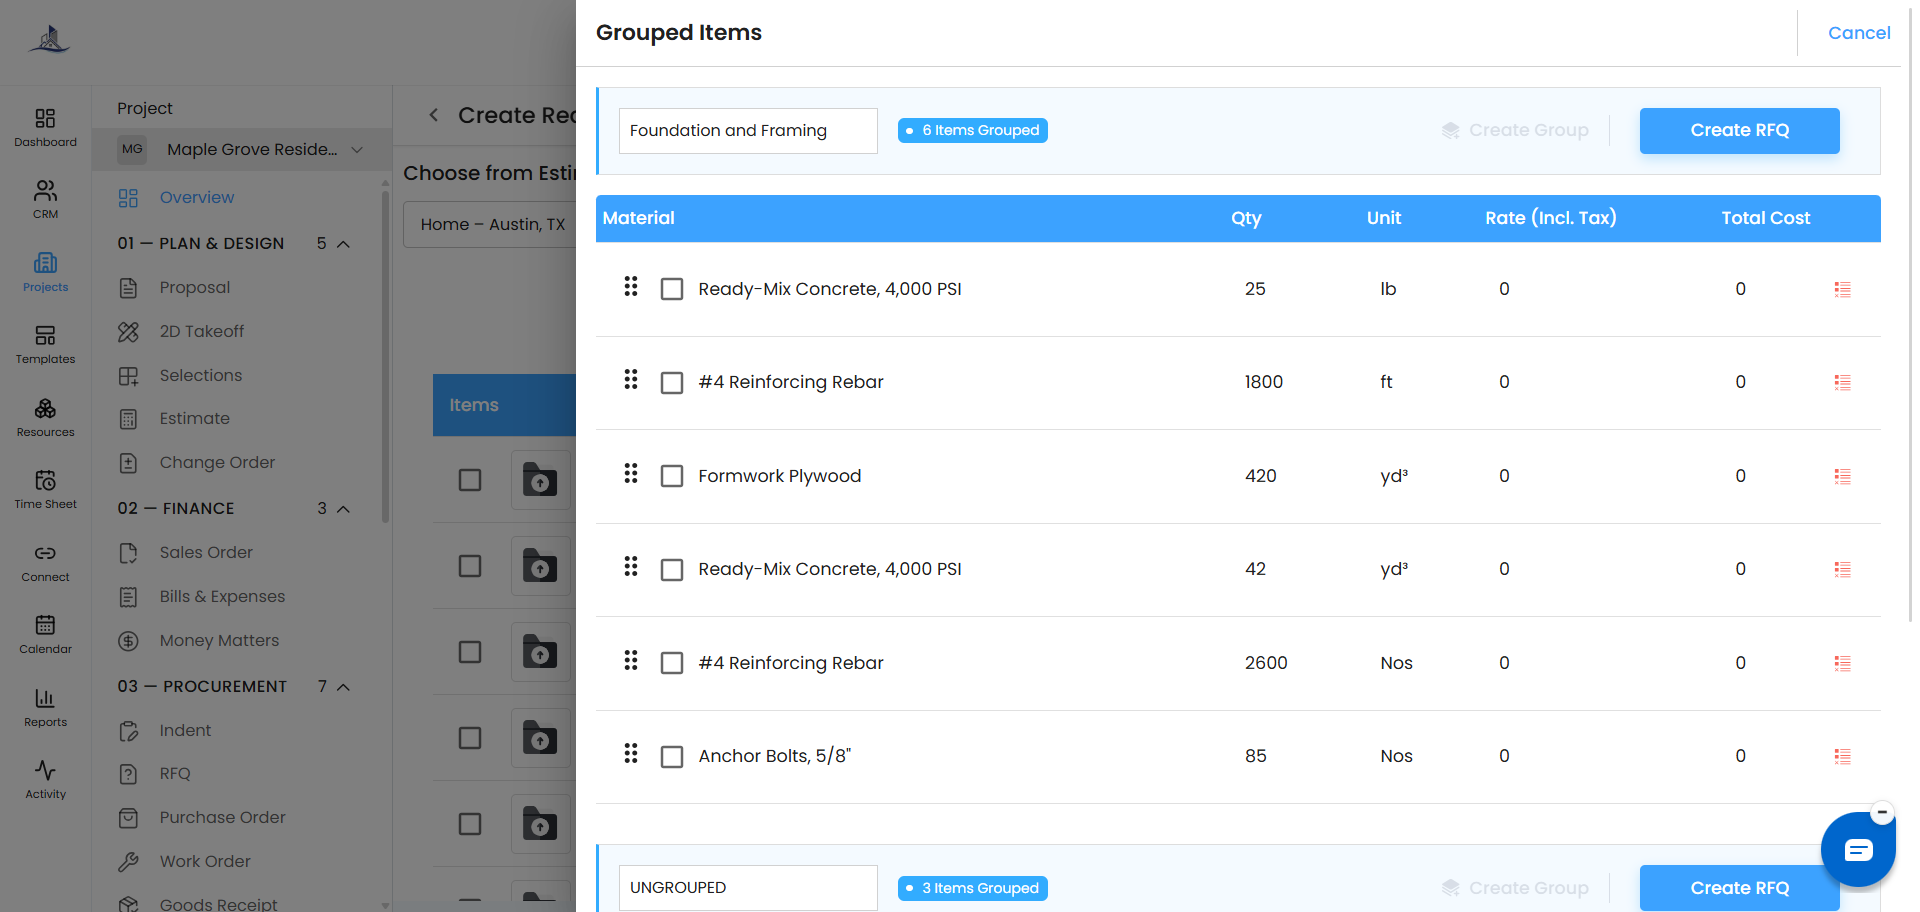
Your group now appears on the Grouped Items page, where you can see everything included at a glance.
- Find the group you want to process.
- Click Action next to it.
- Select Create RFQ
After the RFQ Is Created
Your new RFQ is listed in the RFQ section, ready for the next steps:
- Add up to 4 attachments and notes for the vendor to view.
- Click Action next to the RFQ and choose Compose Email to send it.
Once the email is sent, the RFQ's status automatically updates to Sent.
Was this article helpful?
That’s Great!
Thank you for your feedback
Sorry! We couldn't be helpful
Thank you for your feedback
Feedback sent
We appreciate your effort and will try to fix the article