Creating Tasks Within a Task Template – Organize Workflows Efficiently
- Task templates help streamline workflows by allowing users to predefine tasks.
- Adding tasks within a template ensures that all necessary details, responsibilities, and priorities are clearly outlined before execution.
Steps to Create a Task in a Task Template
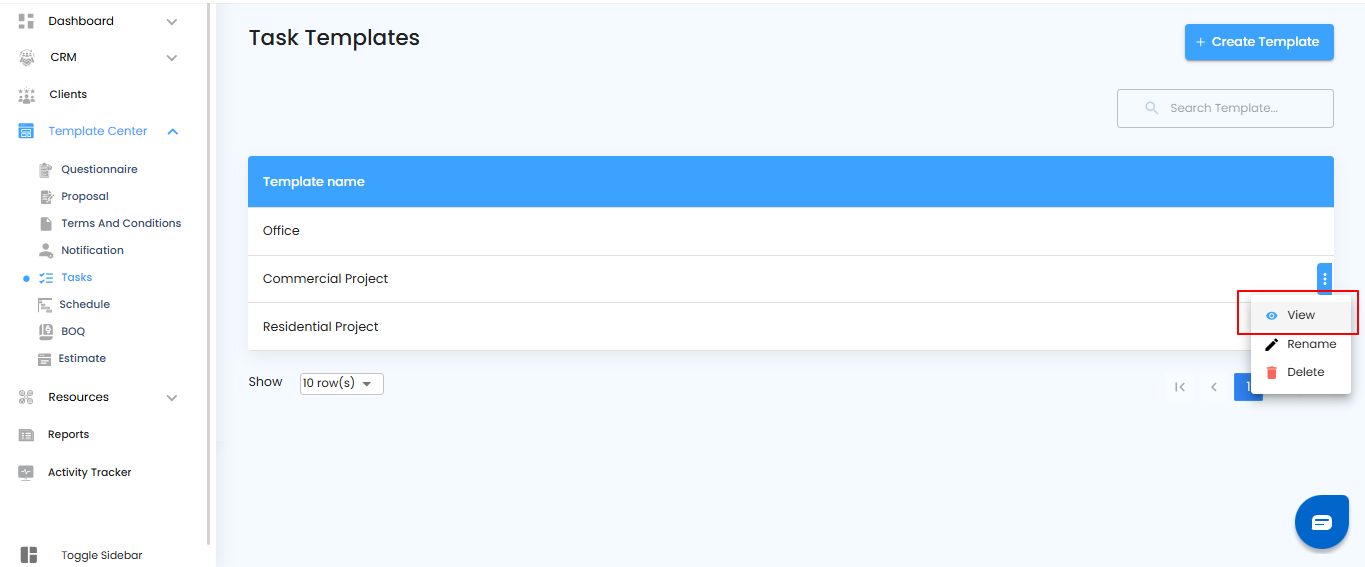
- Navigate to the Task Templates section.
- Locate the template where you want to add a task.
- Click the Edit button to open the template.
- In edit mode, click the View option to access the Create Task page.
- Begin adding the task details, responsibilities, and priority information.
Pro tip: Predefining tasks within templates saves time and ensures nothing is overlooked when executing recurring workflows.
Adding a New Task – Start the Process
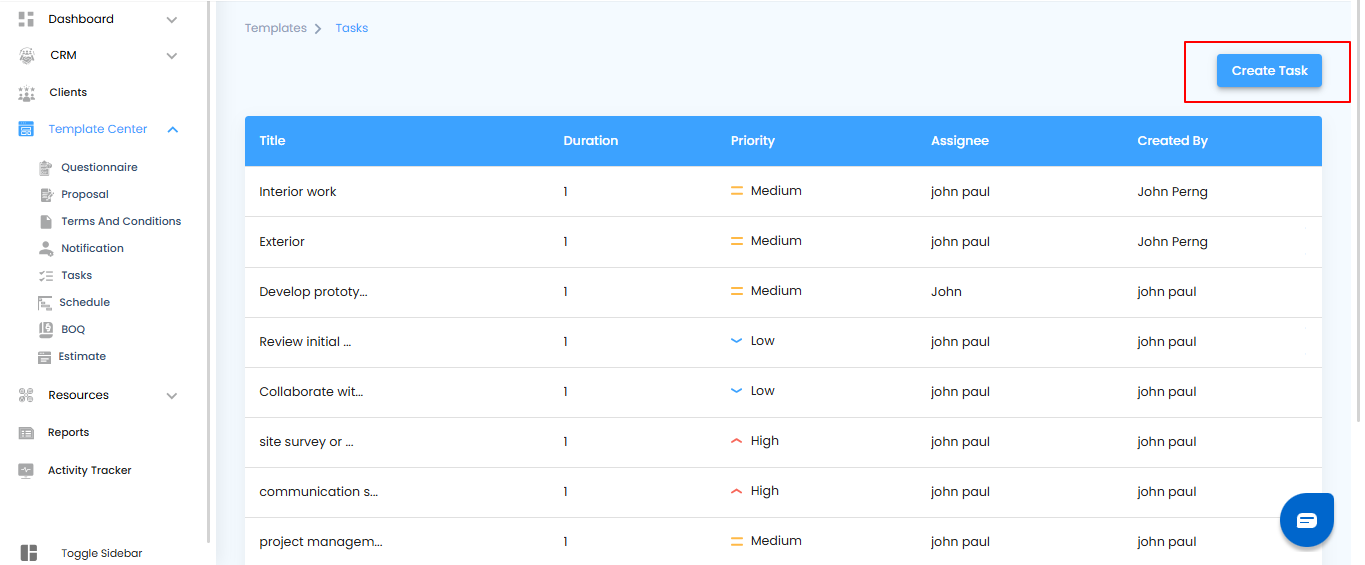
Within the task template view, you can quickly add new tasks to structure your workflow.
What You Can Do Here
- Click the Create Task button to begin adding a new task.
- Prepare to enter all necessary details, responsibilities, and priorities for the task.
Pro tip: Think through the task’s objective and required steps before creating it—this ensures clarity and reduces the need for edits later.
Entering Task Details – Fill Out the Side Panel
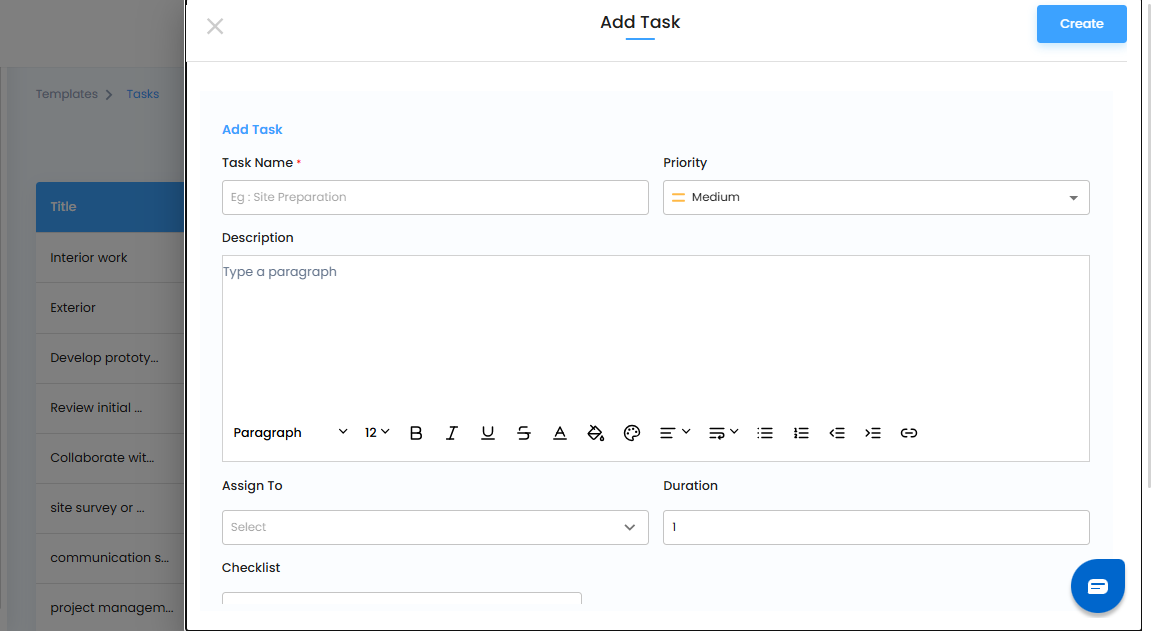
After clicking Create Task, a side panel (off-canvas page) opens, allowing you to enter all relevant information for the new task.
What You Can Do Here
- Enter the task name to identify it clearly.
- Specify assignees, deadlines, priority levels, and descriptions as needed.
- Add any additional notes or details to ensure clarity for the team.
Pro tip: Fill out all key fields before saving—complete information helps prevent confusion and keeps the task execution smooth.
Entering Task Details – Build a Complete Task
When creating a task within a template, adding all key details ensures clarity, accountability, and smooth execution.
What You Can Do Here
- Task Name – Provide a clear name for the task.
- Priority – Set the priority level: Low, Medium, or High.
- Description – Enter a detailed explanation of the task.
- Assign To – Select the team member responsible for completing the task.
- Duration – Define the expected timeframe for task completion.
- Checklist – Add sub-tasks, assign them to team members, and track progress effectively.
- Attachments – Upload up to 4 images or PDF files as supporting documents.
- Click the Create button to add the task to the template.
Managing Created Tasks
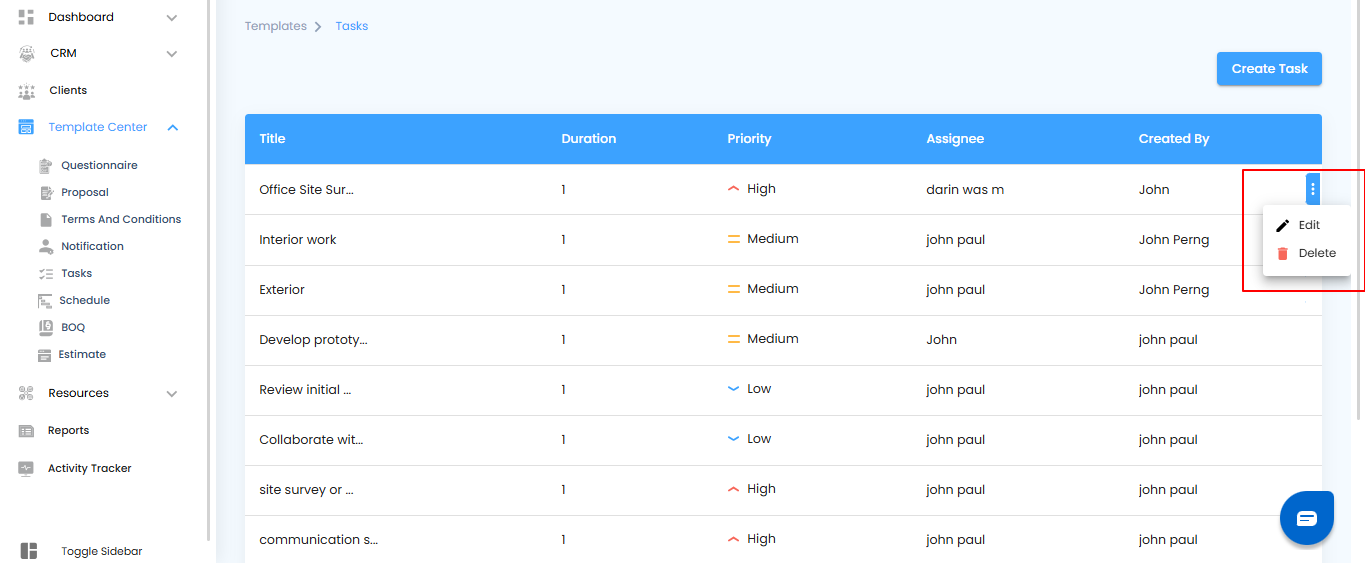
- The created task will appear in the Task Template
- Users can edit or delete the task as needed to keep the template updated.
Pro tip: Use checklists and attachments wisely—breaking tasks into sub-tasks and adding references helps the team execute more efficiently.
Smarter Task Management – Consistency Made Easy
By following these steps, users can efficiently add tasks to a task template, ensuring smooth task allocation and improved workflow management. Task templates not only save time but also help maintain consistency, making project execution more structured and reliable.
Pro tip: Regularly update your task templates as processes evolve—this keeps your workflows aligned with current project needs.
Was this article helpful?
That’s Great!
Thank you for your feedback
Sorry! We couldn't be helpful
Thank you for your feedback
Feedback sent
We appreciate your effort and will try to fix the article