RFQ Report – Your Vendor Quotation Command Center
Think of the RFQ (Request for Quotation) Report as your project’s vendor tracker—keeping tabs on sent RFQs, vendor responses, and conversion into Purchase Orders (POs). Stay on top of procurement without missing a beat.
What You Can Do Here
- Track Sent RFQs – See which requests have been shared with vendors.
- Monitor Vendor Responses – Quickly identify who has replied and who hasn’t.
- Analyze Conversion Rates – Understand how many RFQs turn into actual Purchase Orders.
- Accessing the RFQ Report
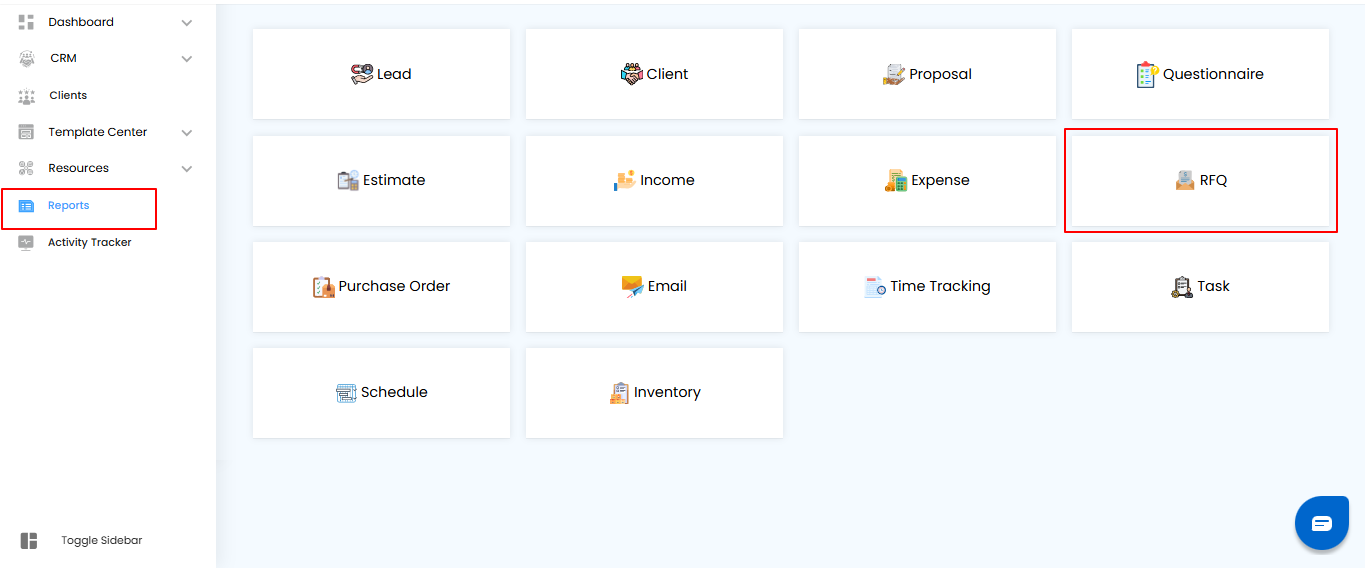
- Navigate to Reports – From the main menu, go to the Reports section.
- Select RFQ – Click to open the RFQ report dashboard and view all quotation details.
Pro tip: Treat this report like your procurement pulse—regularly check it to stay on top of vendor interactions and ensure smooth purchasing.
Filtering RFQ Data – Focus on What Matters
Think of filters as your project’s magnifying glass for vendor quotations—quickly pinpoint the RFQs you need without scrolling through everything.
How to Refine Your RFQ Records:
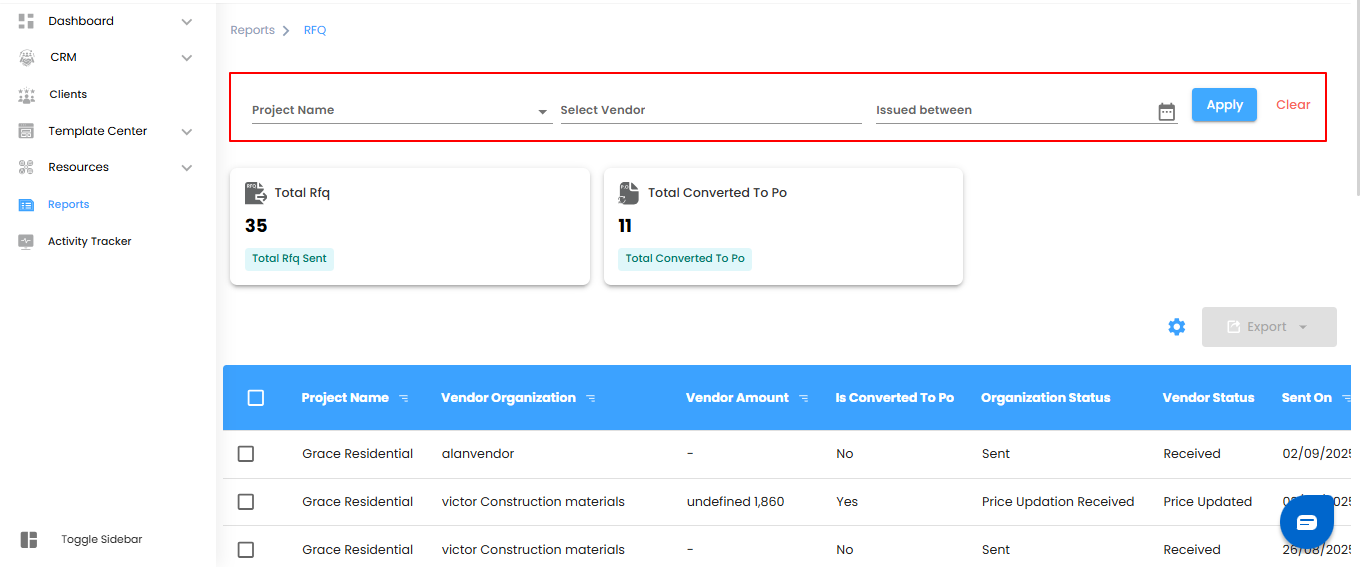
- Project Name – Select a project to see only its related RFQs.
- Select Vendor – Choose a specific vendor organization from the list.
- Issued Between – Narrow results to RFQs sent within a particular date range.
- Once your filters are set, click Apply to update the dashboard or Clear to reset and view all RFQs.
Pro tip: Combine multiple filters to quickly track vendor responses for specific projects or periods, making procurement follow-ups faster and more organized.
RFQ Dashboard Summary – Your Procurement at a Glance
Think of the RFQ dashboard as your project’s quick-view procurement cockpit—giving you instant insight into vendor interactions and conversions.
Key Metrics You’ll See:
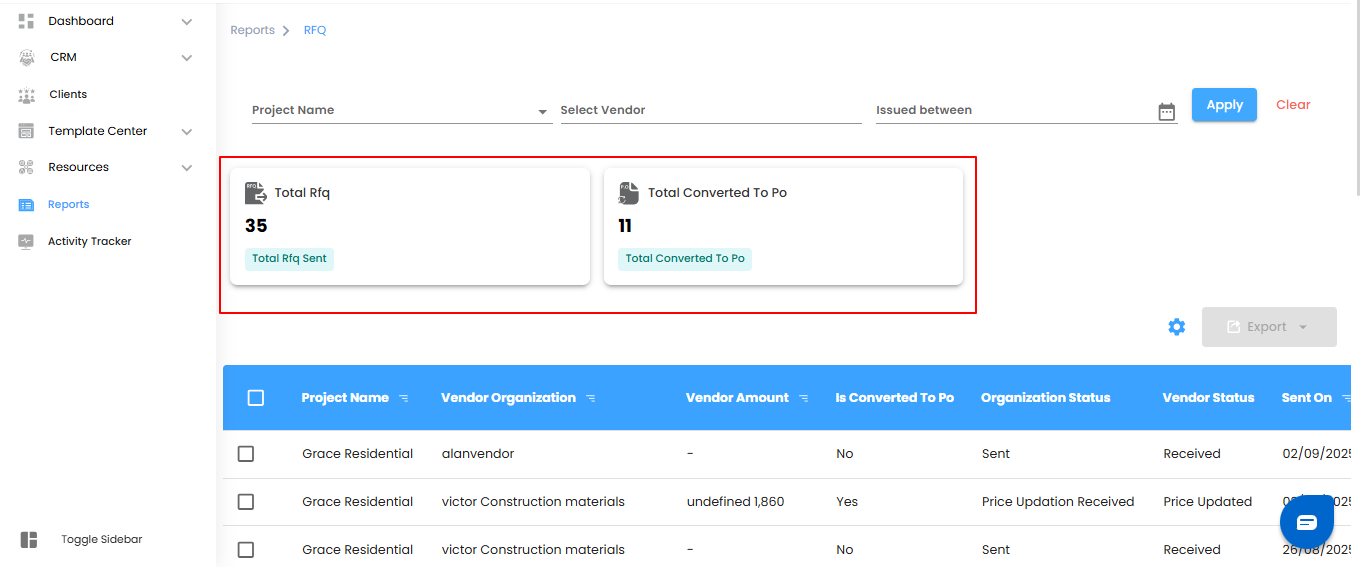
- Total RFQs Sent – The total number of RFQs issued to vendors.
- Total Converted to PO – How many RFQs have successfully turned into Purchase Orders?
Pro tip: Keep an eye on these metrics regularly—they give you a snapshot of procurement efficiency and help identify bottlenecks in vendor responses
Understanding RFQ Records – Know Every Detail
Think of each RFQ entry as a snapshot of your procurement journey—tracking vendor interactions, quotations, and conversions all in one place.
Key Details You’ll Find:
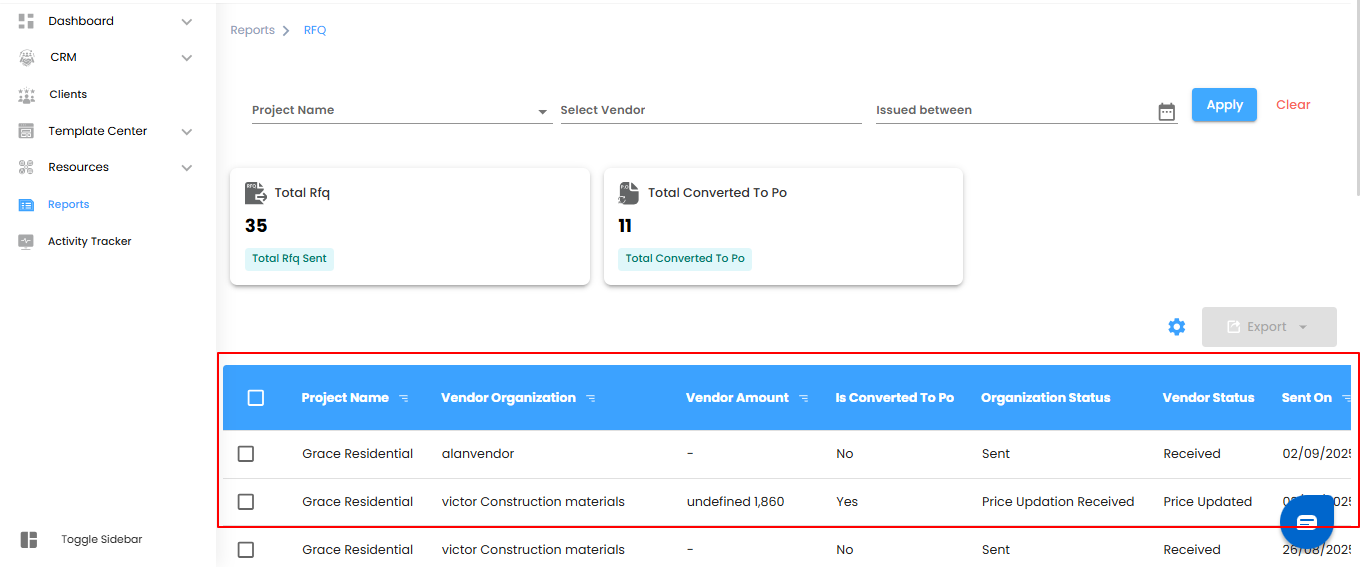
- Project Name – The project linked to the RFQ.
- Vendor Organization – The vendor receiving the RFQ.Vendor Amount – The quoted price provided by the vendor.
- Is Converted to PO? – Shows whether the RFQ has been turned into a Purchase Order.
- Organization Status – Updates from your organization, such as Sent, Price Updation Received, or Declined.
- Vendor Status – Updates from the vendor, including Received, Price Updated, or Declined.
- Sent On – The date the RFQ was issued.
Pro tip: Use this table as your procurement control center—quickly track responses, follow up with vendors, and ensure timely conversions to POs.
Managing RFQs – Bulk Actions & Exporting Made Easy
Think of this as your project’s procurement multitool—handle multiple RFQs at once or take your data wherever you need it.
Bulk Actions – Work Smarter
- Select multiple RFQs to update, manage, or act on vendor responses simultaneously.
- Streamline procurement workflows and save time with bulk operations.
- Exporting Data – Take Control of Your Records
- Download your RFQ details in Excel format for offline review, audits, or reporting.
- Use exported data to analyze vendor performance, track conversions, and plan procurement strategies.
Pro tip: Combine filters with bulk actions—first narrow down RFQs, then select multiple entries and export. It’s fast, efficient, and keeps your procurement organized.

Configure RFQ Report Automation – Keep Vendor Tracking on Autopilot
Why check RFQs manually when your reports can come to you automatically? Set it up once, and your RFQ insights will be delivered on schedule, reliably and hassle-free.
Step 1: Access the Automation Popup
- Click the Configure Report Automation icon to open the RFQ Report Automation popup. Think of it as unlocking your project’s personal procurement assistant.
Pro tip: Treat this popup as your control center—everything you need to schedule, manage, and automate RFQ reports is right here.

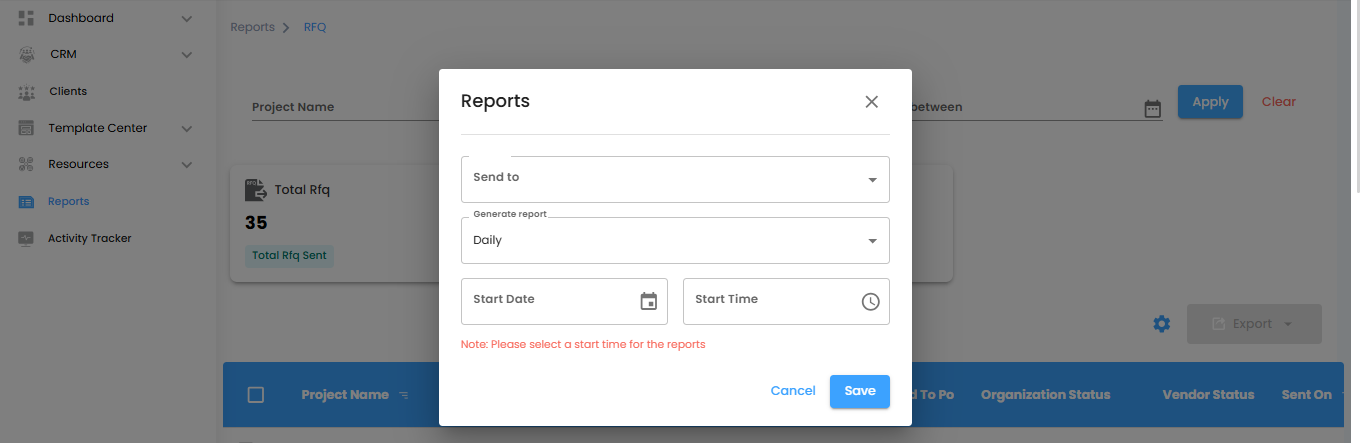
Select Report Recipients – Deliver RFQ Insights to the Right People
Think of this as directing your project’s procurement updates straight to the inboxes that matter. Use the Send To dropdown to select the users who should receive automated RFQ reports—simple, precise, and hassle-free.
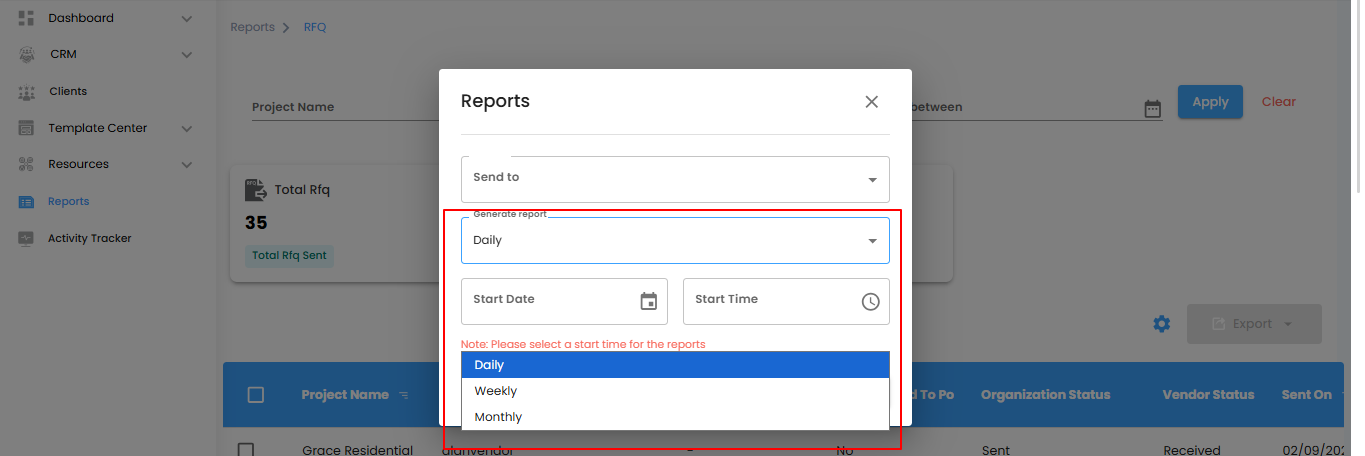
Set Report Delivery Timing – Pick the Perfect Rhythm
Under the Generate Report dropdown, decide how often reports should arrive:
- Daily (Default) – Receive fresh reports every day, generated within one hour of your chosen time.
Example: Set for 6:00 PM, and the report will appear between 6:00 PM and 6:59 PM. - Weekly – Get a summary of the current week at the same day and time next week—ideal for tracking vendor responses regularly.
- Monthly – Receive a monthly overview delivered on the same day and time next month—perfect for big-picture procurement planning.
- Pro tip: Treat the delivery schedule like the heartbeat of your project—consistent timing keeps everyone informed and aligned.
Set the Start Date & Time – Schedule Your Automation Like Clockwork
- Pick the Start Date and Start Time to tell the automation exactly when to begin. Once set, your RFQ reports will be delivered automatically according to your chosen schedule.
- Note: Don’t forget the Start Time—without it, reports won’t be generated.
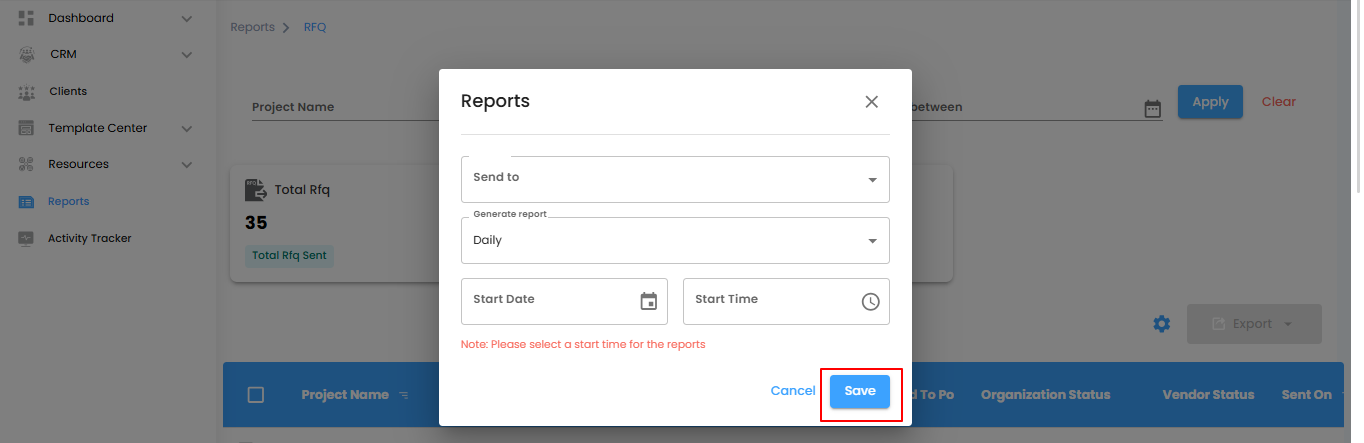
Save or Cancel – Lock It In or Start Fresh
- Save – Activate your RFQ report automation and let it run on autopilot.
- Cancel – Exit without saving if you need to adjust your setup.
Pro tip: Think of the start time as the first beat of a drum—everything else flows smoothly once it’s set.
RFQ Report – Your Vendor Quotation Command Center
Think of the RFQ report as your project’s procurement navigator—tracking vendor quotations, monitoring responses, and overseeing conversion into Purchase Orders (POs) with ease.
What You Can Do Here
- Track RFQ Status – See which quotations have been sent, received, or declined.
- Manage Responses – Keep vendor communications organized and up to date.
- Monitor Conversions to PO – Quickly identify which RFQs have turned into actual Purchase Orders.
- Filter & Refine – Narrow down data by project, vendor, or date to access the most relevant information.
- Bulk Actions & Export – Handle multiple RFQs simultaneously and export reports for audits, analysis, or sharing with your team.
Pro tip: Treat the RFQ report as your procurement dashboard—regularly review it to streamline vendor management, improve decision-making, and ensure procurement efficiency.
Was this article helpful?
That’s Great!
Thank you for your feedback
Sorry! We couldn't be helpful
Thank you for your feedback
Feedback sent
We appreciate your effort and will try to fix the article